Process for using the Slicer app to lasercut a cardboard polyhedron
Go to http://rhino3d.nl/pythposter/pyth3dm-eng.html Choose and download a polyhedron. (Note: these polyhedra are also available here on Google Drive)
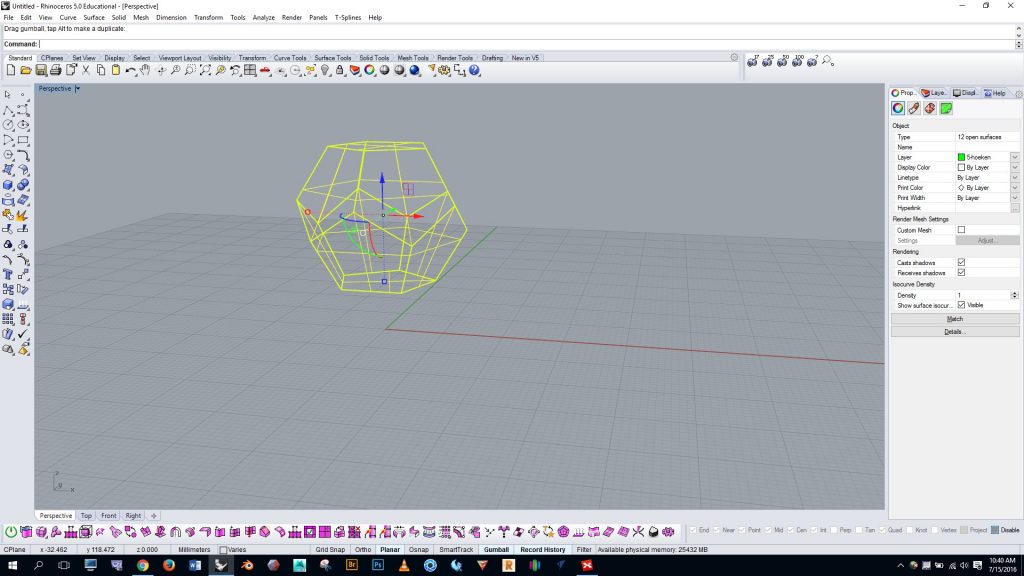
Open Rhino using a “small objects – millimeters” template, and import the polyhedron you’ve downloaded
Select your polyhedron and run the “mesh” command with simple controls. Drag the slider all the way to the left.
Run the “selmesh” command to select the mesh you just generated. Run the “invert” command and press the delete key. This will get rid of the original NURBS form that you imported.
Now select the mesh and run the “triangulatemesh” command. This will ensure that your polyhedron mesh will import properly to the next program.
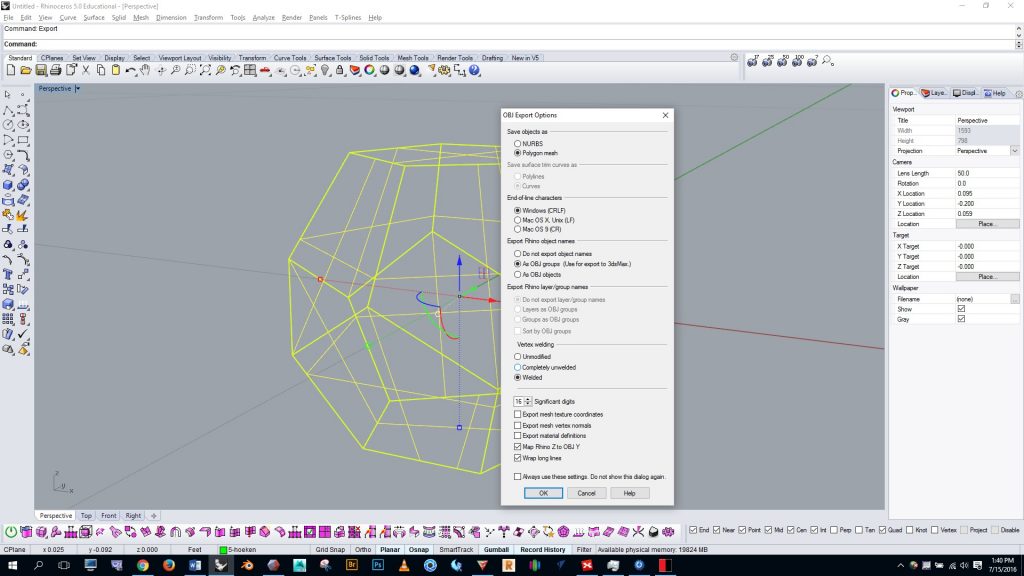
Export the polyhedron as an OBJ with the settings shown
Download, install, and open the Autodesk Slicer App on your computer by following this link: https://apps.autodesk.com/FUSION/en/Detail/Index?id=8699194120463301363&os=Win64&appLang=en
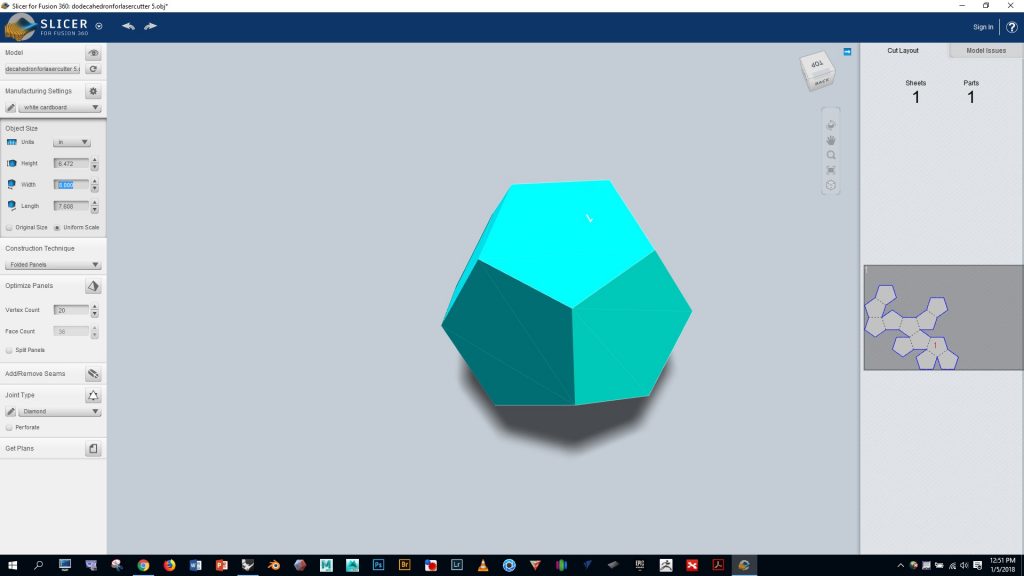
Import your OBJ file
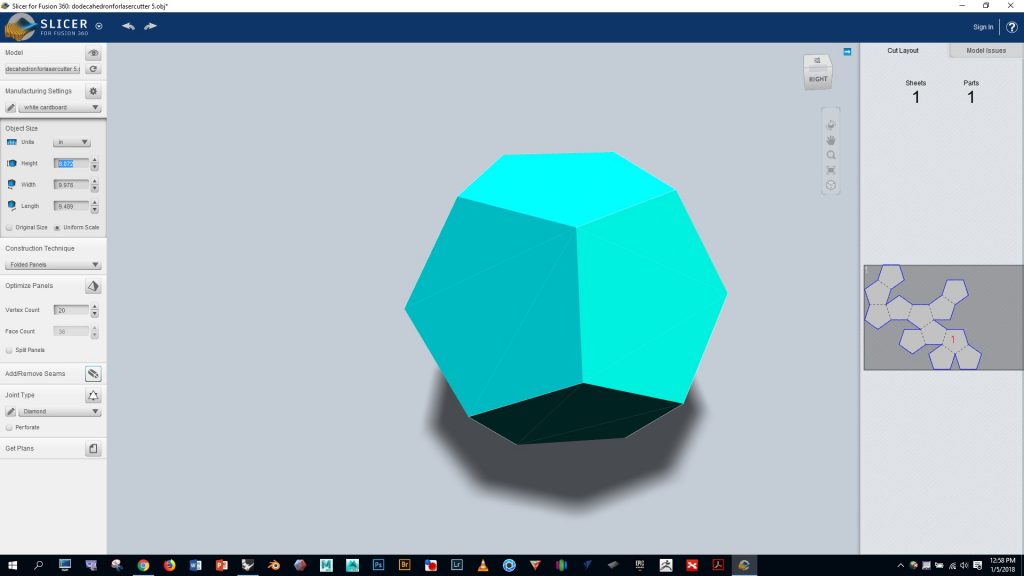
Select “folded panels” from the dropdown option on the left and notice that the program automatically generates a cut pattern for us which we can see on the far right
We’ll be working with the thin white cardboard that’s available in the Mooney Lab. Let’s configure Slicer to work with the dimensions of this material by doing the following:
- click on “manufacturing settings” pencil on the left side
- Click the + button in the lower left to add a new material
- Name the new material “white cardboard”
- Enter the values shown in the image below
Click the little dropdown arrow on in the manufacturing settings window and select the “white cardboard” option we just created
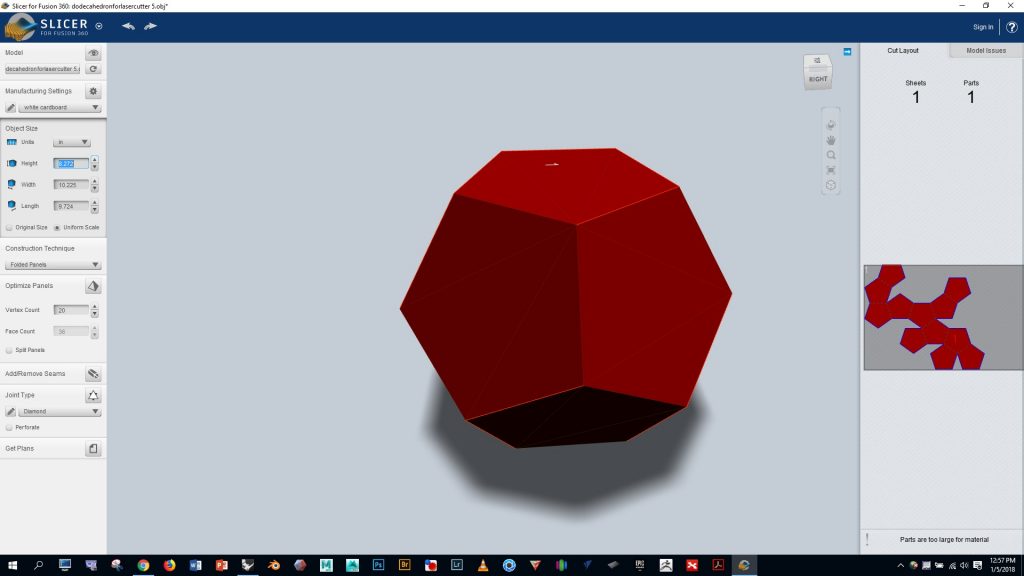
Notice on the right that our polyhedron is quite small relative to the sheet of cardboard. Adjust the values in the “object size” box to make the polyhedron larger on the cardboard
Notice that setting the object size too large will turn the whole polyhedron red, indicating that the whole pattern won’t fit on the single sheet of cardboard. Adjust as needed to make it fit on the cardboard and turn it blue.
If you’d like to improve upon the automatic fold pattern generated by Slicer to make assembly simpler and/or make better use of the cardboard, click on the little razor icon in the lower left, and follow the instructions.
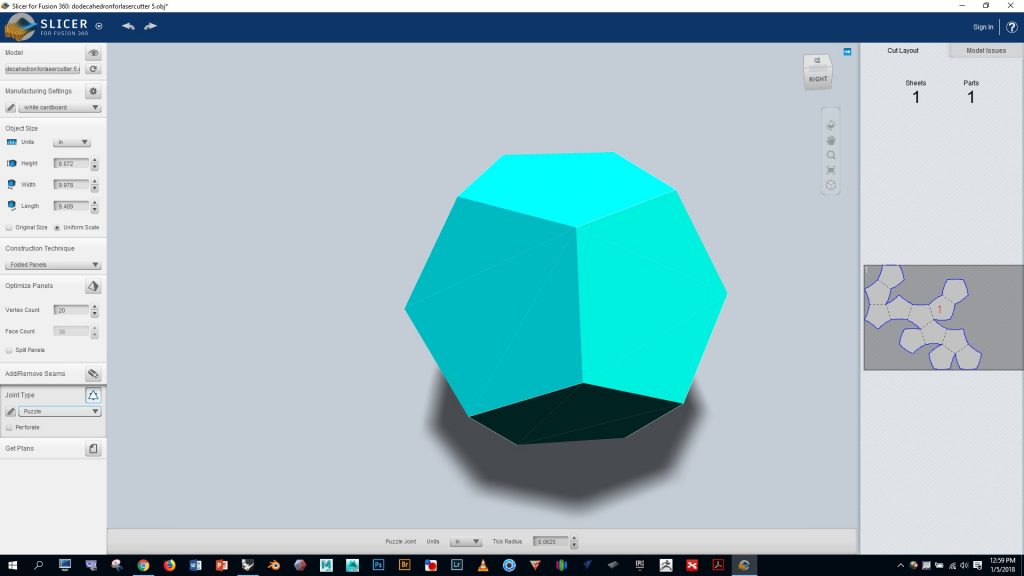
I used “puzzle” for the joint type, and found that it worked well for assembly
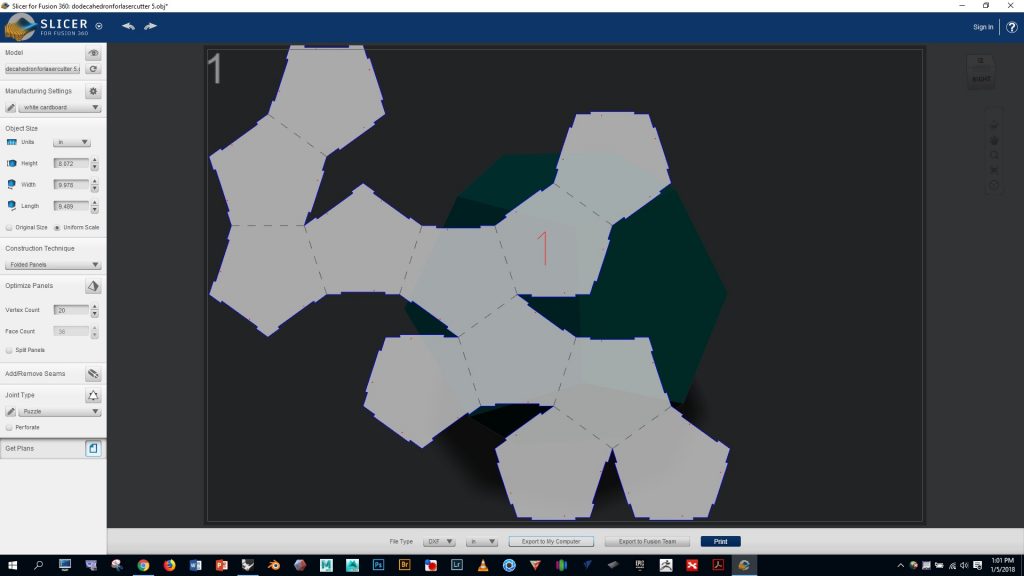
Click the “get plans” button at the bottom and export your project as a DXF file
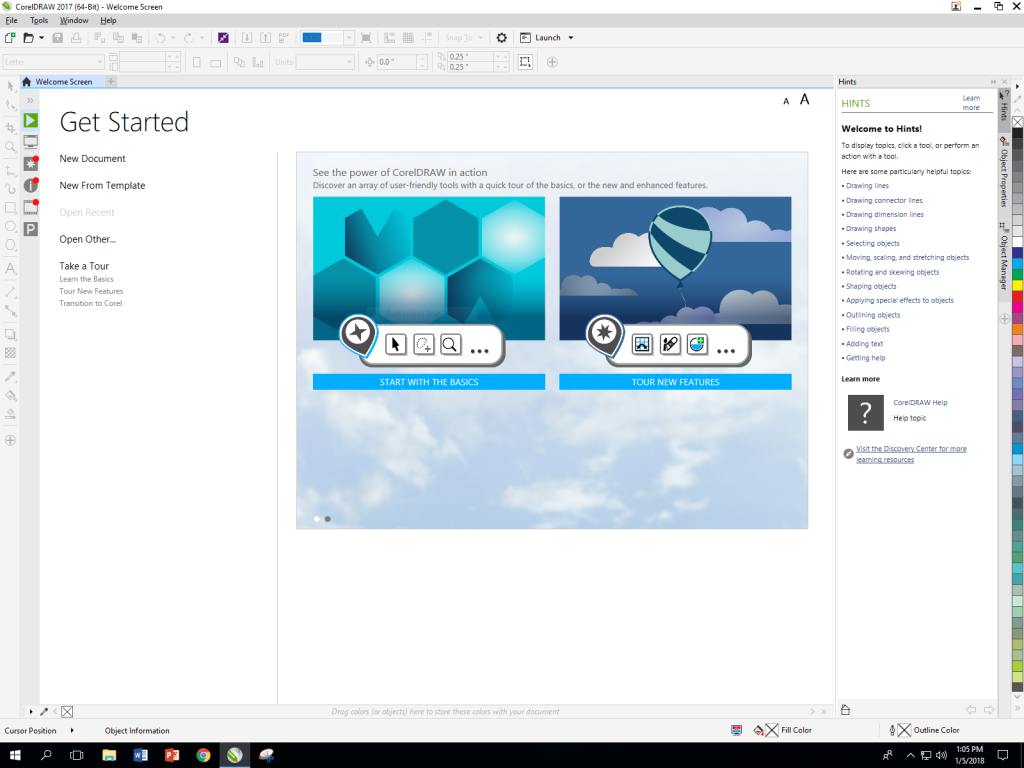
In the Mooney Lab, log on to the computer by the lasercutter and open Corel Draw (you can skip the info request screen)
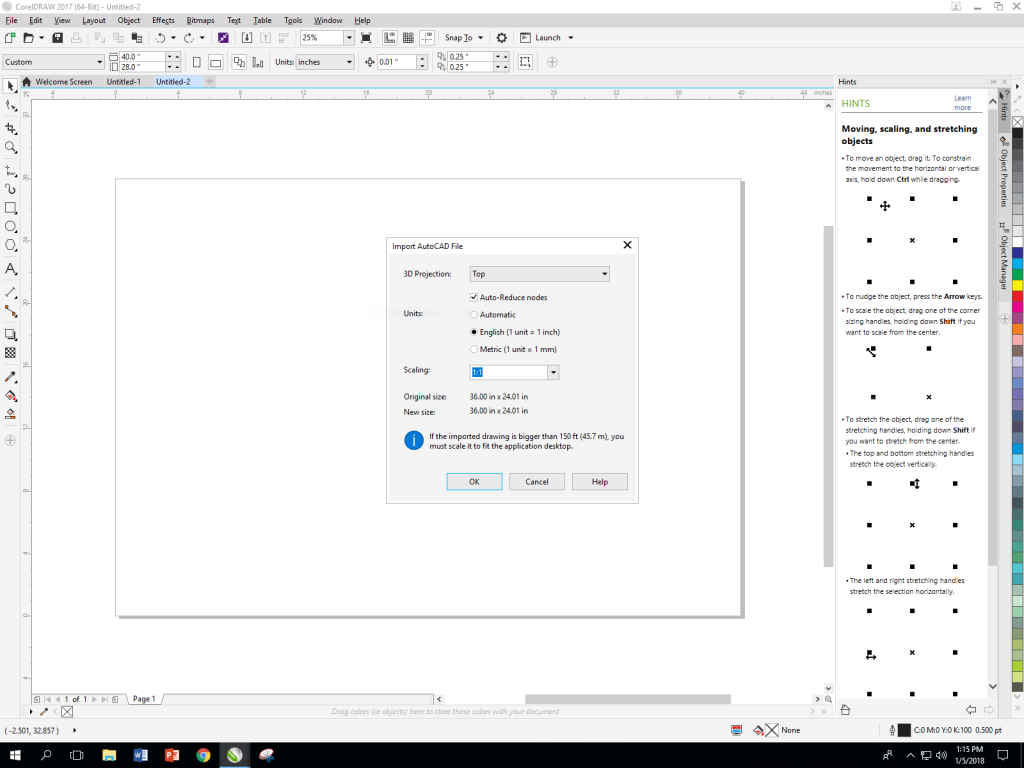
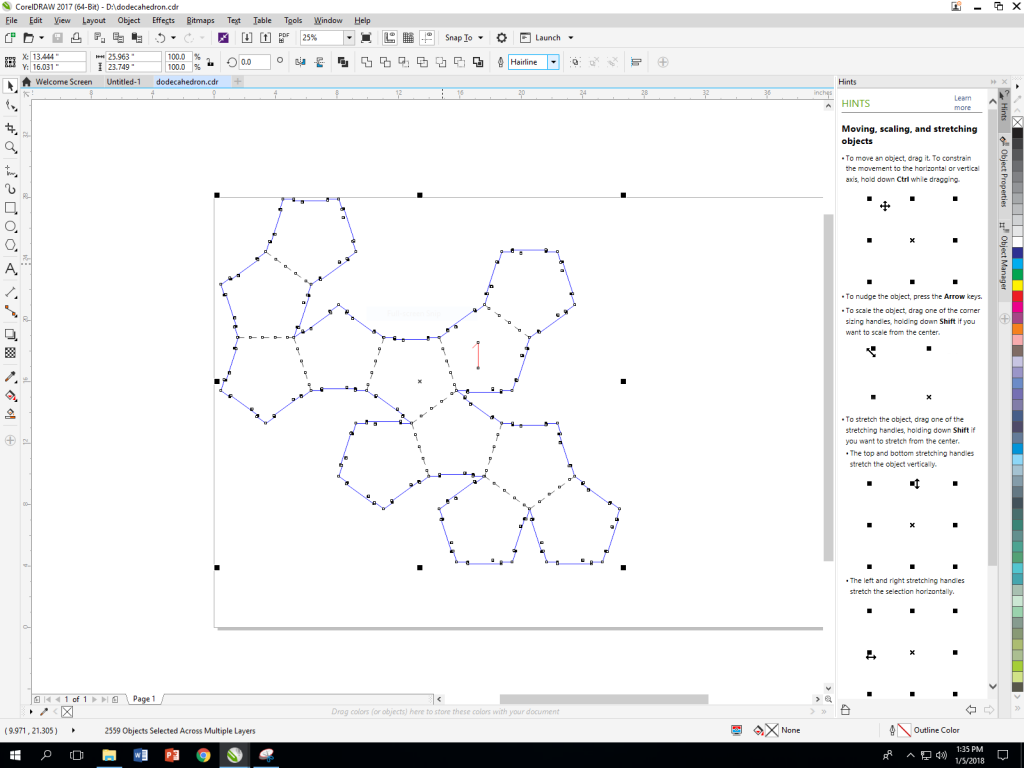
Click on “file”, then “new”, and enter a width of 40″ and height of 28″. Now go to “file” > “import”, and select your DXF file with the settings shown below, and press OK
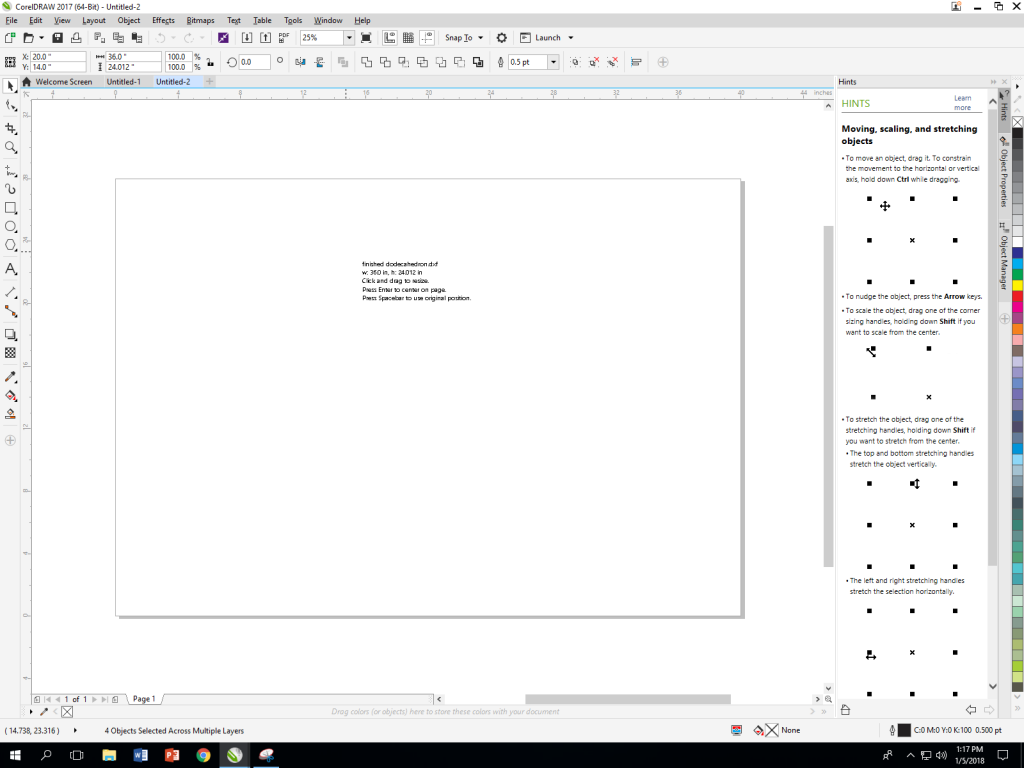
You’ll be prompted to draw the location and size of your object. We want to keep the size the same as it was in Slicer, so click the spacebar to use original position.
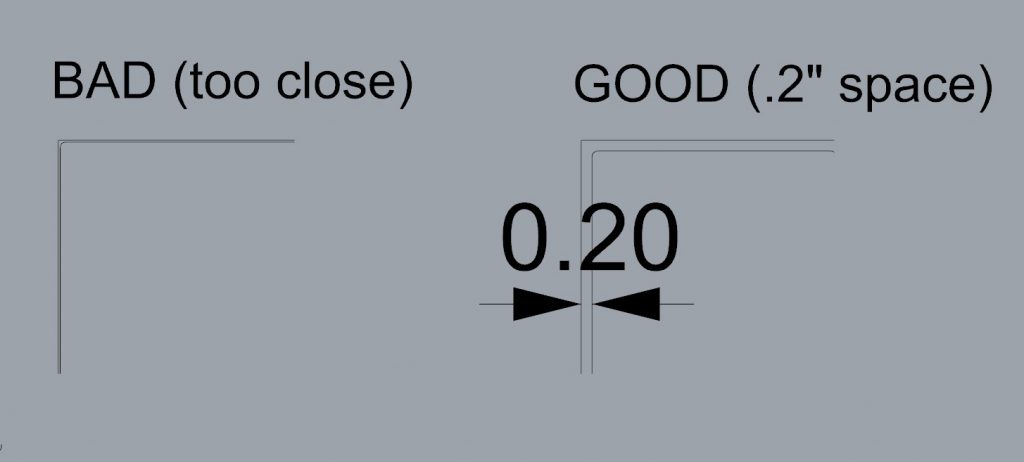
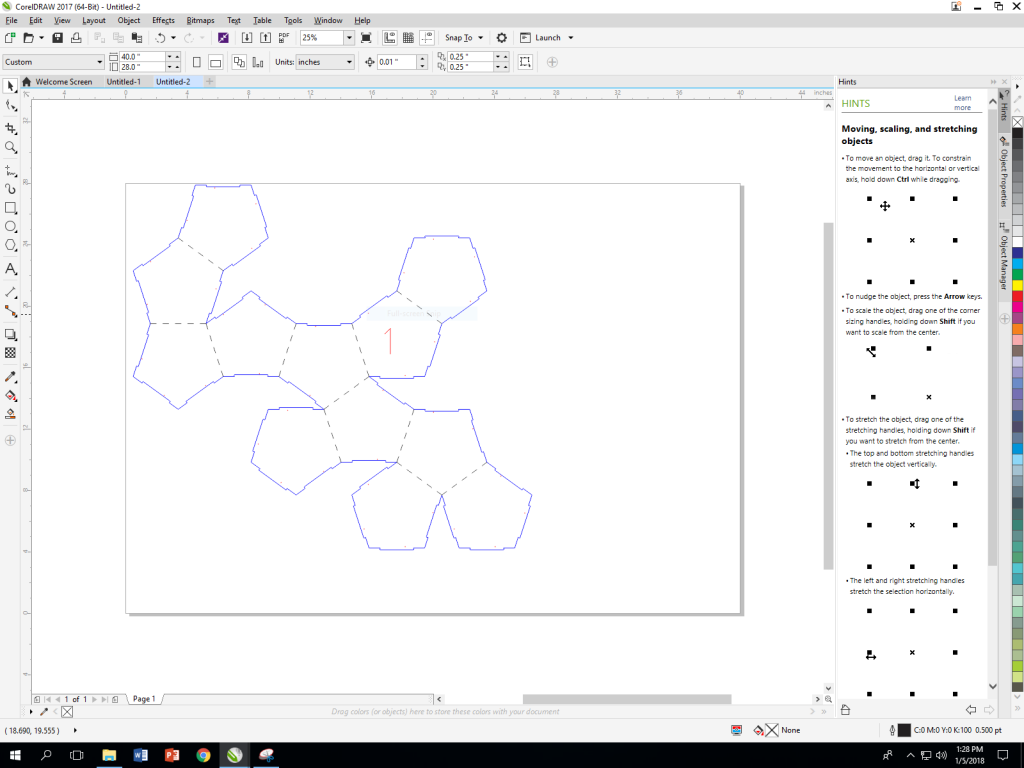
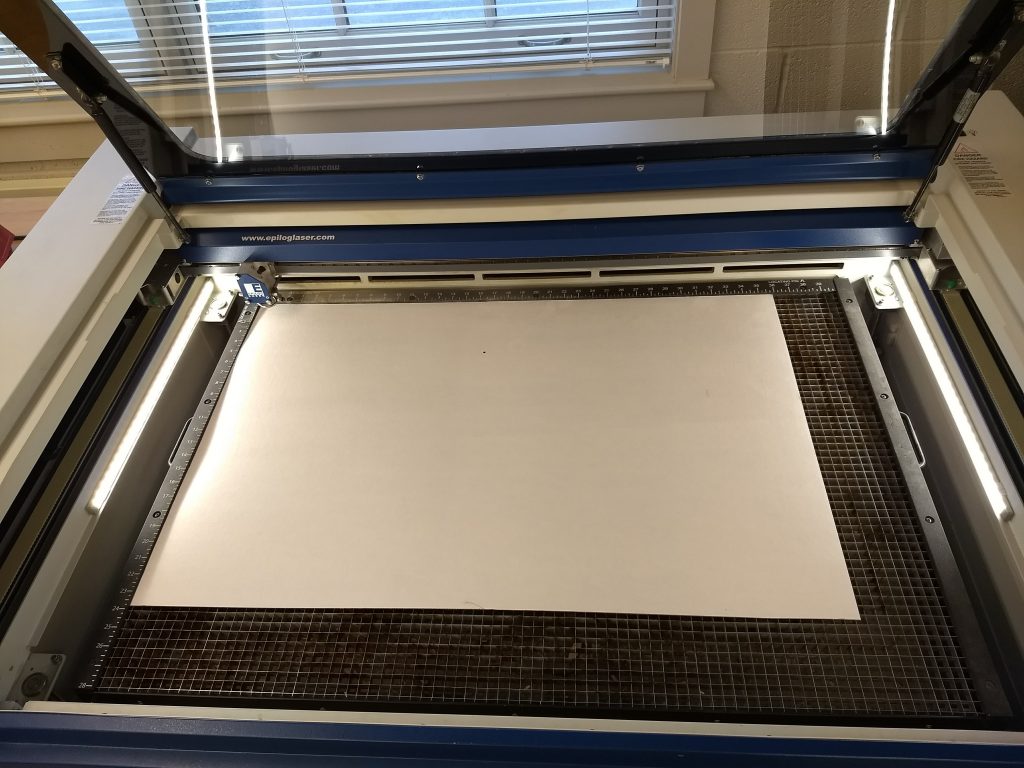
Move your design into the top left corner by adjusting the X and Y object position numbers in the top left of the screen. Your design must be within the bounds of the material by at least 0.2 inches. Otherwise, the laser could hit the rulers in the bed of the machine. Look at the images below to understand what this means more clearly.
We don’t need the rectangular border lines, so let’s select and delete them
Draw a lasso selection around all of your lines and then set the cutting width to “hairline” in the dropdown menu at the top. Making this selection is important because it will cause your lines to be vector cut rather than rastered.
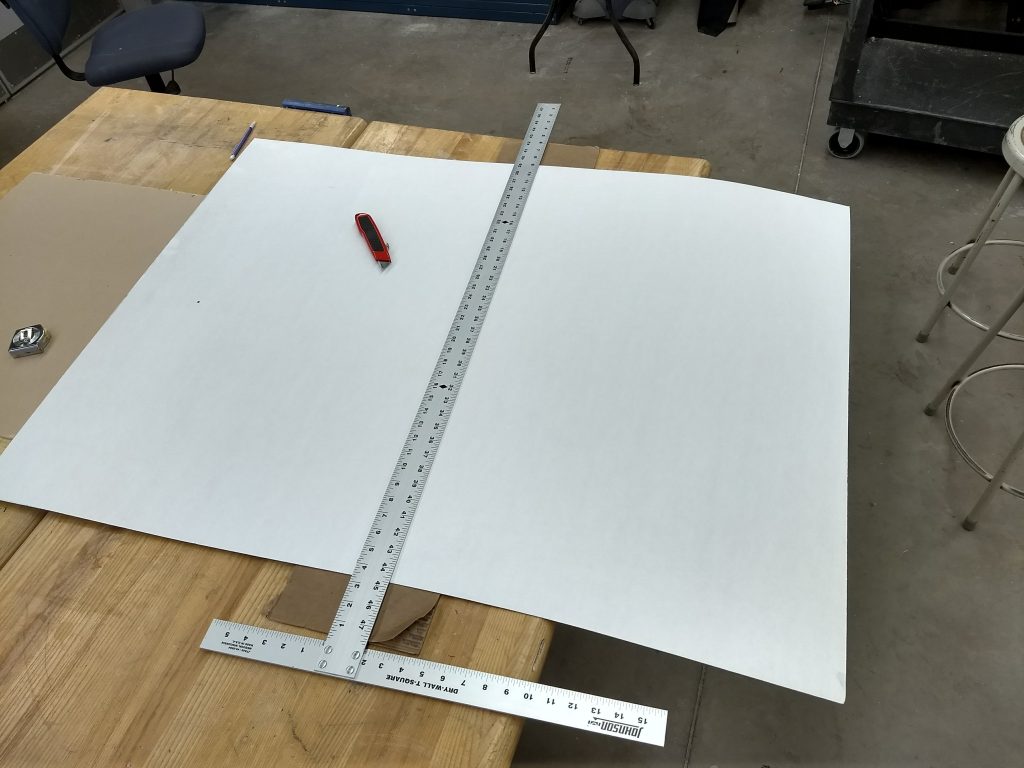
Now we’re pretty much ready to use the lasercutter. But we will first need to cut our cardboard down. Our full sheets of the white cardboard are 36″x48″, and we want to cut the sheet in half to match our drawing at 36 x 24″. Measure and cut carefully using the tools in the Mooney Lab.
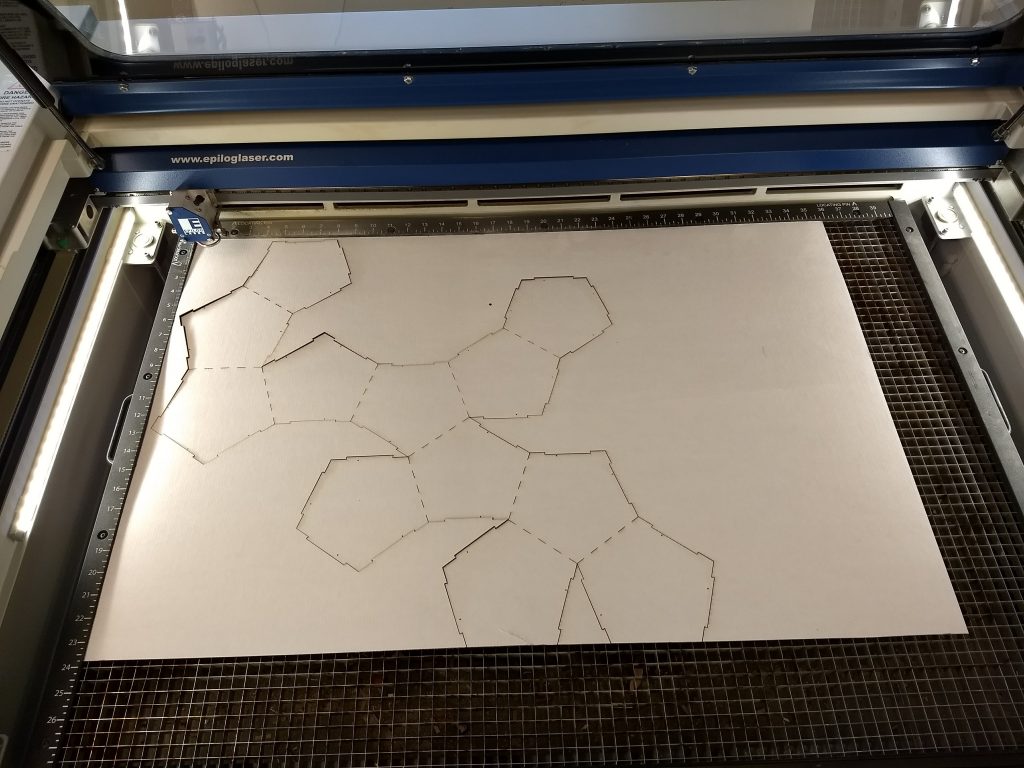
Now have the Mooney technician help you cut your design with the lasercutter. The following settings should work well for the material we’re using:
- Piece size: 40 x 28″
- Speed: 40
- Power: 100
- Frequency: 50
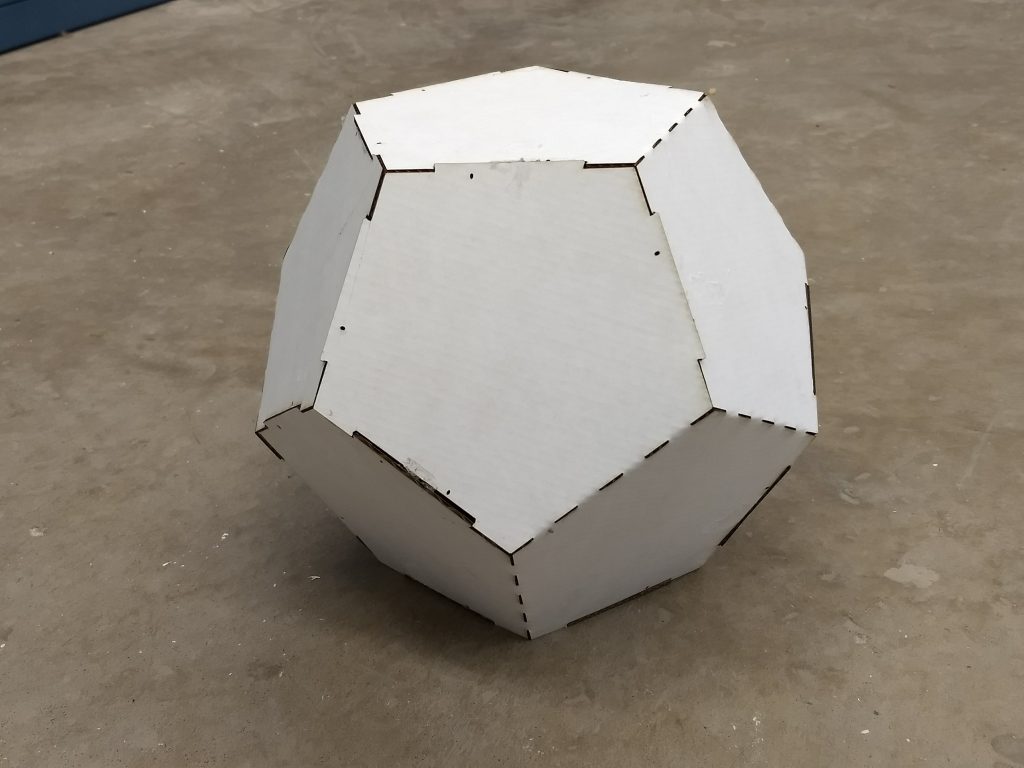
Once your pattern is cut out, after a bit of folding and some hot glue your finished polyhedron will look like this:

