Category: News
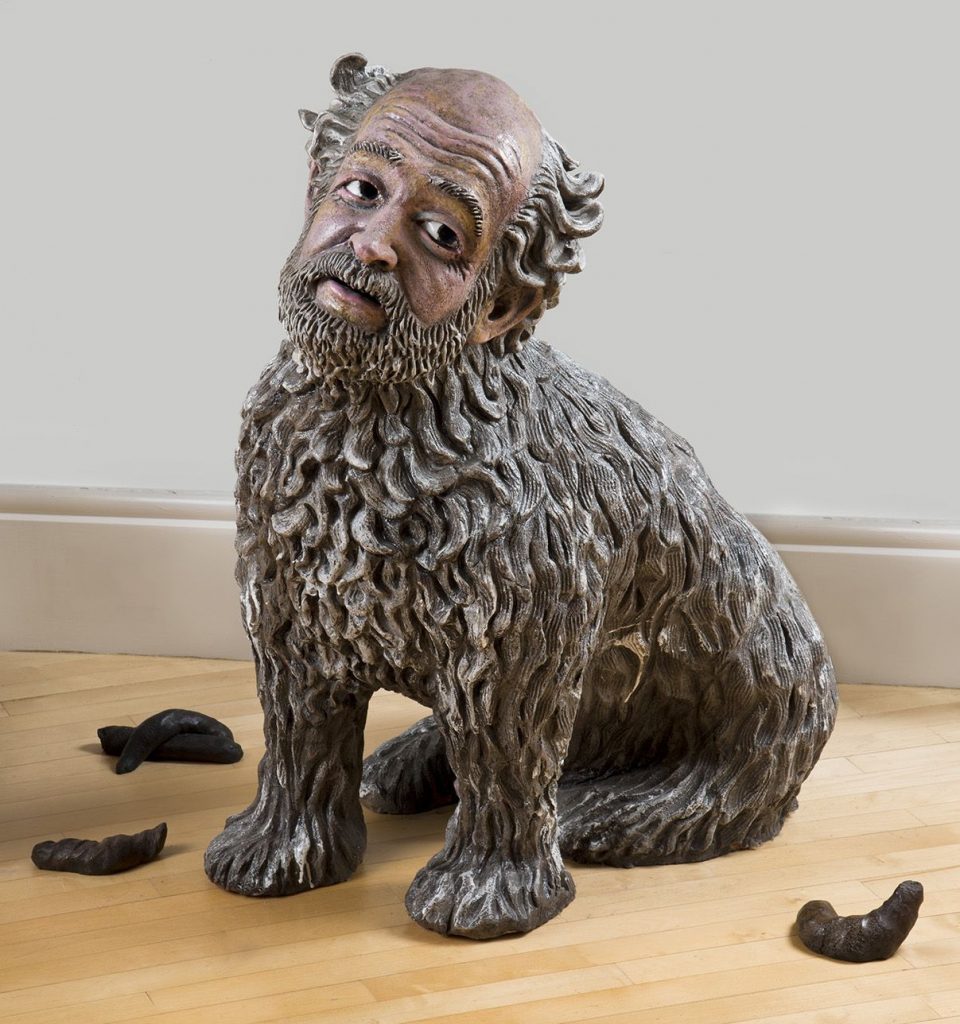
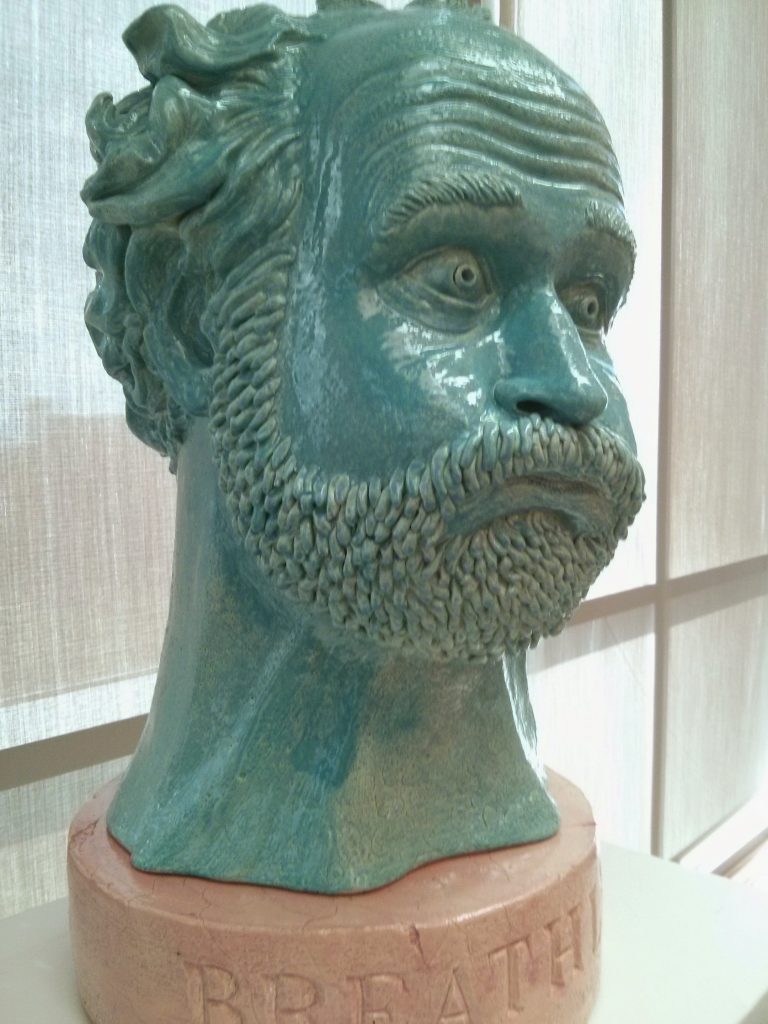
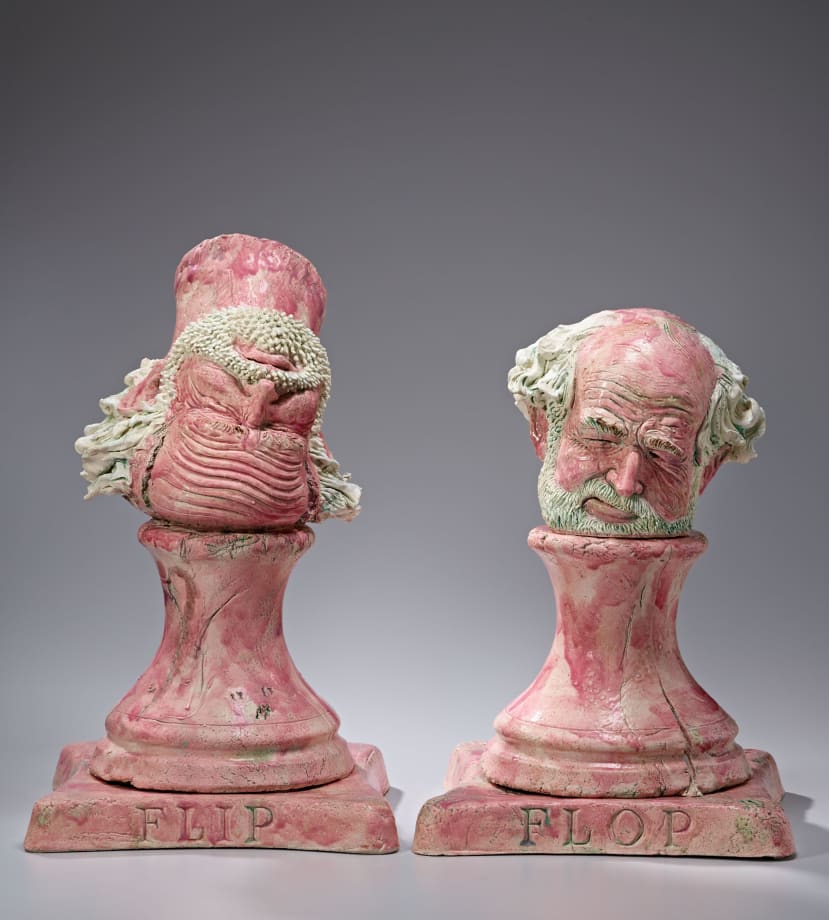
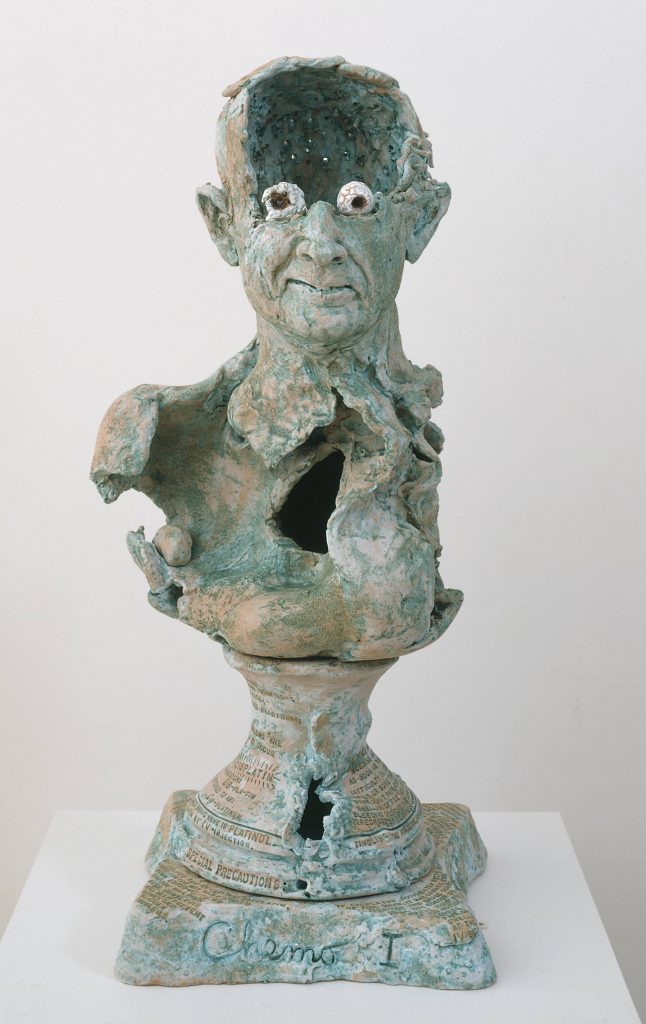
Urs Fischer
How to photograph 3D artwork
Main considerations for taking effective photos of your work:
- Make sure your object is in focus. Do this by resting the camera on a solid surface and shooting with adequate light.
- Use soft directional lighting. Avoid strong lighting that will create hot spots on the object or harsh distracting shadows on the ground plane.
- Zoom or crop in so your object nearly fills the picture frame.
- Use a simple background. Setup your object in front of a plain wall or sheet of cardboard to eliminate distracting elements.
- Include multiple views. Doing so will enable the viewer to understand how the object exists in space.
- Position your camera just above the sculpture’s midpoint. Many beginners position the camera too high, which will make the sculpture look unimportant. Photographing from the midpoint will give the sculpture an air of importance. The lower angle also makes it easier to see the sculpture’s details.
Examples of effective photos — student projects from Sculpture 1:
http://sculpture1.blogs.bucknell.edu/?p=5969
http://sculpture1.blogs.bucknell.edu/?p=6397
http://sculpture1.blogs.bucknell.edu/?p=6618
http://sculpture1.blogs.bucknell.edu/?p=6335
To learn more about photographing artwork, see the resources below:
See also: http://cota.kennesaw.edu/ArtAndDesign/portfolio-photography-tips.php
examples of sculpture projects that were created with a lasercutter
Ed Atkins – Ribbons
first-day questionnaire
Post your responses to the first day questionnaire on the PRIVATE class website by following these instructions:
- Log on to the site by going to: http://digitalsculpture1.blogs.bucknell.edu/wp-admin
- Create a new post by clicking at the top of the page on the “+ New” button
- Once the post screen comes up, check the “Misc.” box to the right to put the post in the correct category
- Please put your name in the title of the post
- Answer the questions listed below
First Day Questionnaire
Your name:
Your major:
Please list a few of your interests, sports you play, or other activities you’re involved in (on or off campus).
Why are you taking this class? What are you most excited to learn about?
…after posting your answers to the questions above on the class website, please enter your contact info on this google form: https://docs.google.com/spreadsheets/d/1SPH1xYK81VeTGV9K5XKN_i2b2KC-eul3zCj9gJWx-j8/edit?usp=sharing
Prof Meiser’s links for day 1 intro:
foam process
Keyshot 11 physics simulation
Keyshot license server is: 27010@keyshot-license.bucknell.edu
Intro to Keyshot
Simon Williamson – Industrial Designer – Simon Williamson’s website
Demo files
How to launch Rhino in Holmes 301
Rhino demo notes from day one
Introducing the viewport
- 2 types of viewports: orthogonal (eg: top, front, right, etc), and perspective
- orthogonal: useful for measuring/certain commands
- perspective: realistic view of form
- only one viewport current at a time
- double click viewport name to maximize/minimize
- various viewing modes are available by right clicking viewport name (shaded, wireframe, rendered)
- 4 viewport layout can be customized by dragging
- 4 viewport layout can be reset by clicking the small icon at the top of the screen
- the command line provides feedback as you work > if the program freezes check the command line (use escape key to exit a command that is in progress)
Navigating viewports with pan, zoom, rotate
- it’s important to constantly change your view to understand what’s happening with model
- orbit your view by holding and dragging right mouse button
- pan: shift and right mouse button
- zoom: roll middle mouse button (or hold control and right mouse button while pushing or pulling mouse)
- zoom selected (brings front and center, and makes selected item the center of rotation)
- keyboard shortcut: zs (zoom selected) … zsa (zoom selected all viewports)
Gumball
- turn on and off with button at bottom of screen
- move – can be single axis by dragging on the arrows, or dual axis by dragging the small colored box
- scale – scale 1d, or scale uniformly 3d by holding shift and dragging a gumball handle
- rotate – regular or…
- it is useful to be able to line things up with grid (ortho)
- hold shift to constrain to ortho
- reset orientation of gumball by clicking white button on the widget and then selecting “align to cplane” or “align to world”
Misc
- turn off osnaps, ortho, and grid snap
- use lasso left, lasso right to select
- ctrl z to undo
Parthenon
- Use rotate command in front, top, and right viewports
- undo: CTRL Z
- redo: CTRL Y
- copy: CTRL C
- paste: CTRL V
- commands that can by typed into the command line:
- invert
- hide
- show
- lock
- unlock
- lasso left to select all touching
- lasso right to select only things within
Prof Meiser’s links for day 1 intro:
Project 4 – spring 2022
CNC Projects – Spring 2019
images of CNC cut patterns and toolpaths
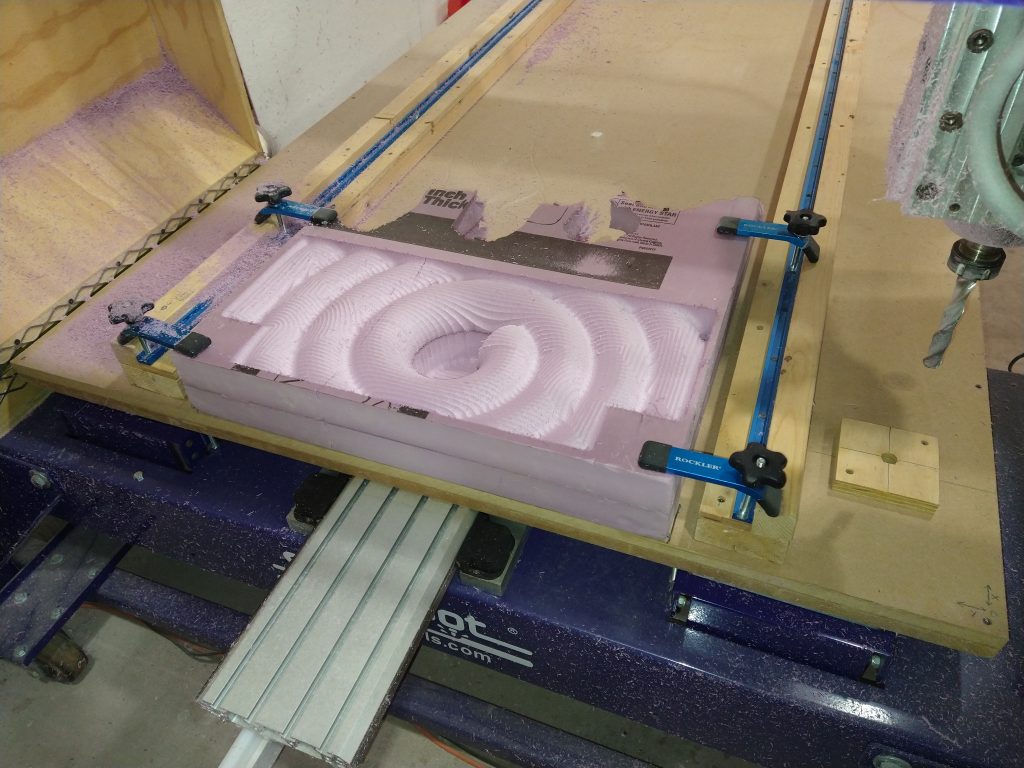
PUCK – gluing and shaping the foam layers
On fluid simulations
An old post on fluid simulations (with an outdated version of Blender): http://digitalsculpture.blogs.bucknell.edu/fluid-simulation-in-blender/
Additional youtube videos on fluid simulations: https://www.youtube.com/results?search_query=fluid+simulation+blender+cup+splash
Related – Zbrush and collision volumes: https://www.youtube.com/watch?v=nqoCyOME8Jo