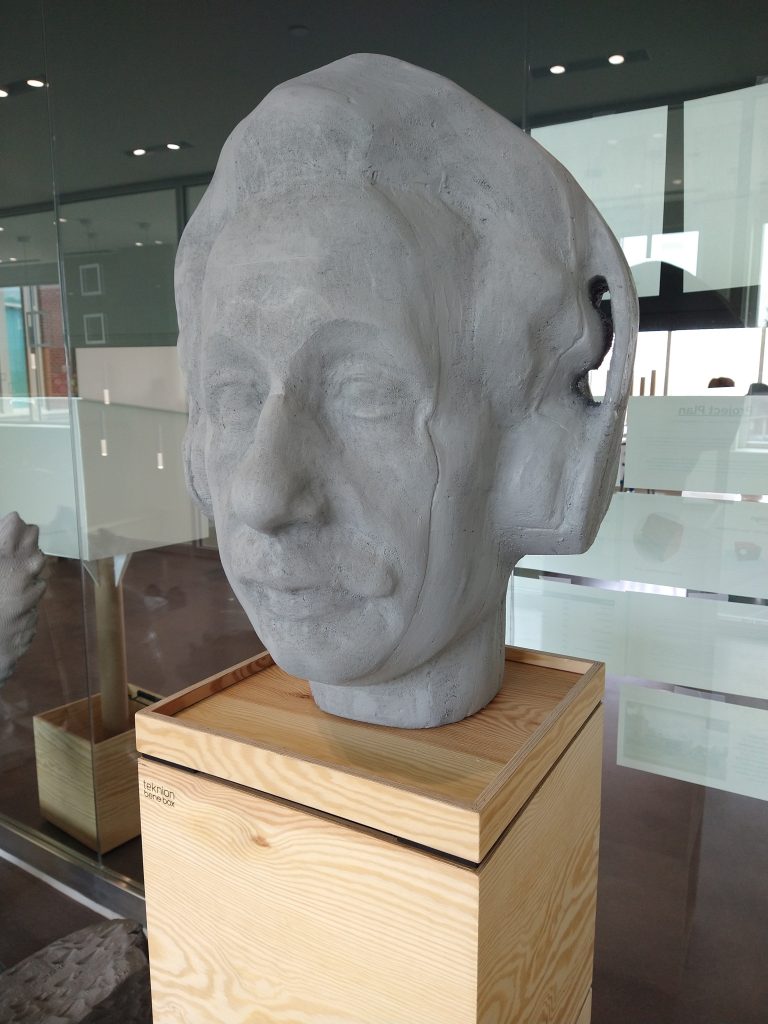
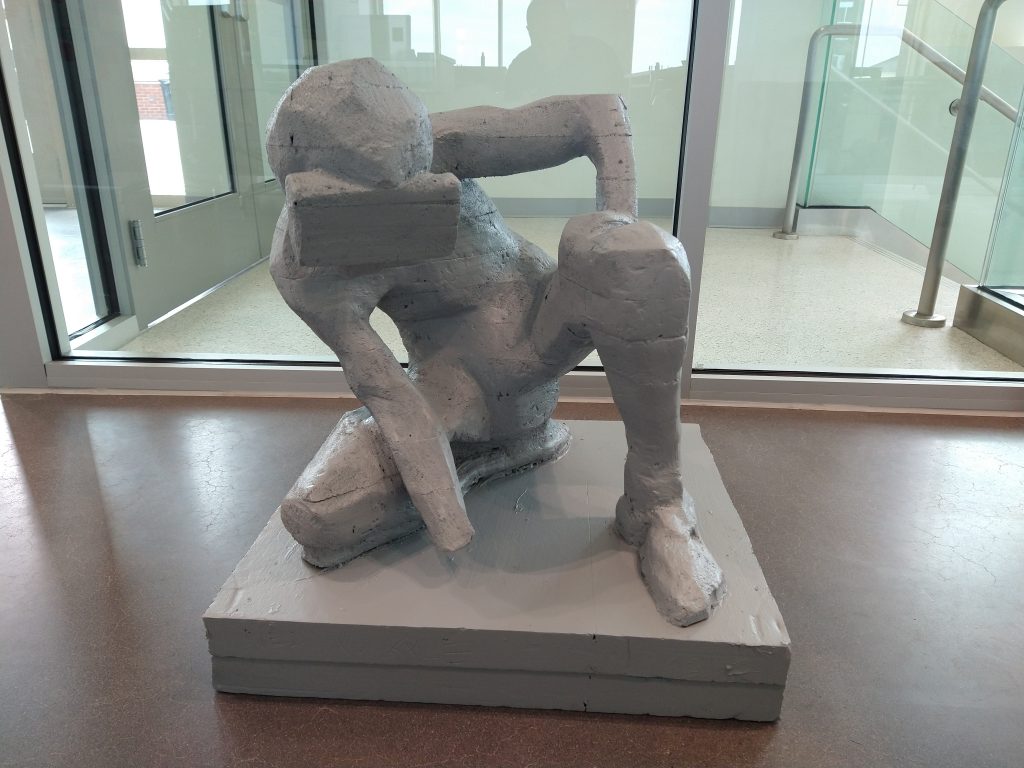
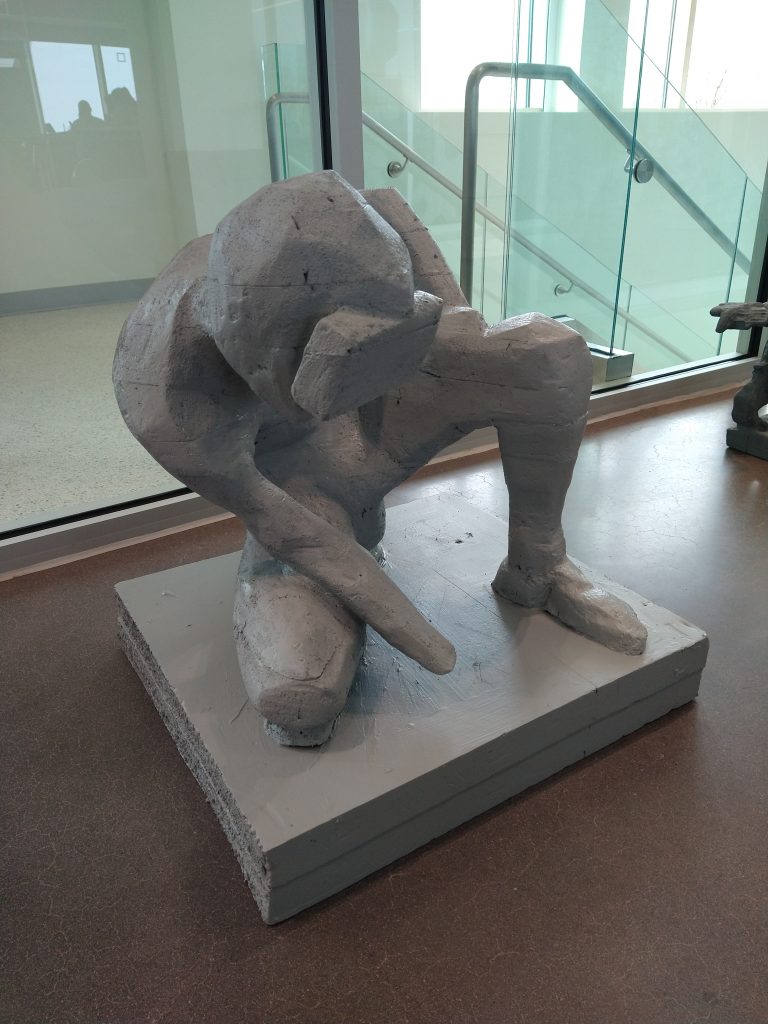
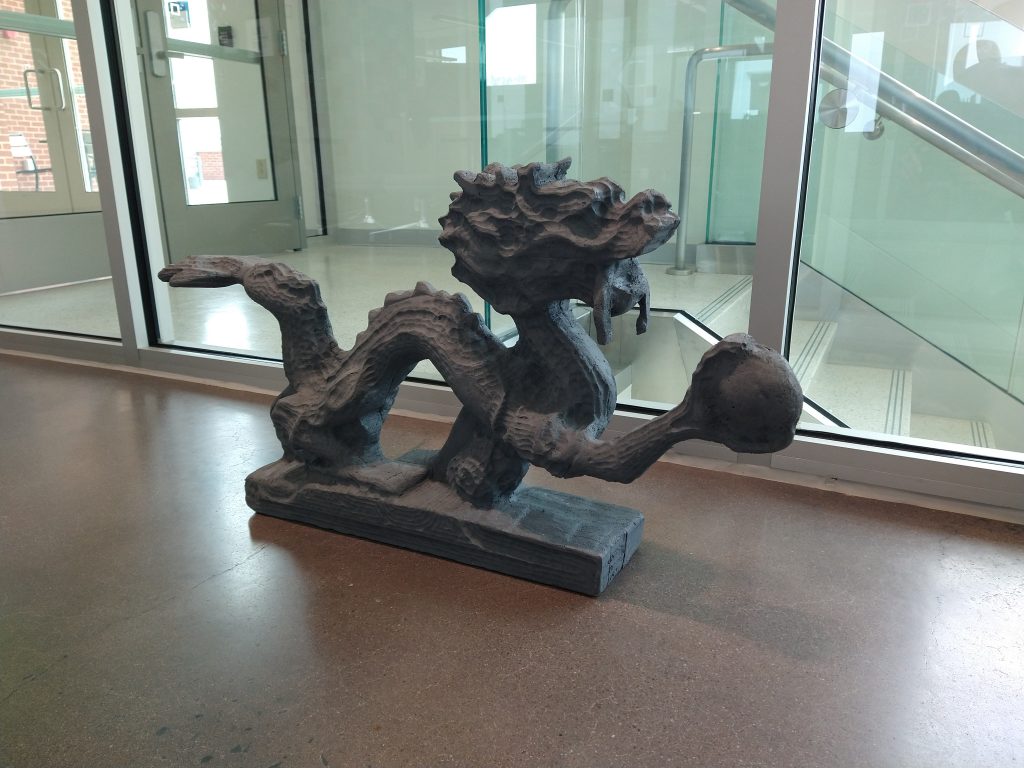
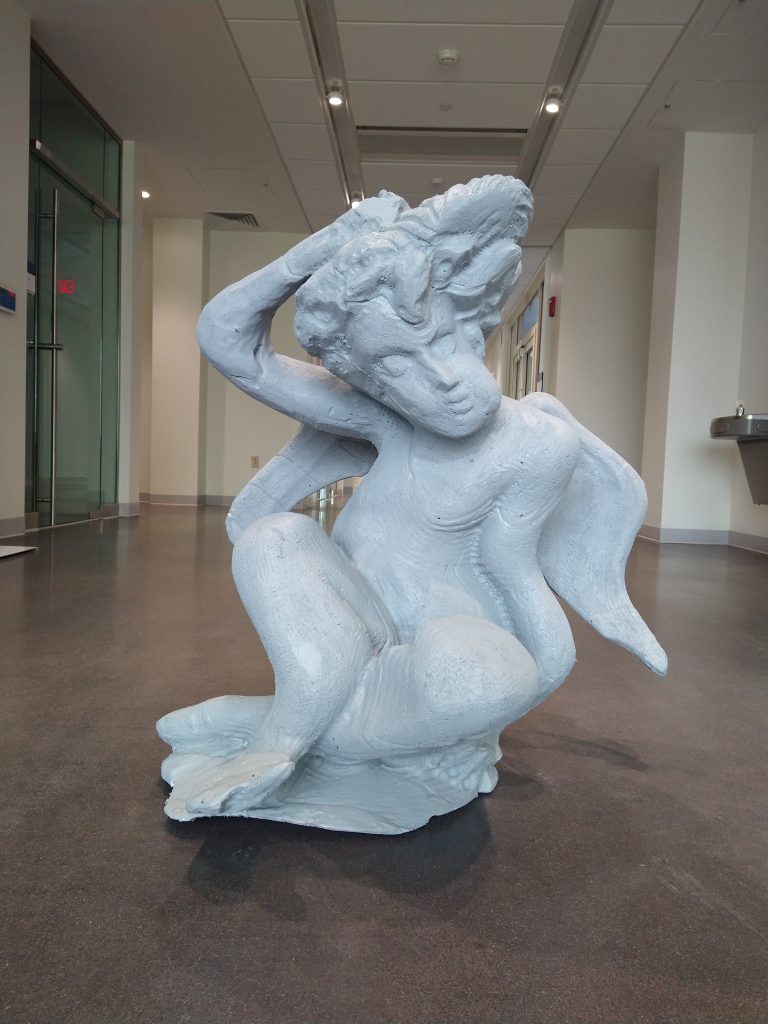
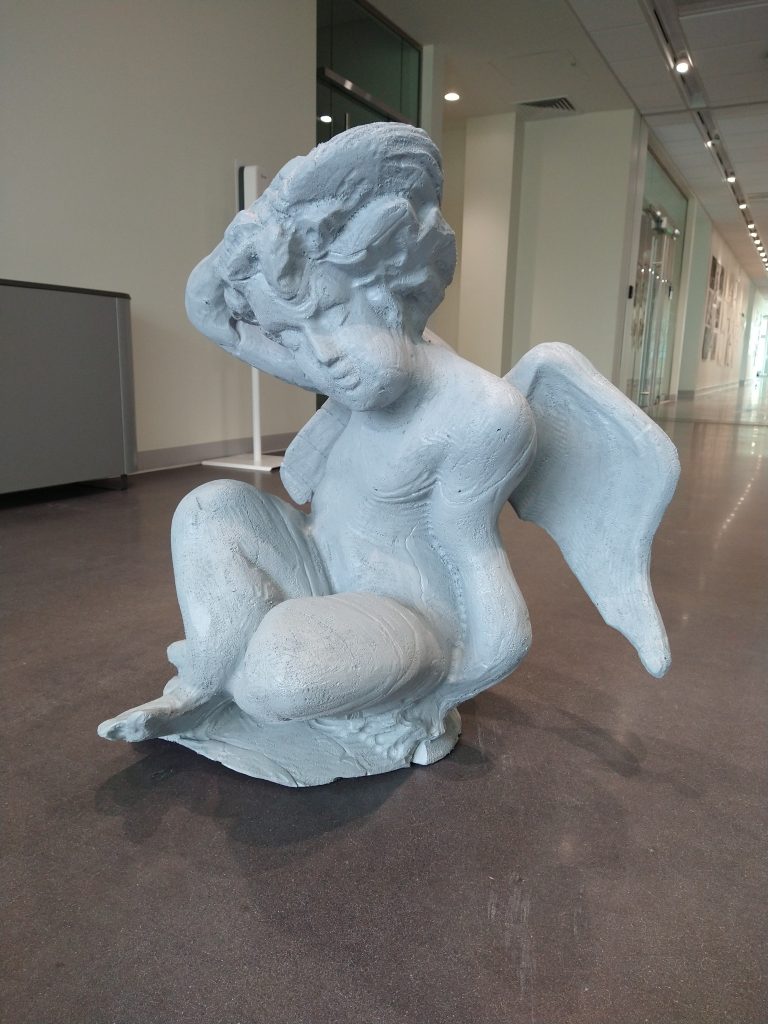
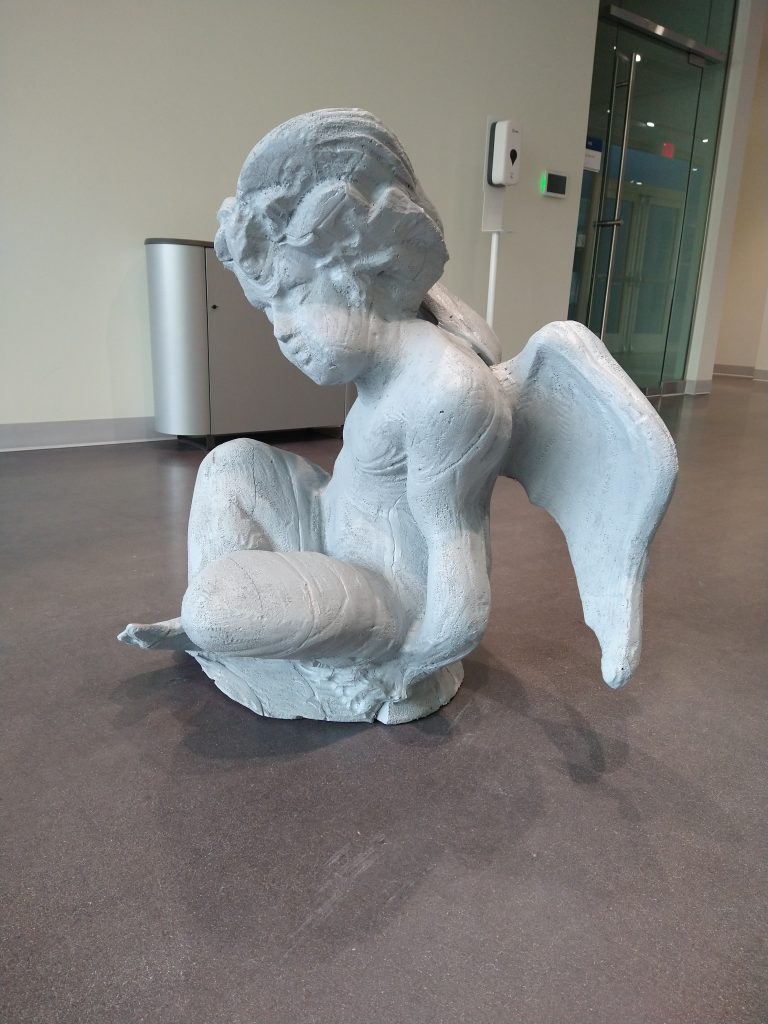
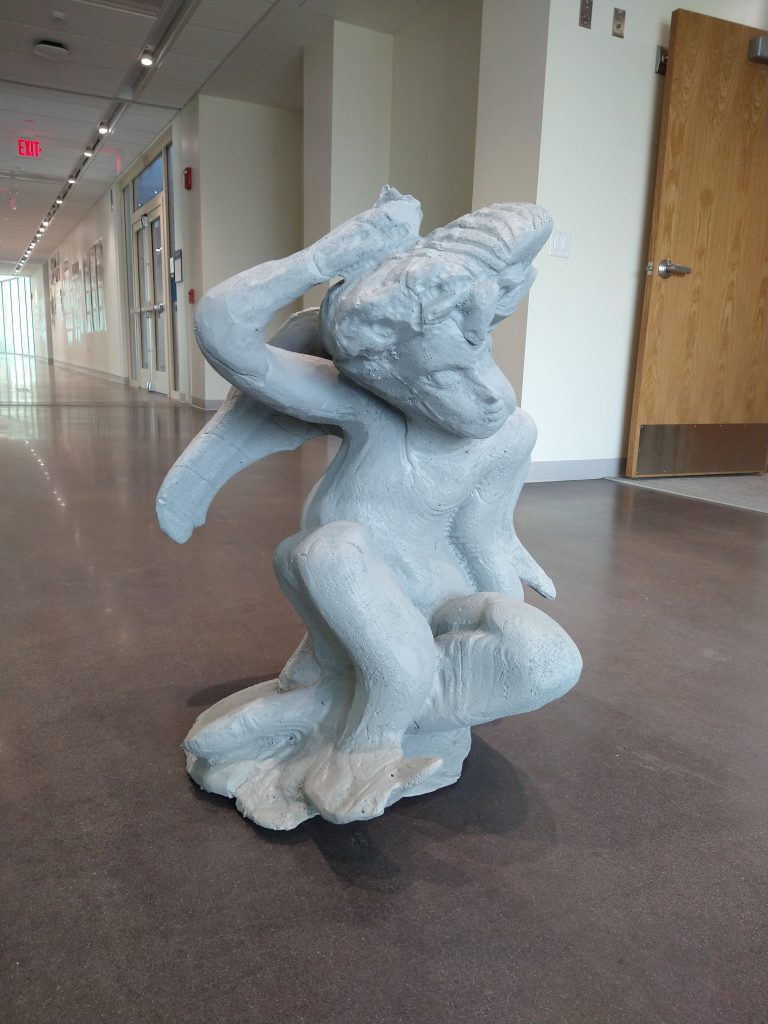
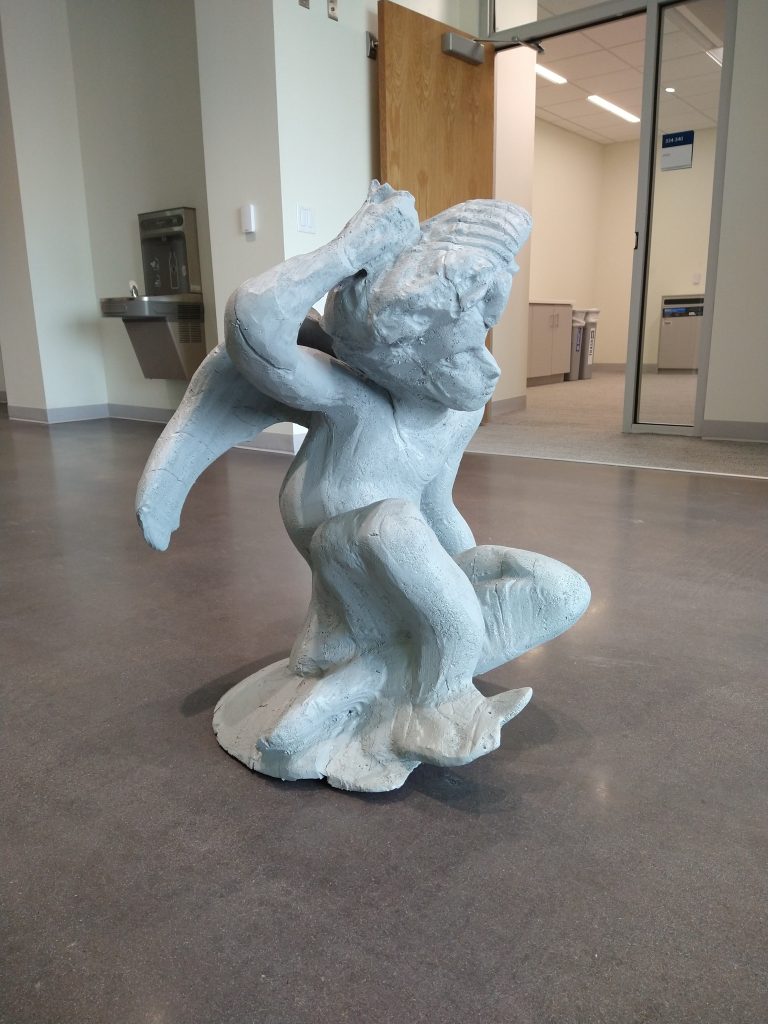
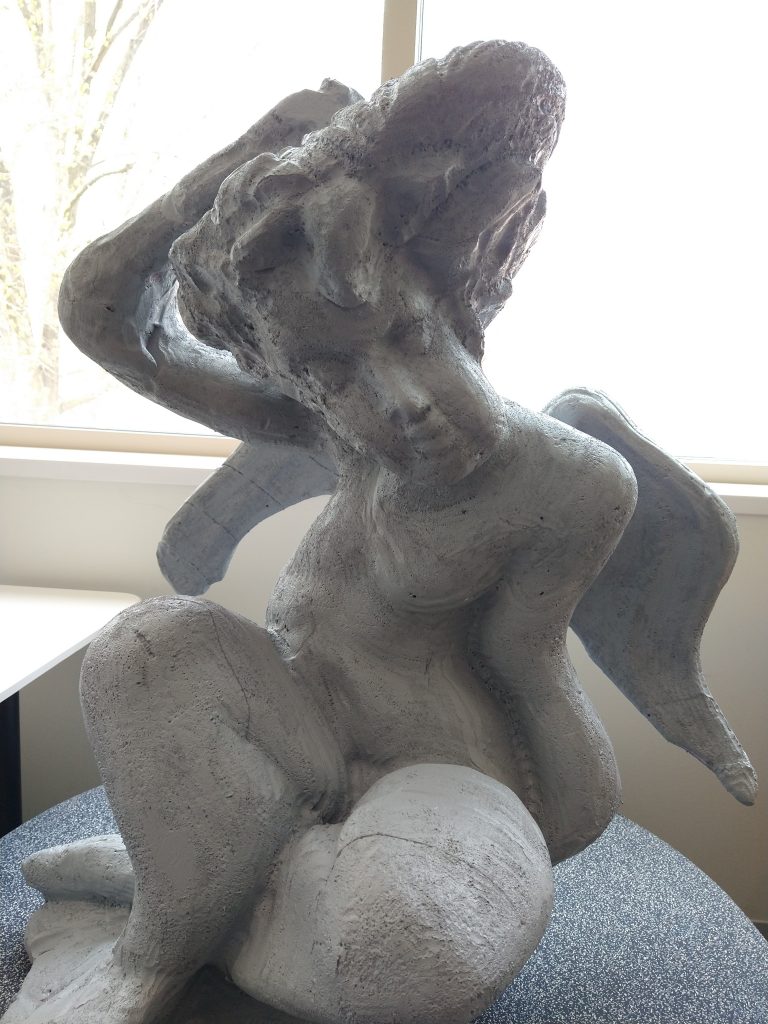
2 tips for enhancing Project 5 renders

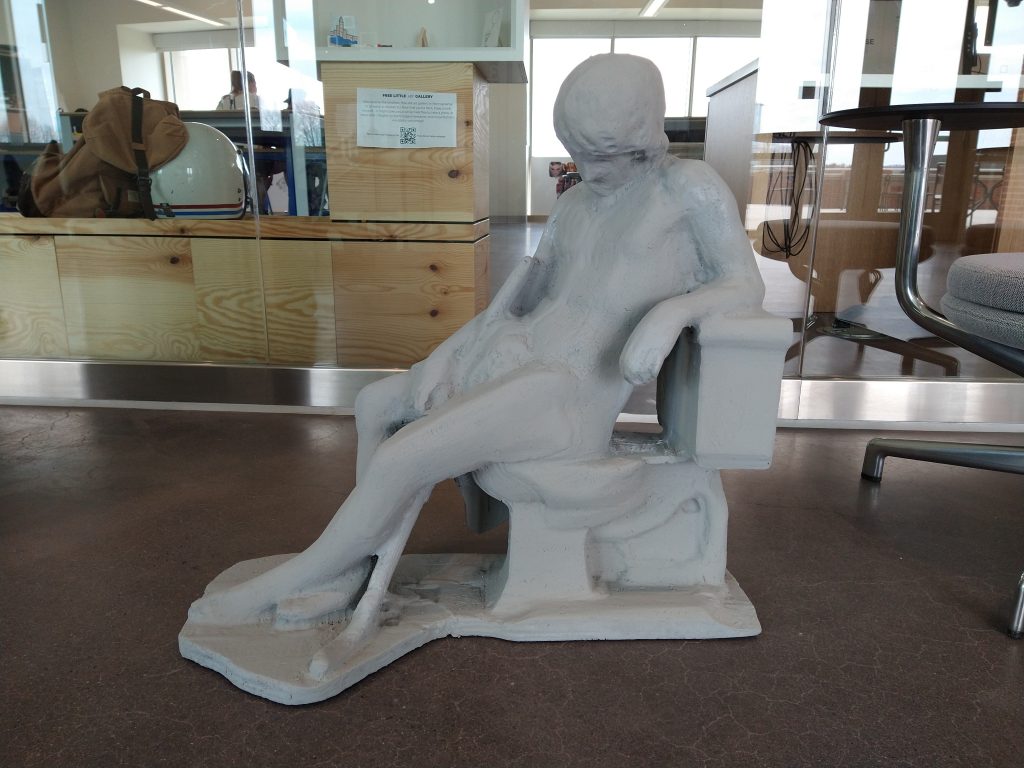
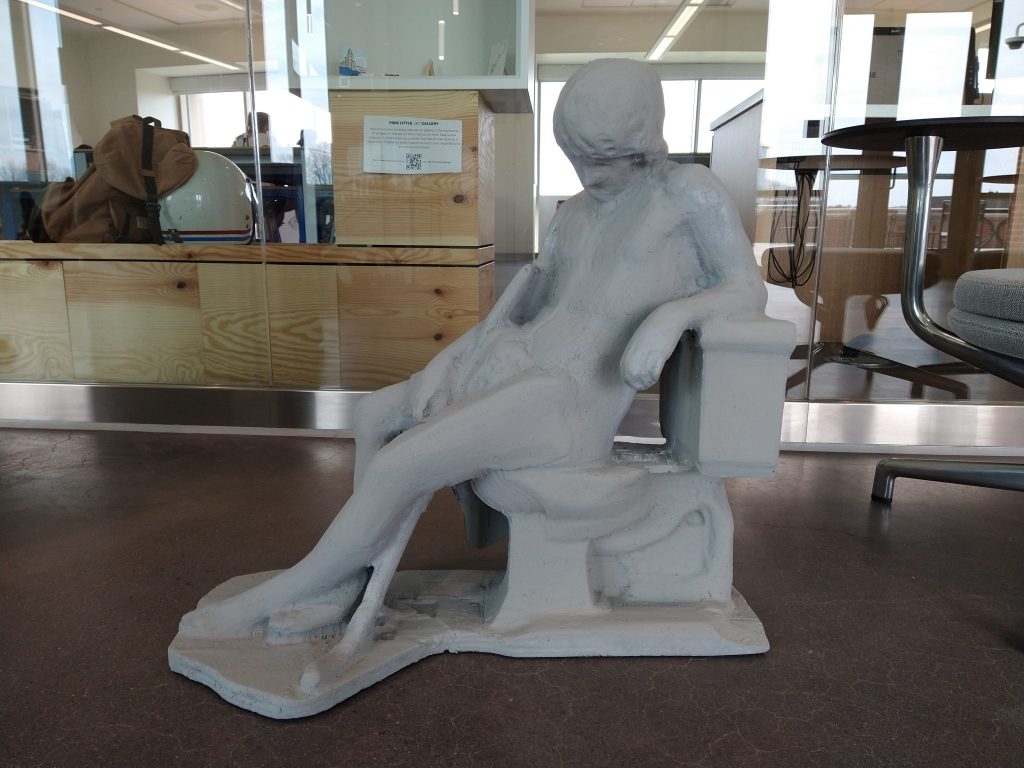
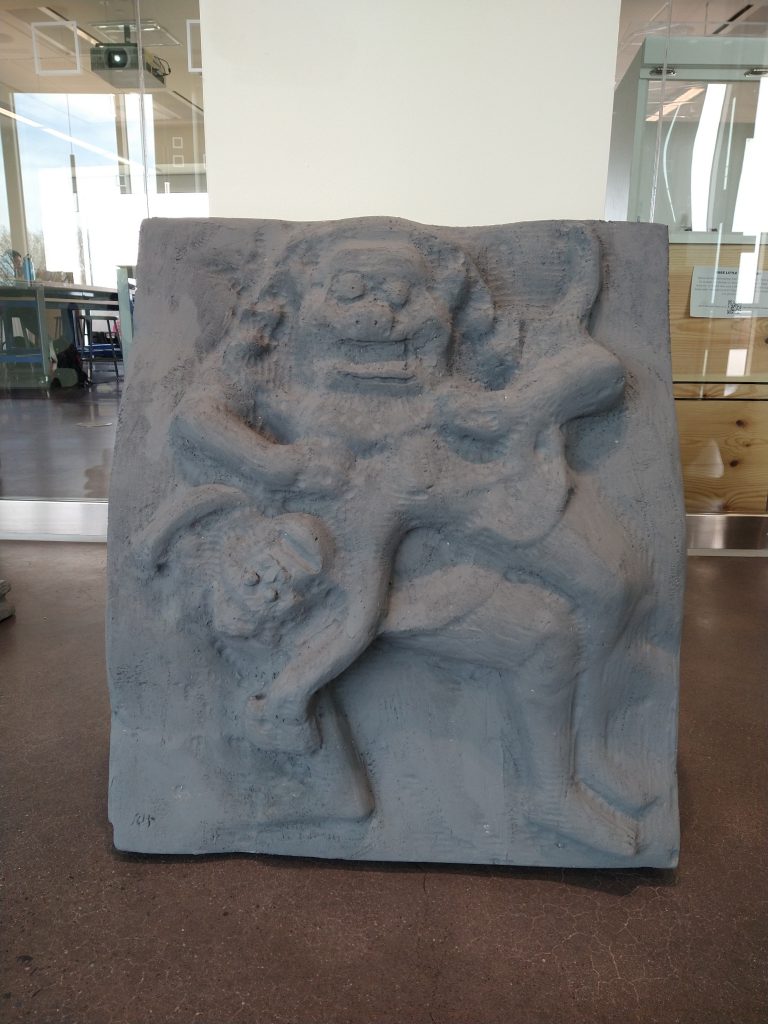
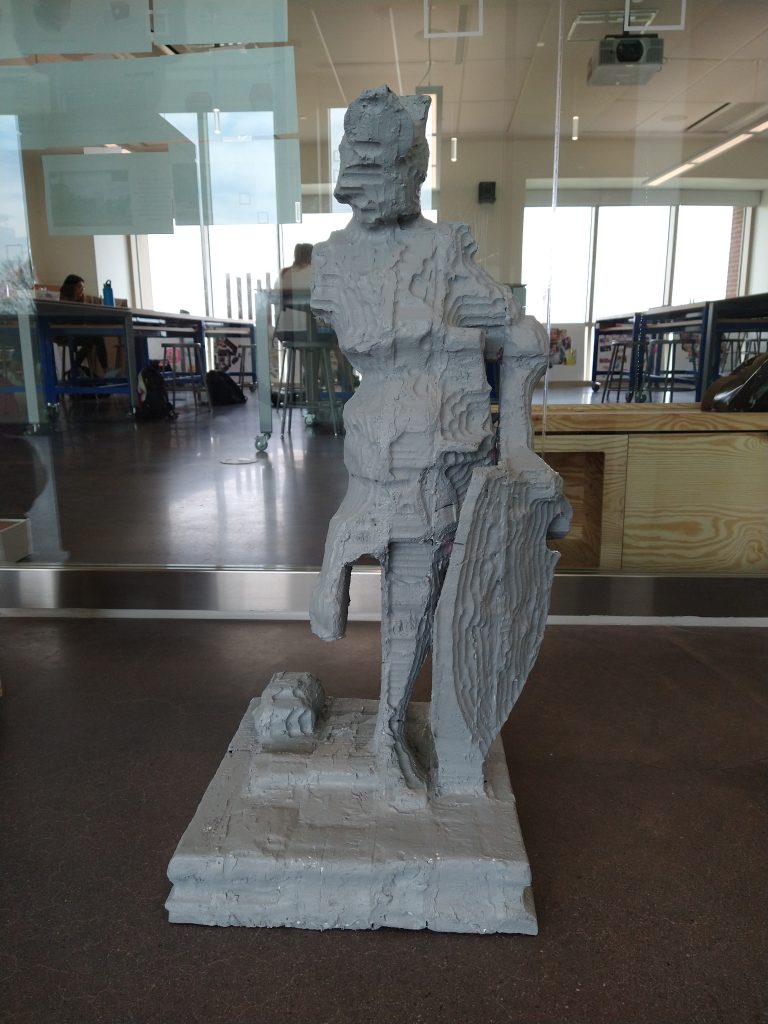
Tip #1: Use composition techniques to add visual interest to your renders.  A list of 20 effective composition techniques is included in this guide, which comes from Petapixel.com.

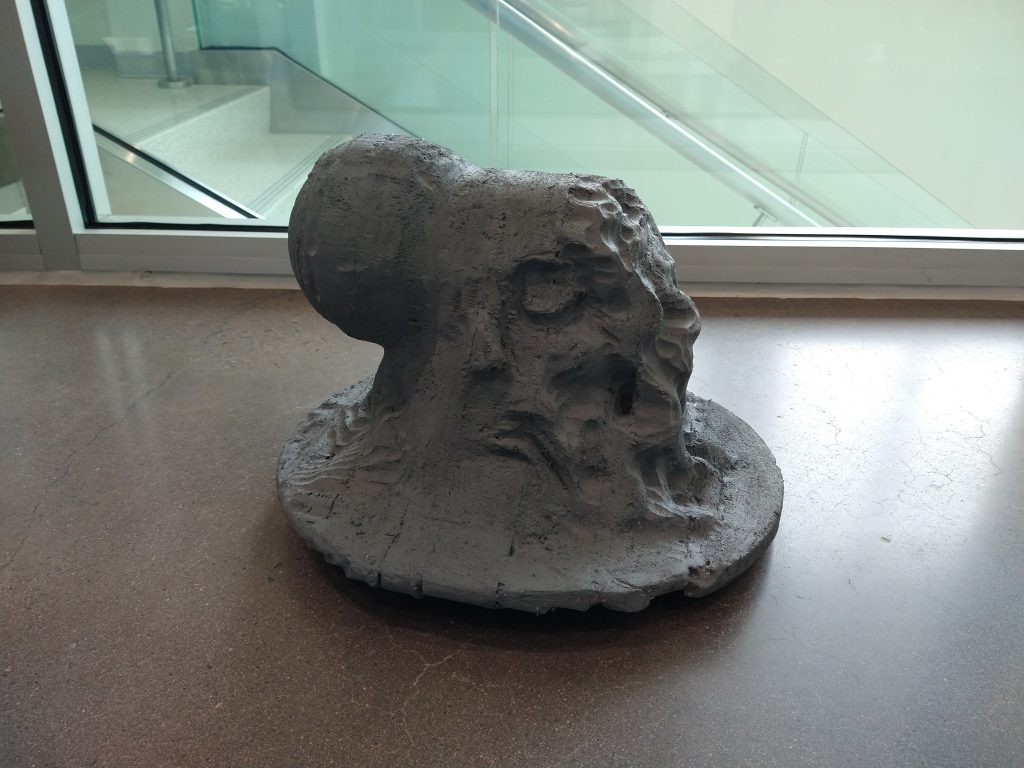
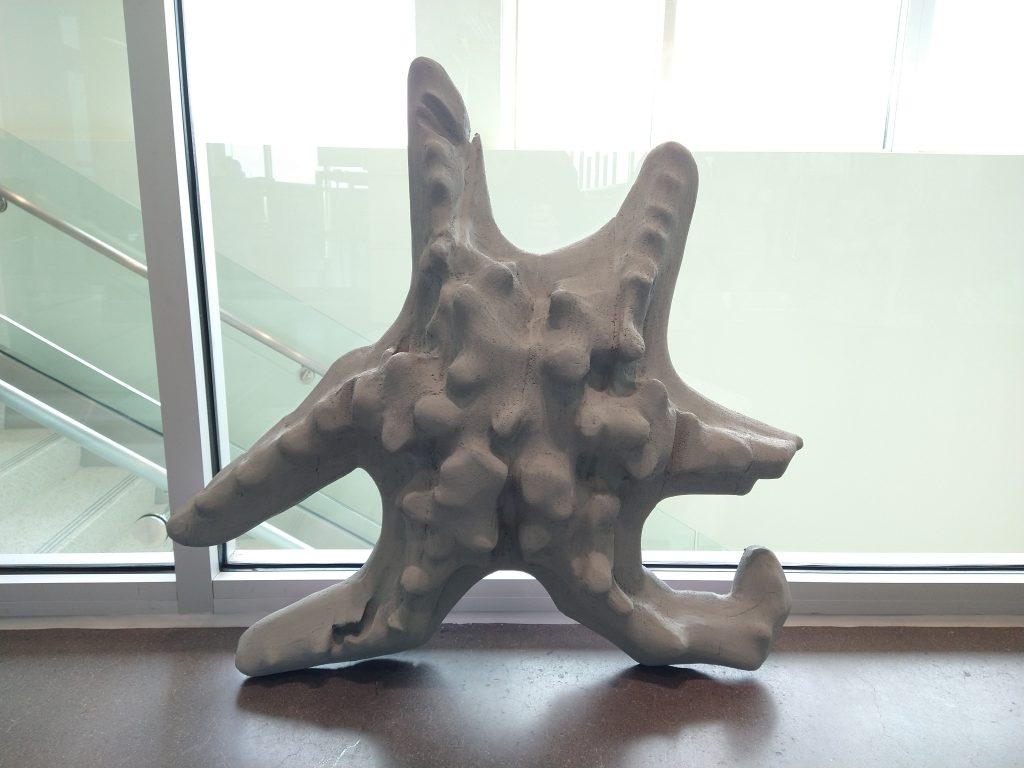
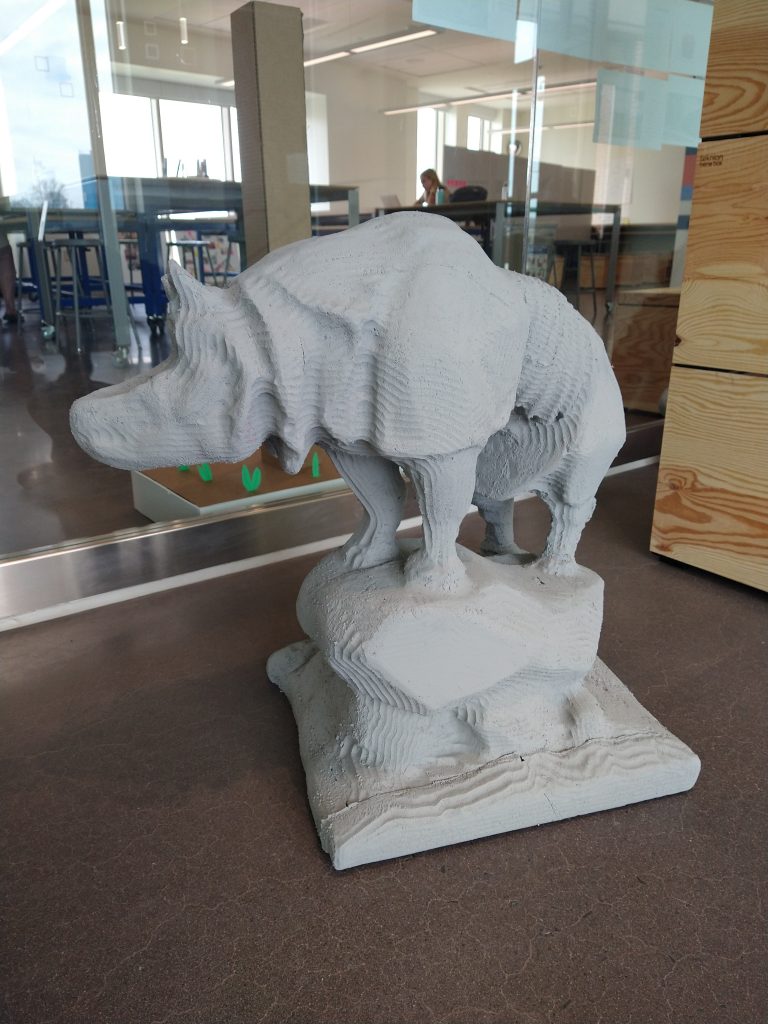
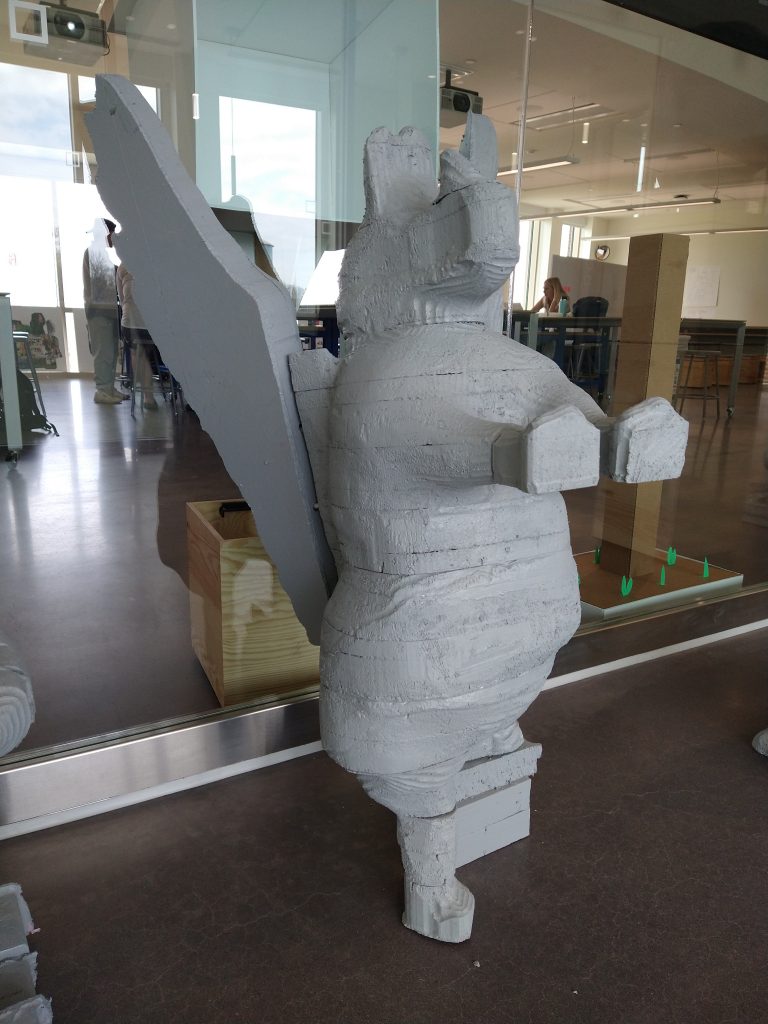
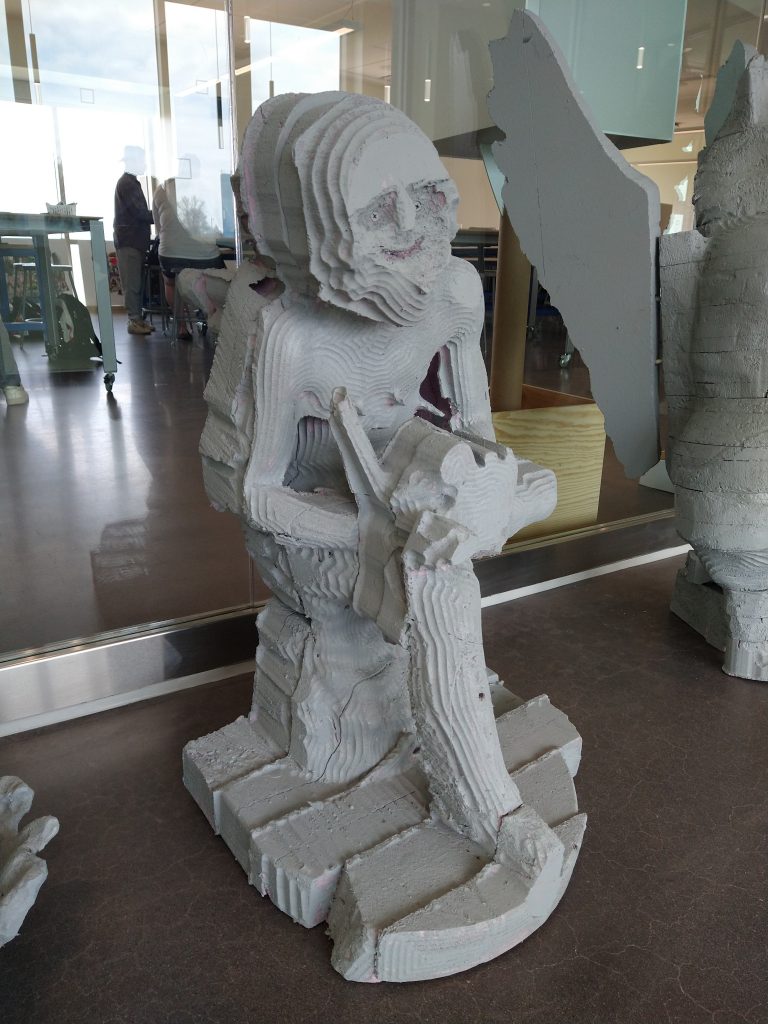
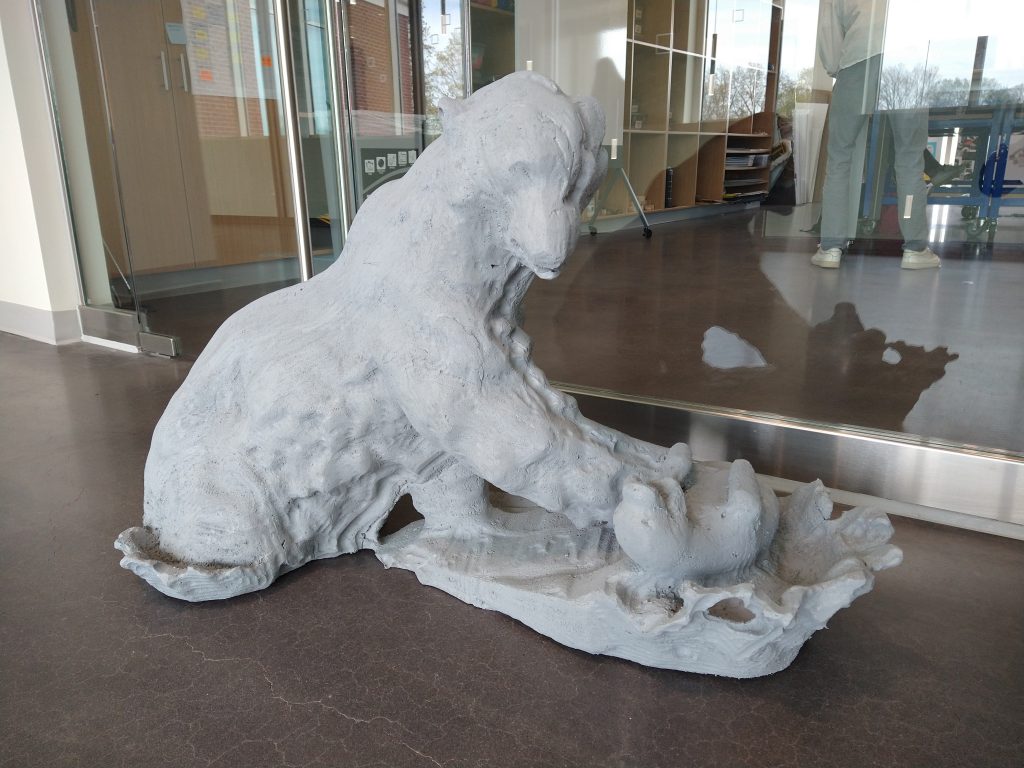
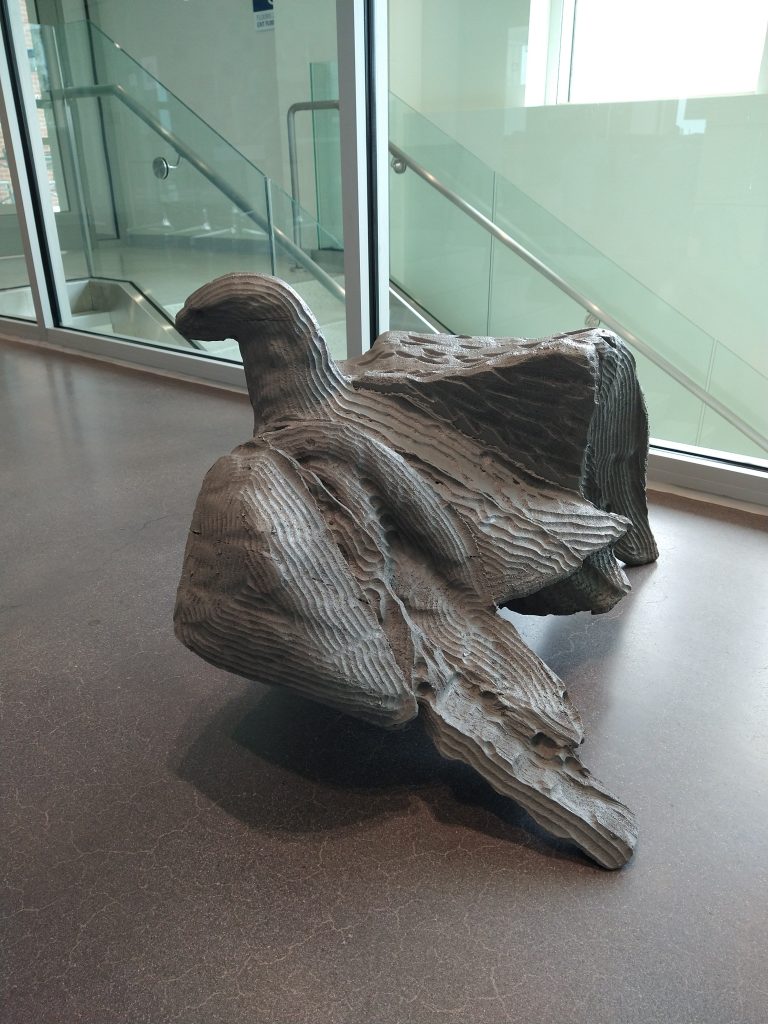
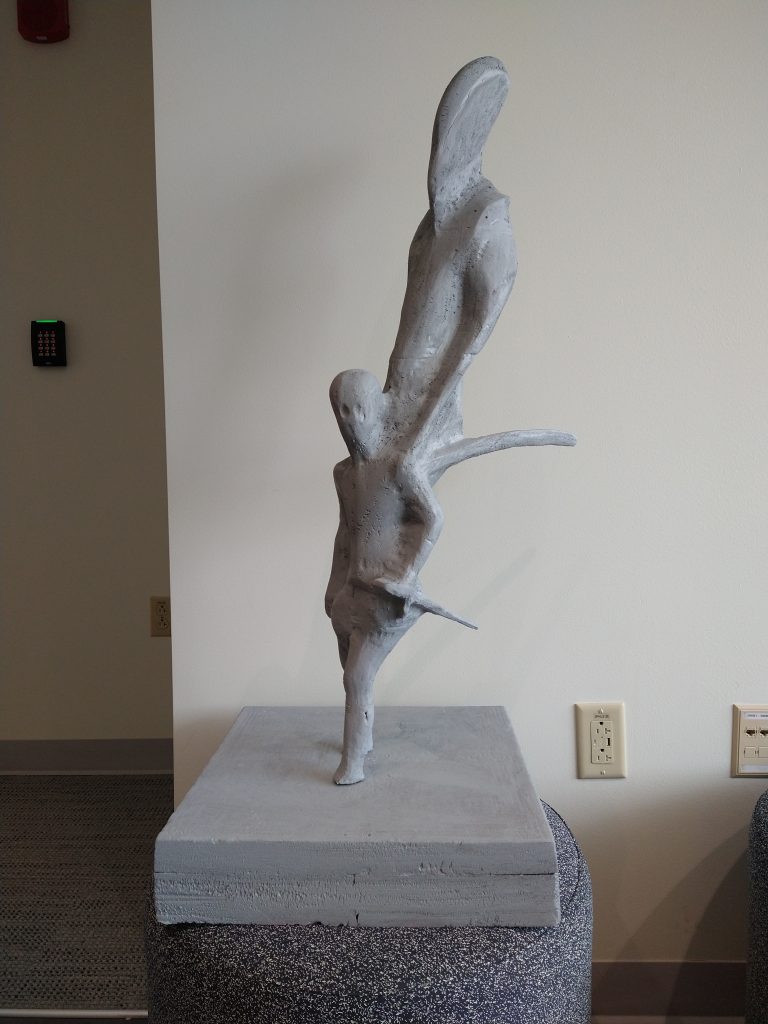
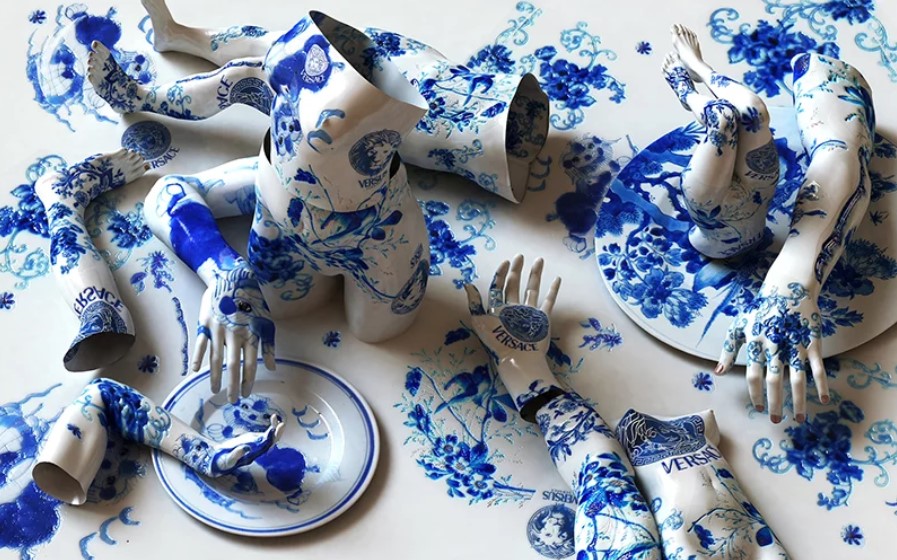
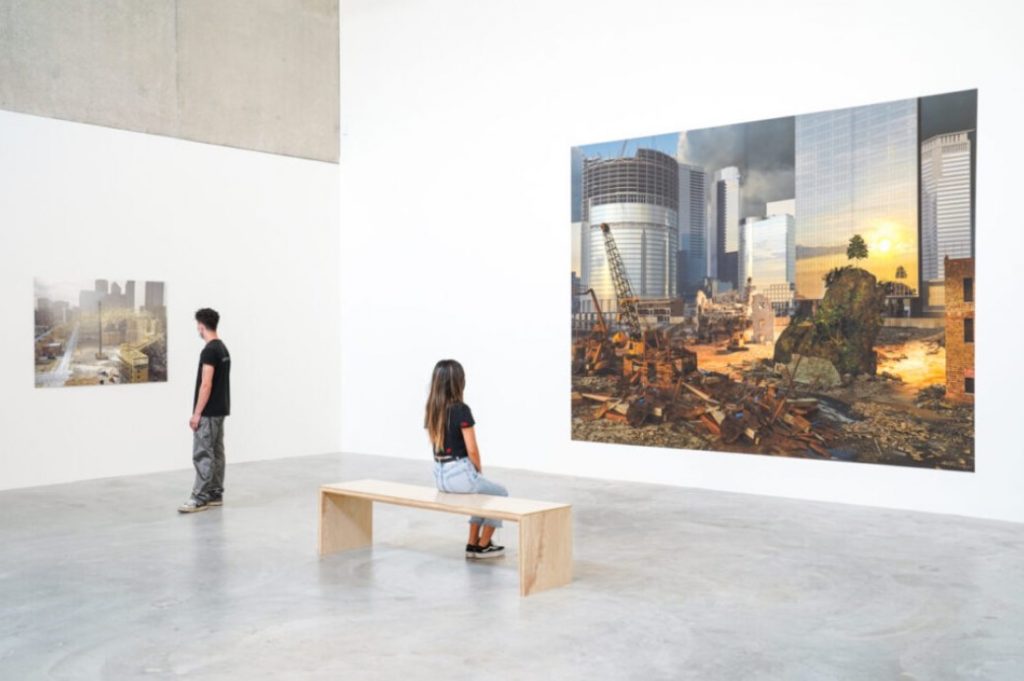
Tip #2: Consider creating a background environment for your figure and wearable art.  Even simple background geometry can add a great deal of visual interest to your project, and it can enhance your project’s concept as well.  Examples are included below.  For more, visit Simon Williamson’s website.

Published
Categorized as News

Rhino demo notes from day one

Introducing the viewport 

  • 2 types of viewports: orthogonal (eg: top, front, right, etc), and perspective
  • orthogonal: useful for measuring/certain commands
  • perspective: realistic view of form
  • only one viewport current at a time
  • double click viewport name to maximize/minimize
  • various viewing modes are available by right clicking viewport name (shaded, wireframe, rendered)
  • 4 viewport layout can be customized by dragging
  • 4 viewport layout can be reset by clicking the small icon at the top of the screen
  • the command line provides feedback as you work > if the program freezes check the command line (use escape key to exit a command that is in progress)

Navigating viewports with pan, zoom, rotate 

  • it’s important to constantly change your view to understand what’s happening with model
  • orbit your view by holding and dragging right mouse button
  • pan: shift and right mouse button
  • zoom: roll middle mouse button (or hold control and right mouse button while pushing or pulling mouse)
  • zoom selected (brings front and center, and makes selected item the center of rotation)
  • keyboard shortcut: zs (zoom selected) … zsa (zoom selected all viewports)

Gumball

  • turn on and off with button at bottom of screen
  • move – can be single axis by dragging on the arrows, or dual axis by dragging the small colored box
  • scale – scale 1d, or scale uniformly 3d by holding shift and dragging a gumball handle
  • rotate – regular or…
    • it is useful to be able to line things up with grid (ortho)
    • hold shift to constrain to ortho
  • reset orientation of gumball by clicking white button on the widget and then selecting “align to cplane” or “align to world”

Misc

  • turn off osnaps, ortho, and grid snap
  • use lasso left, lasso right to select
  • ctrl z to undo

Parthenon

  • Use rotate command in front, top, and right viewports
  • undo: CTRL Z
  • redo: CTRL Y
  • copy: CTRL C
  • paste: CTRL V
  • commands that can by typed into the command line:
    • invert
    • hide
    • show
    • lock
    • unlock
  • lasso left to select all touching
  • lasso right to select only things within


Prof Meiser’s links for day 1 intro:

1, 2, 3, 4, 5, 6, 7, 8, 9

Published
Categorized as News

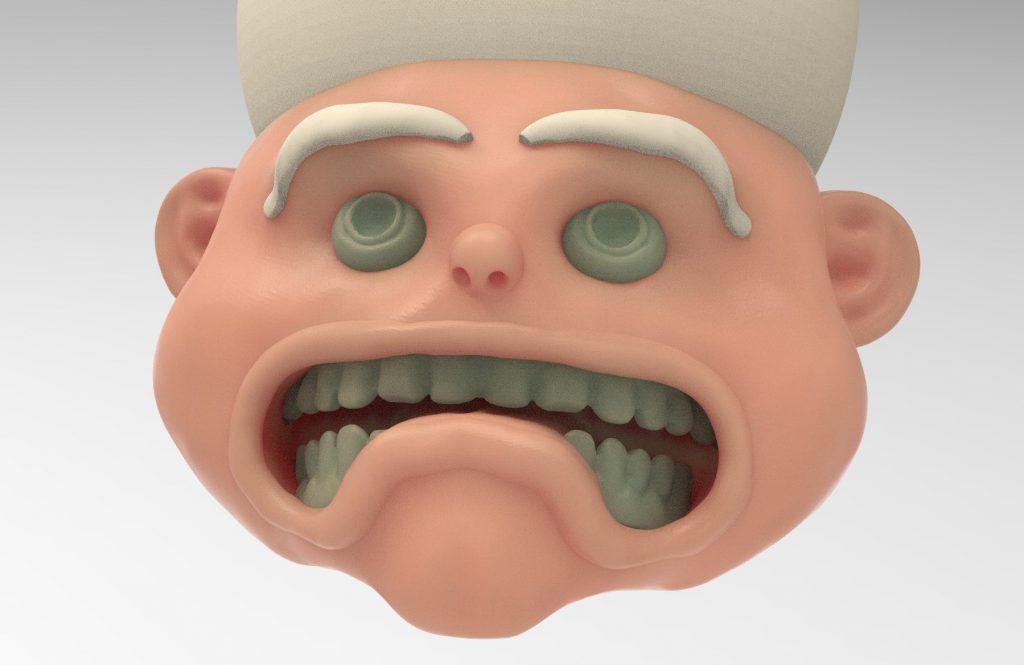
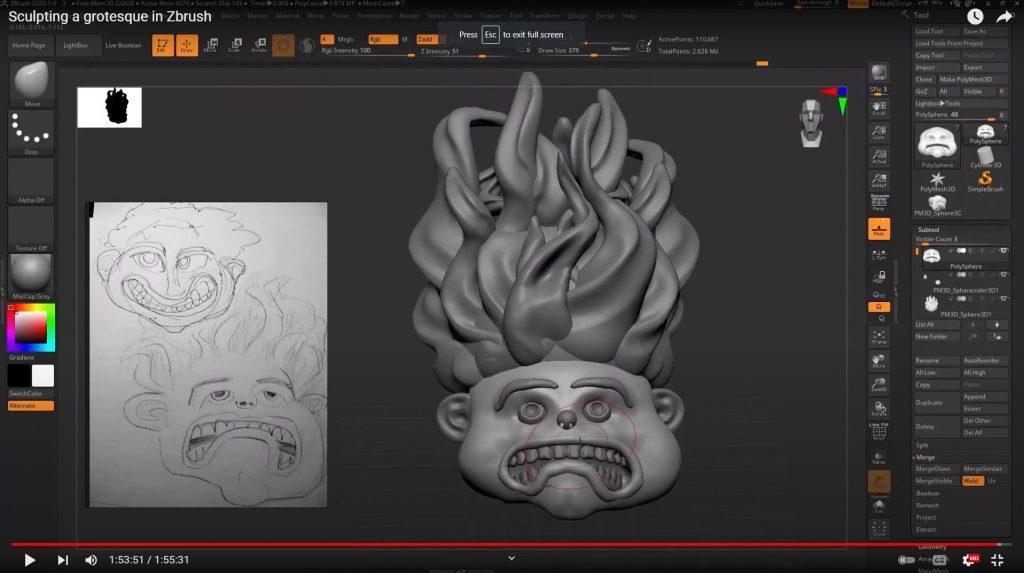
Sculpt a grotesque in Zbrush

“Since at least the 18th century (in French and German as well as English), grotesque has come to be used as a general adjective for the strange, mysterious, magnificent, fantastic, hideous, ugly, incongruous, unpleasant, or disgusting, and thus is often used to describe weird shapes and distorted forms such as Halloween masks. In art, performance, and literature, however, grotesque may also refer to something that simultaneously invokes in an audience a feeling of uncomfortable bizarreness as well as sympathetic pity.” (from Wikipedia)

Google image search of “grotesques”.

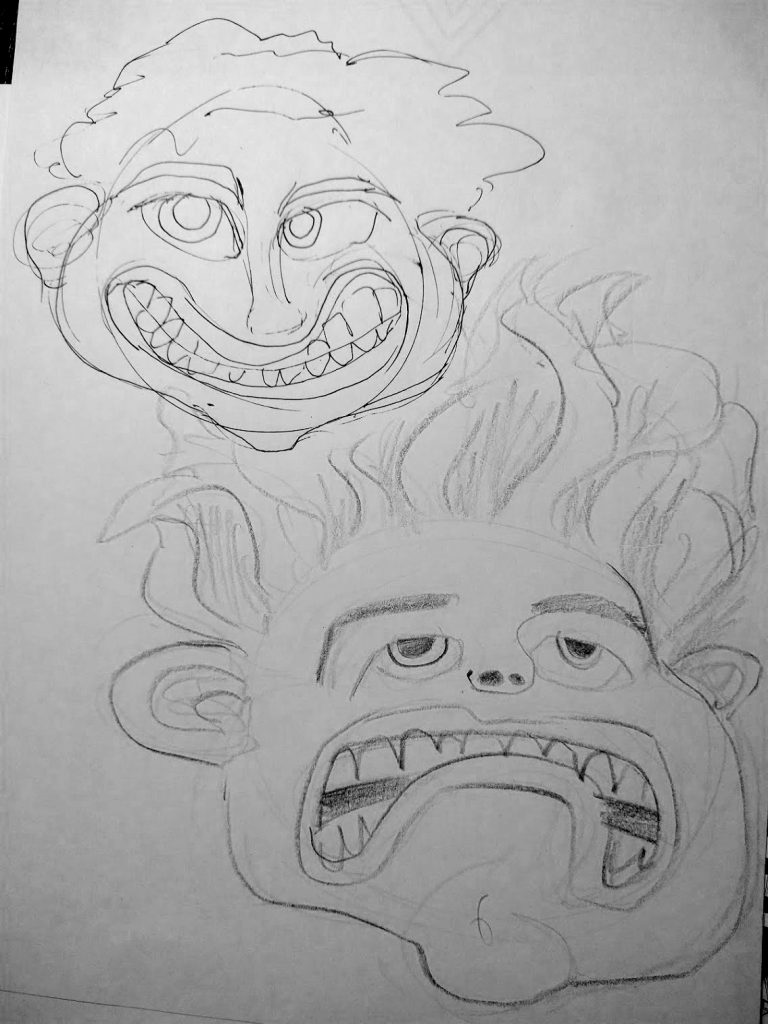
Step 1) Draw a few sketches of grotesque faces.

Step 2) Watch Prof Meiser’s youtube introductory video on how to sculpt in Zbrush, and the video on making an example grotesque face.

Step 3) Sculpt a grotesque face of your own in Zbrush.

Upload images of your sketches and finished Zbrush sculpt to the PUBLIC class website.

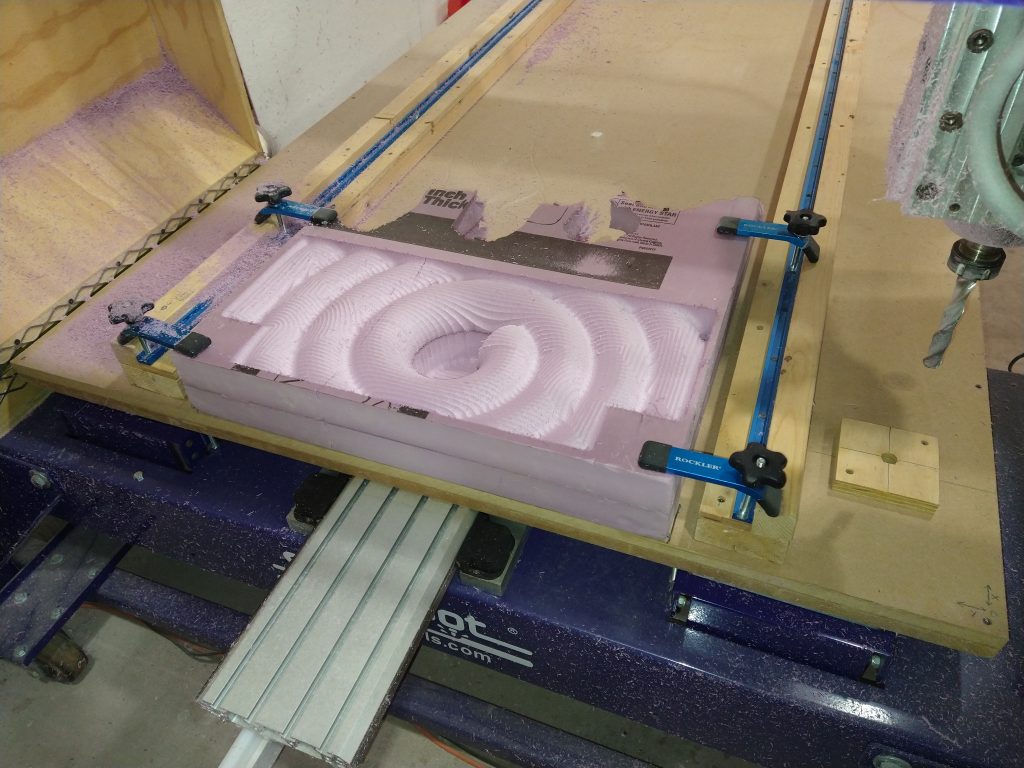
PUCK – gluing and shaping the foam layers

Published
Categorized as Misc., News