To streamline your workflow and create good clean geometry that can be successfully 3D printed, do the following when modeling in Rhino:
Design in millimeters. If you model in inches you’ll have to deal with fractions, which can be cumbersome. Millimeters are easier. Also, the software we’ll use to create the 3d printing toolpath works with millimeters, so modeling in millimeters will streamline the export/import process.
Use osnaps when modeling to ensure that surfaces are properly joined.
Model with solids instead of open polysurfaces whenever possible.
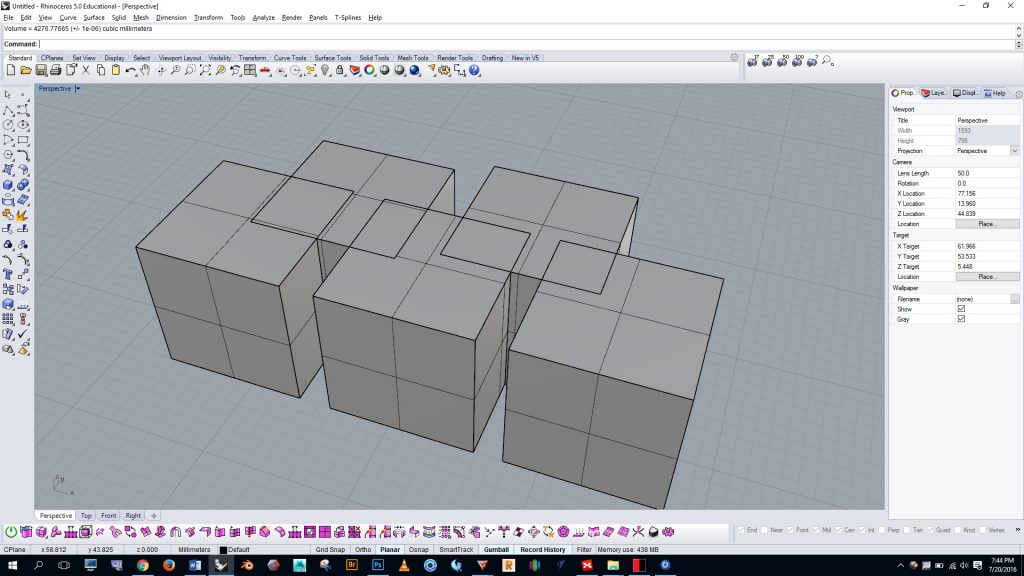
Merge coplanar surfaces. 3D printing programs sometimes get confused by adjacent unmerged surfaces in the same plane. Here’s an example to illustrate:
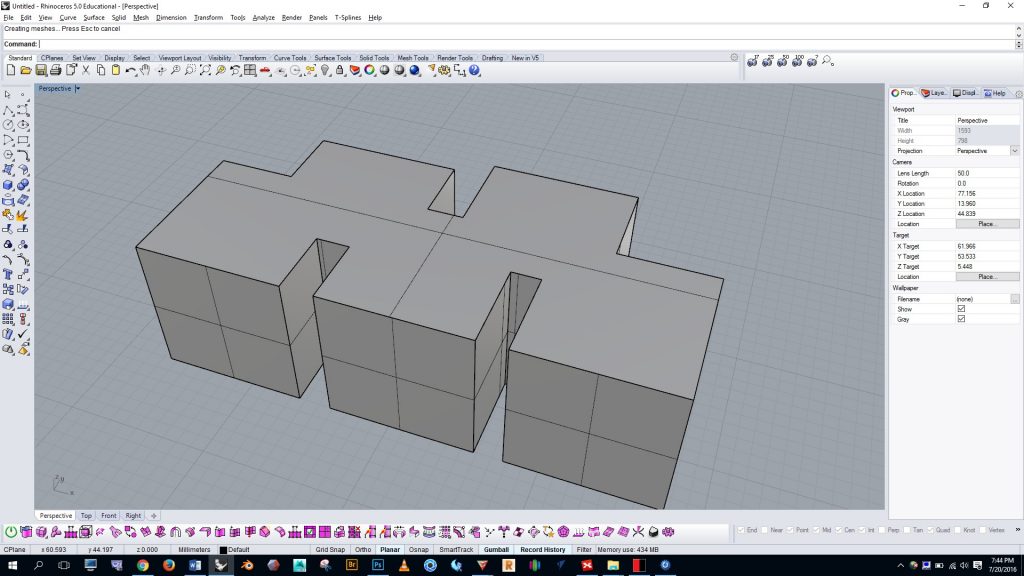
The example above is made of cubes of the same height that were overlapped and joined with boolean union, and the form is now one single solid. Notice, however, that top of the form still shows the edges from the separate cubes. To unify the top faces we can run the “mergeallfaces” command, and the result is below. This form will print successfully.

