To 3D print effectively, your part must be a closed solid. Another word that is used interchangeably with solid is watertight. A watertight part is closed along every edge and face. A watertight part would not leak if filled with (virtual) water. If there are openings in your part — even very small openings — the 3D printing software will get confused about where the boundary should be between the inside and outside of your part. Confused 3D printers do strange and undesirable things.
There are a few ways to check to see if a part is a watertight solid:
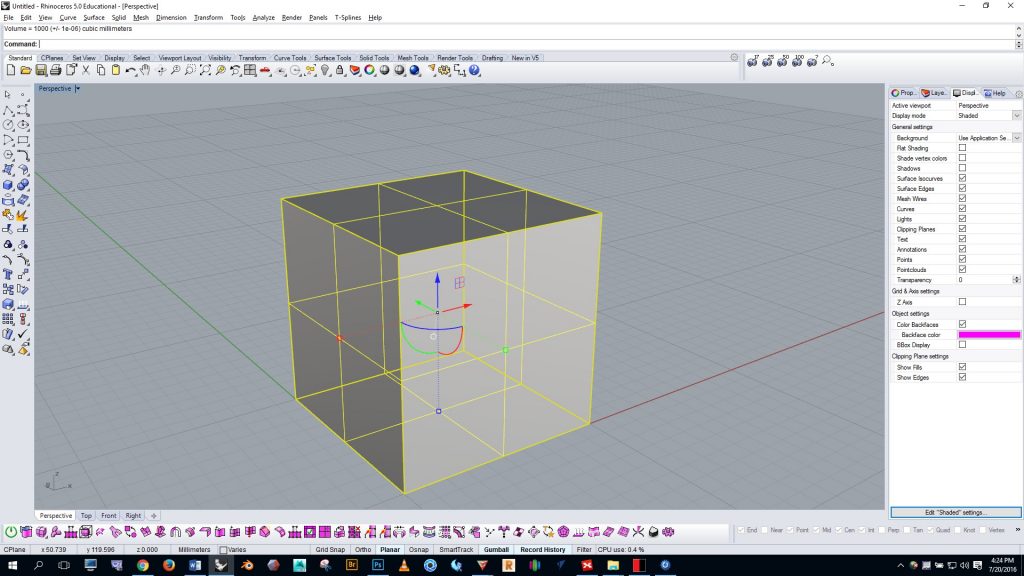
1) Run the volume command. Select your part and run the “volume” command. If a volume is displayed in the command line (as shown below) then your part is solid.
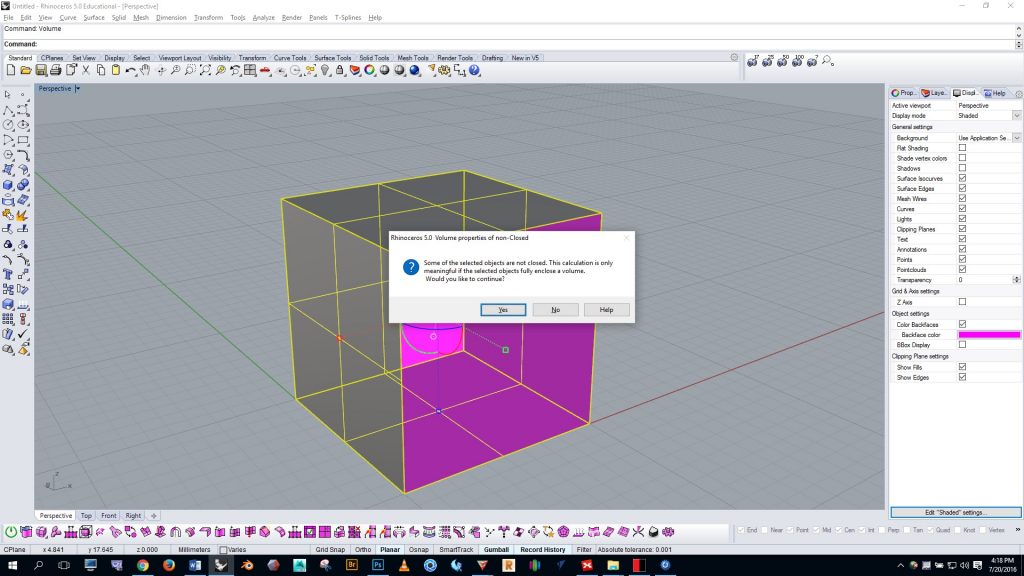
If, however, an error message pops up (as shown below) then your part is open.
2) Run the “what” command. Type “what” in the command line. Read the box that pops up. Look for the terms “closed solid polysurface” or “closed polygon mesh”. If, however, your part is described simply as a “valid polysurface” or an “open polygon mesh” then your part is open.
3) Selecting specific types of geometry. You can also run the “selopenmesh”, “selopenpolysrf”, “selclosedmesh”, “selclosedpolysrf” commands to select specific open or closed geometry.
If your part is open you can locate the problem area(s) by doing the following:
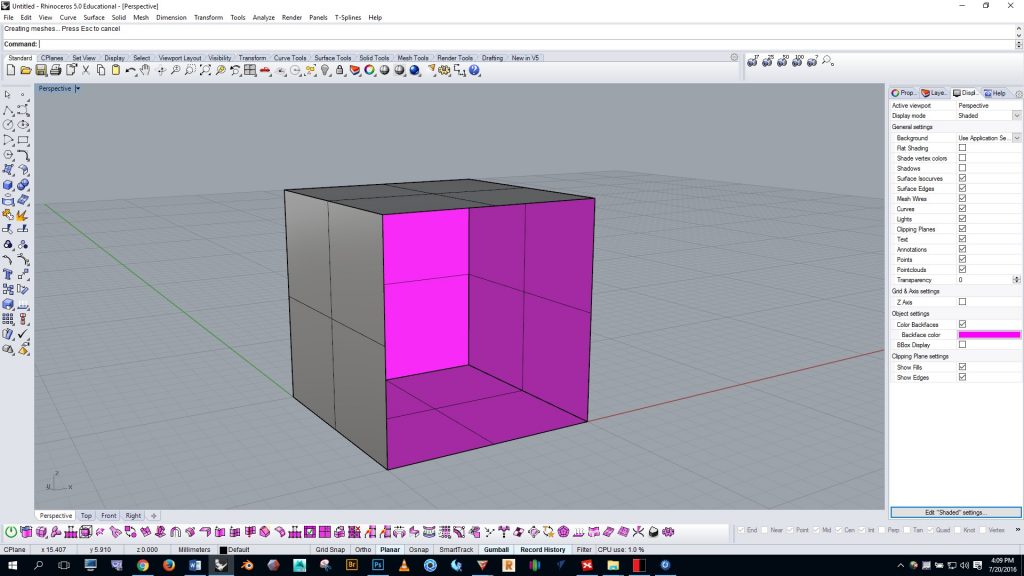
1) Adjust the display options. Change the display options in Rhino to color backfaces and choose a bright color. This will help you see where the openings are in the part. Notice in the image below how the open interior of the model becomes bright pink.
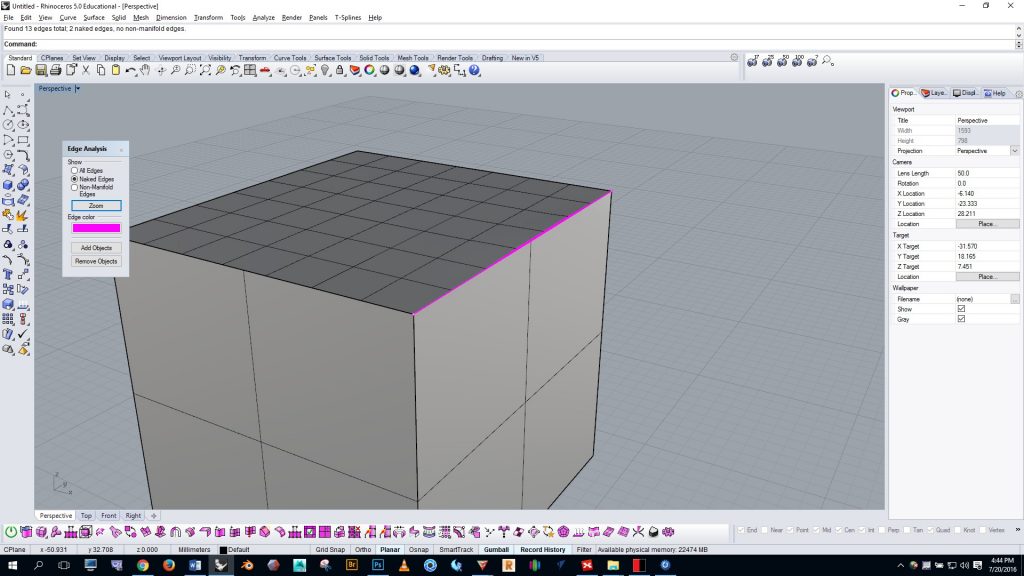
2) Find naked edges. Run the “showedges” command and select “naked edges”. This will turn naked unjoined edges bright pink (as shown below). For complex models it’s helpful to turn wireframe viewing mode on when using this command– this will help you find the naked edges more easily.
To close an open NURBS polysurface, you can try the following:
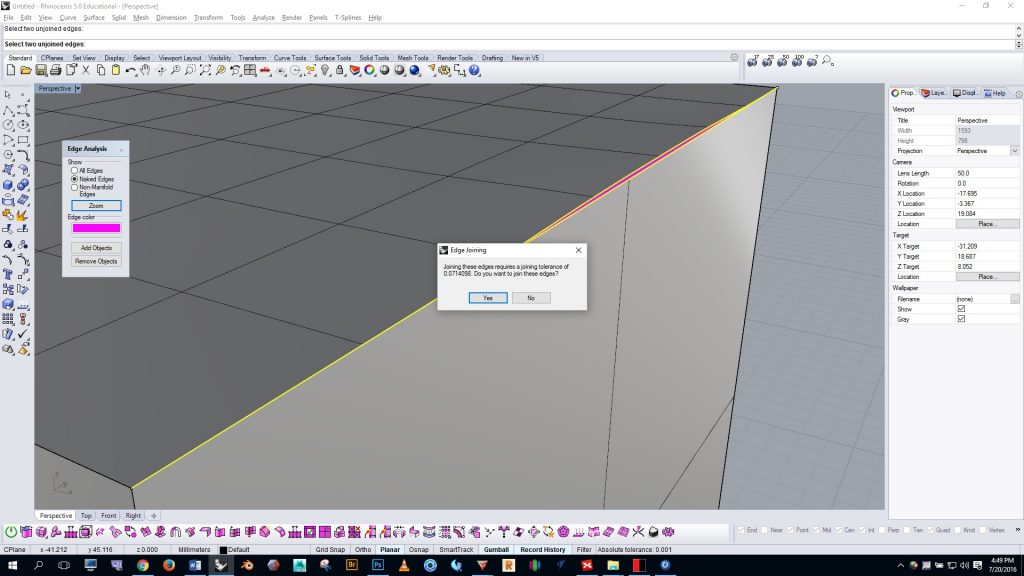
1) Run the join edge command. Use the “joinedge” command to join edges that are close but not fully touching. (as shown below)
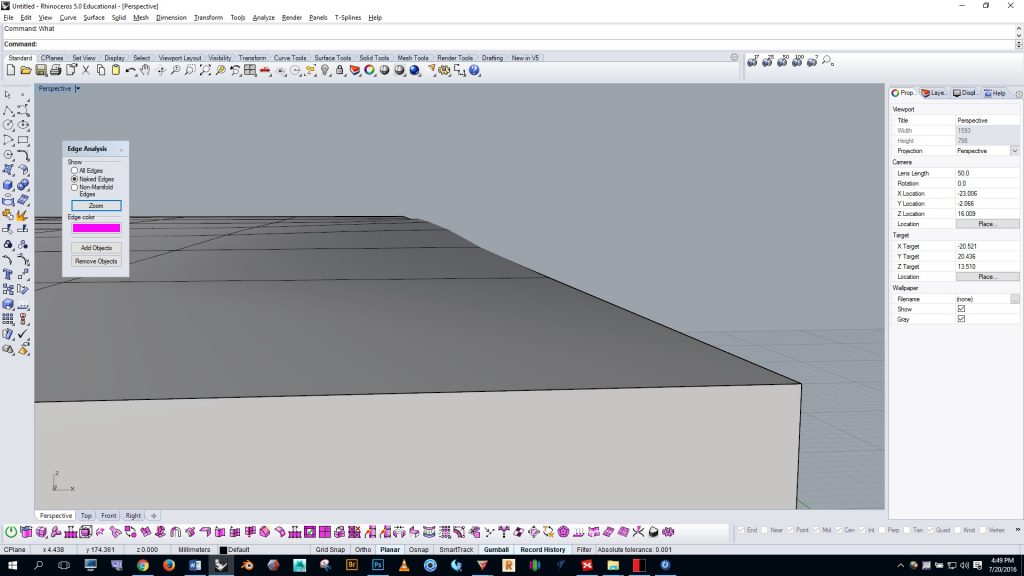
This command does not always work. Be advised that when it does work there will be a moderate deformation in the geometry. See below:
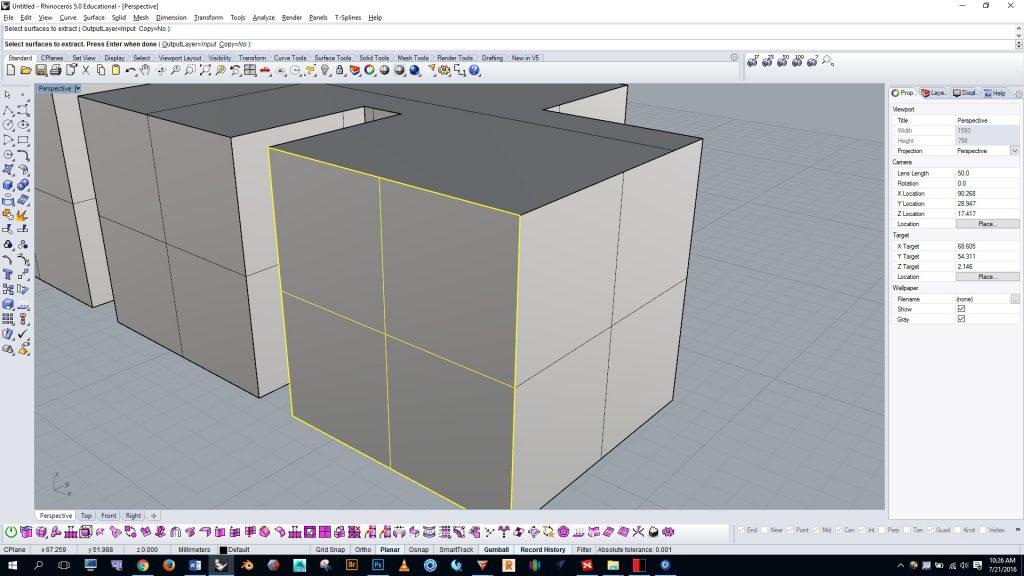
2) Extract the bad surface and redraw it. If the open edge is part of a simple face then you may want to simply delete and redraw it using your osnaps so that it will join properly. To select and remove a single surface from your model use the “extractsrf” command as shown below.
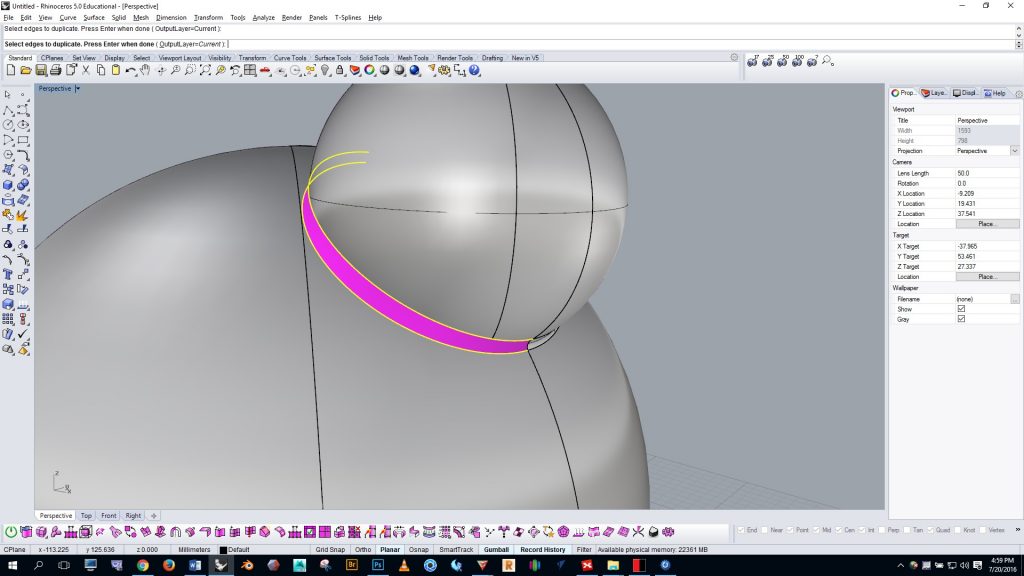
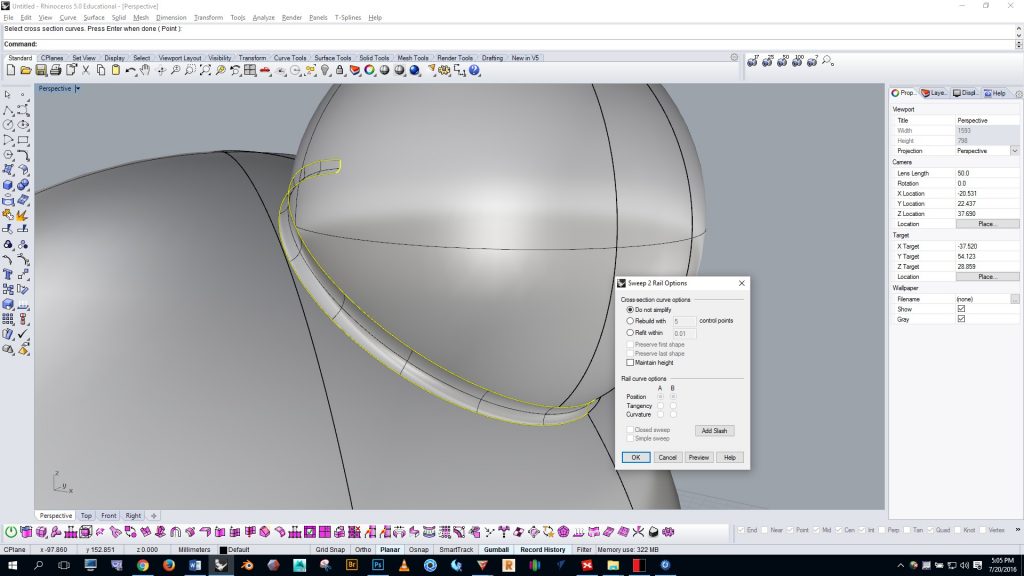
3) Duplicate edges and use the sweep2 command to close the hole. First, use the “dupedge” command to duplicate the unjoined edges around the problem area. See below:
Join the edges so that you have two long rail curves and one or two cross section curves. Then use the “sweep2” command to close the hole (see below). This command always requires two rails but it can work with one or two cross section curves, meaning that it can fill holes with four or three sides.
[return to 3D Printing Guide main page]
