First, watch this video:
A FEW NOTES ON BASE MESHES
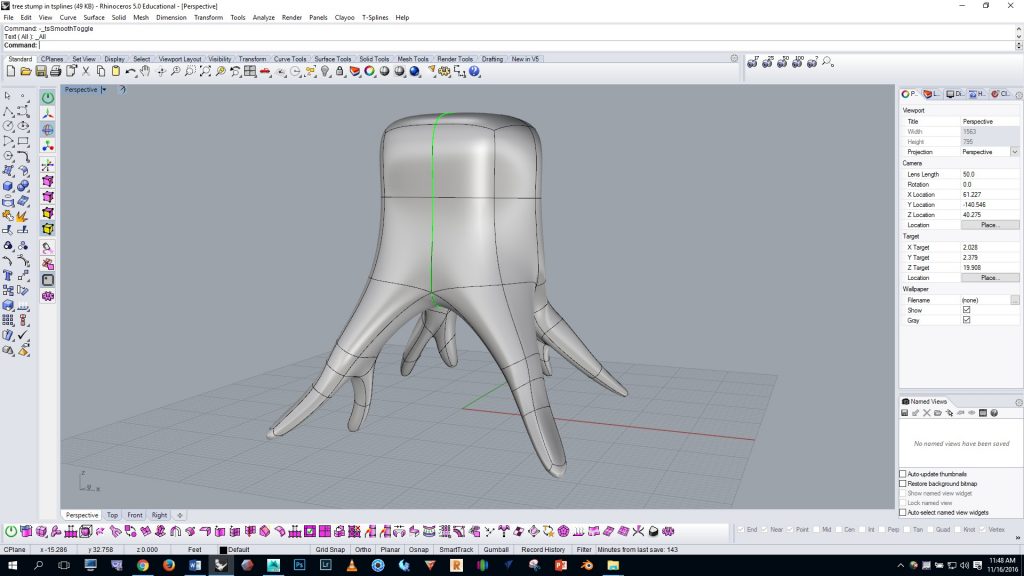
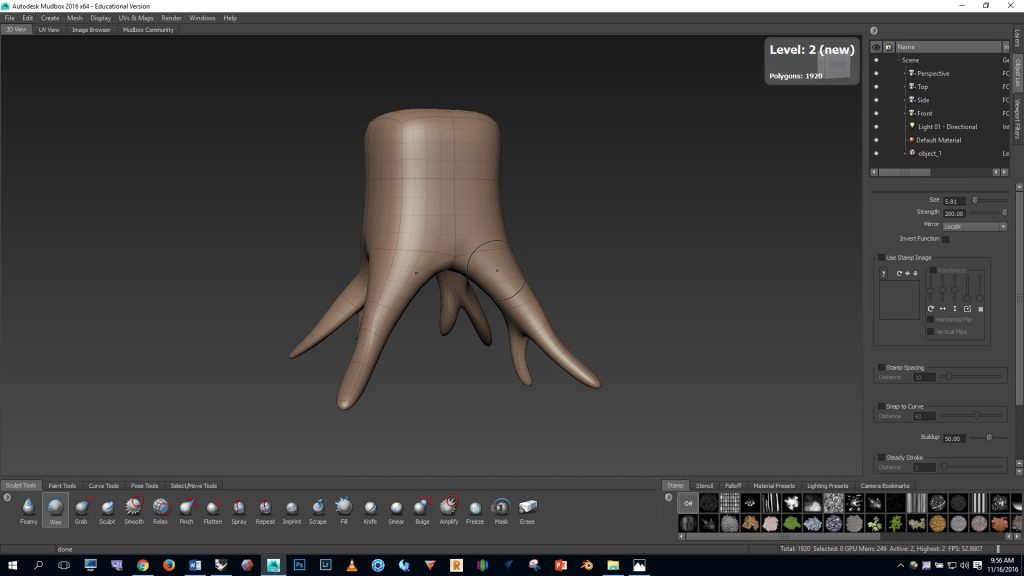
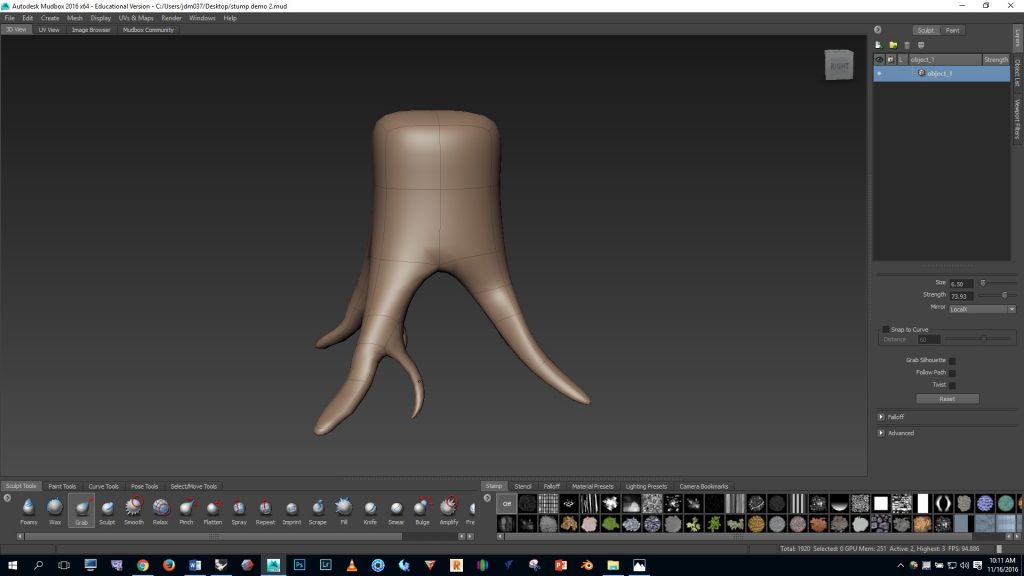
In CAD, a “base mesh” is a simple, low poly mesh that we use as a starting point for CAD sculpting. In this exercise you’ll use the base mesh of a tree stump that’s shown below as your base mesh, and you’ll detail it in Mudbox. Notice that the base mesh shown below is composed entirely of “quad” faces (four-sided polygons)—quads are important for efficient subdivision in Mudbox. We must avoid three-sided, five-sided, six-sided, etc. faces when working with subdivisions in Mudbox.
IN MUDBOX
Download the Professor’s base mesh of the stump by clicking here.
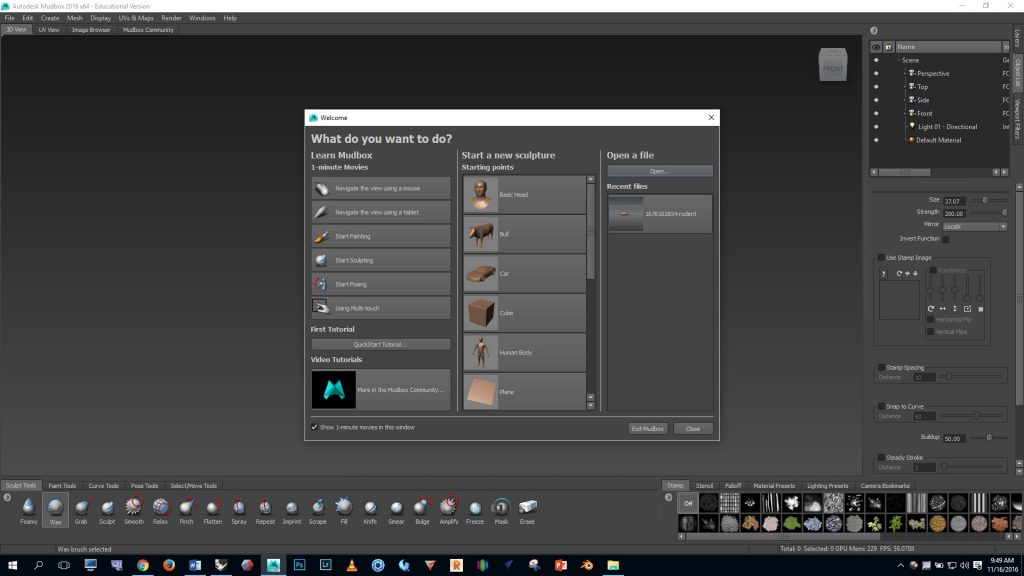
Open Mudbox, click the “open” button, and select the OBJ file for the base mesh.
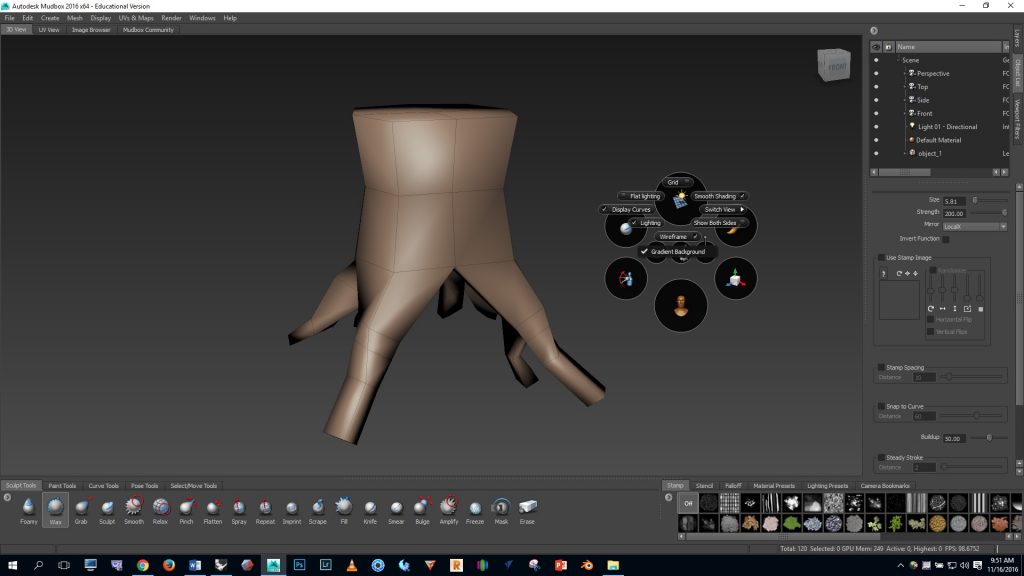
Hold the space bar and notice that a menu pops up. Click on the top button. Notice that you can turn the grid and wireframe on and off.
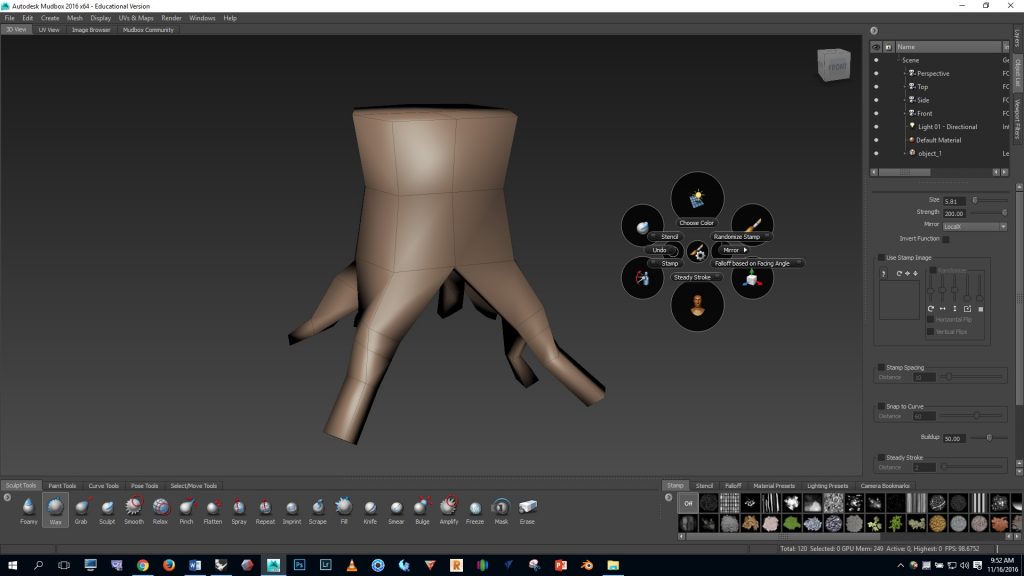
Hold the space bar again and click on the center button, then click on “mirror”, then make sure that “local x” mirroring is ON.
Viewport navigation in Mudbox:
- Orbit with right mouse button and ALT
- Zoom by rolling the middle mouse button
- Pan with the middle mouse button and ALT
Press SHIFT D a few times and notice in the top right corner that we’ve added a few levels of subdivision which smooths the base mesh. Now by clicking PAGE UP or PAGE DOWN we can increase or decrease the level of subdivision. If we want to make big adjustments to the geometry we should work on a low level. If we want to add fine details we work on high level.
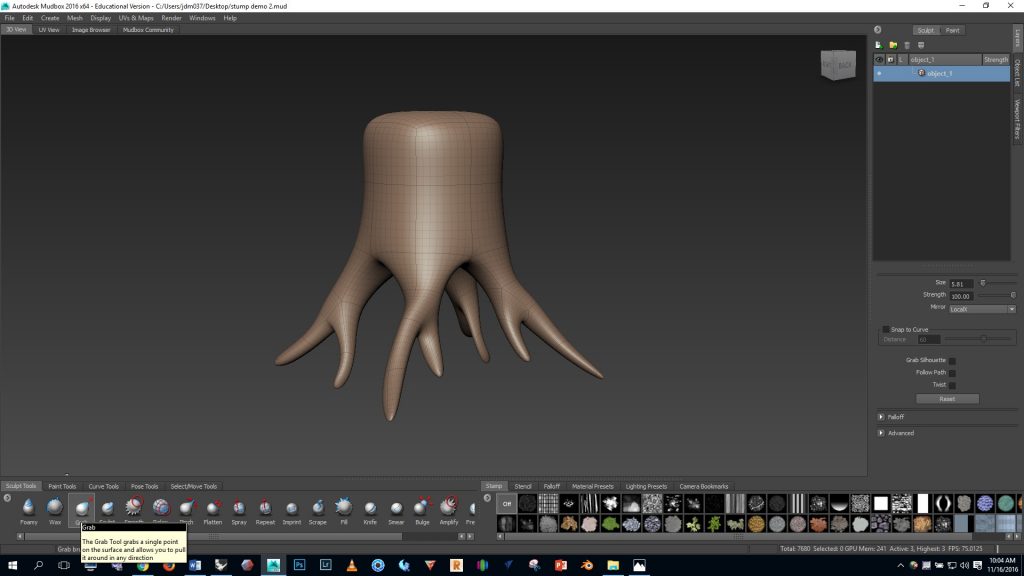
Notice in the bottom left that we have a number of brushes to choose from. Click on the GRAB brush and then mouse over the model.
We can change the SIZE of the brush by holding B and dragging the left mouse button UP or DOWN — We can change the STRENGTH of the brush by holding M and dragging the left mouse button UP or DOWN
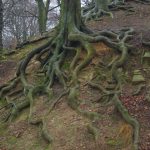
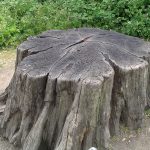
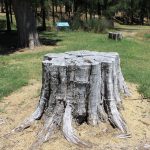
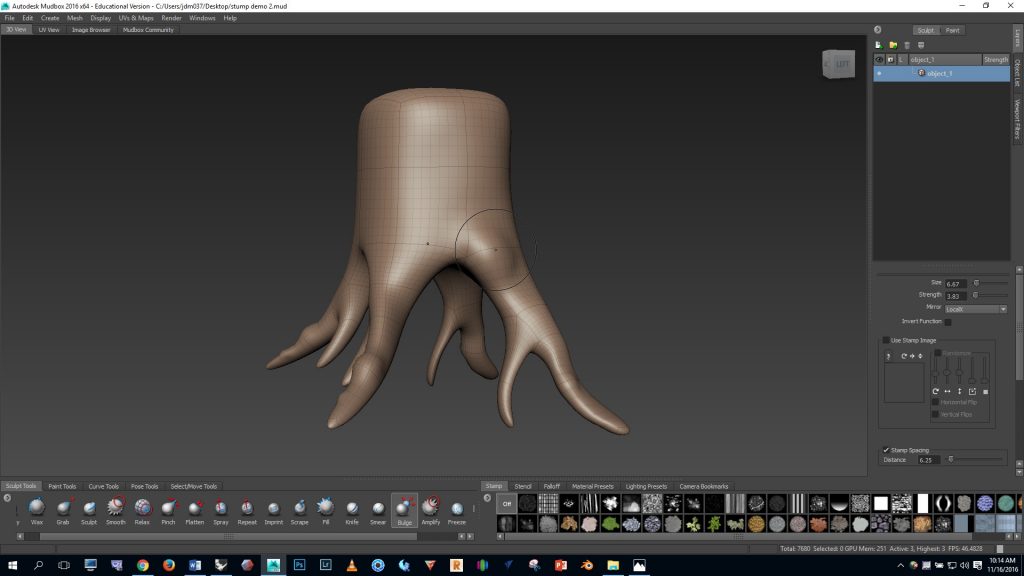
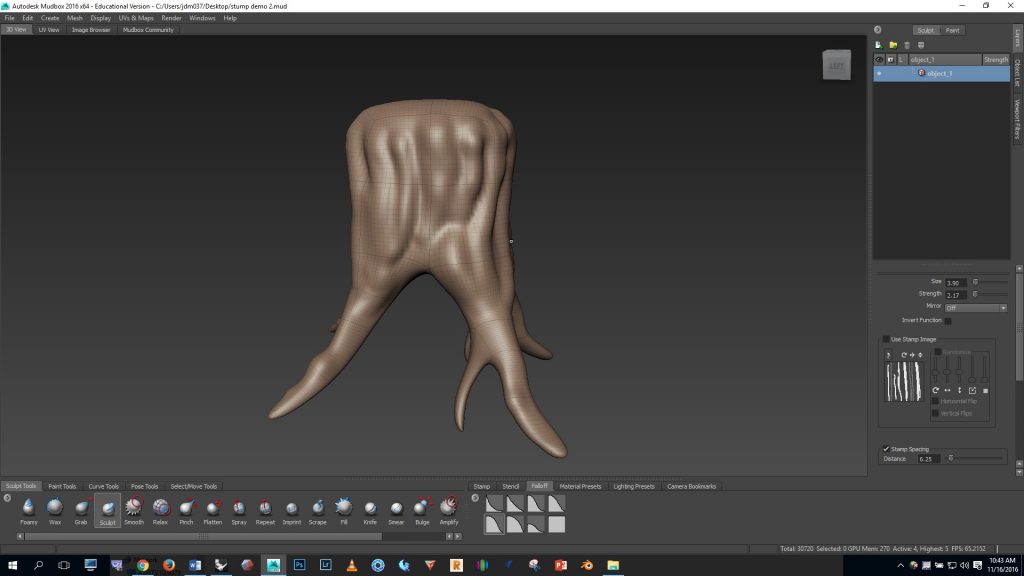
Let’s refer to these visual references as we add detail:
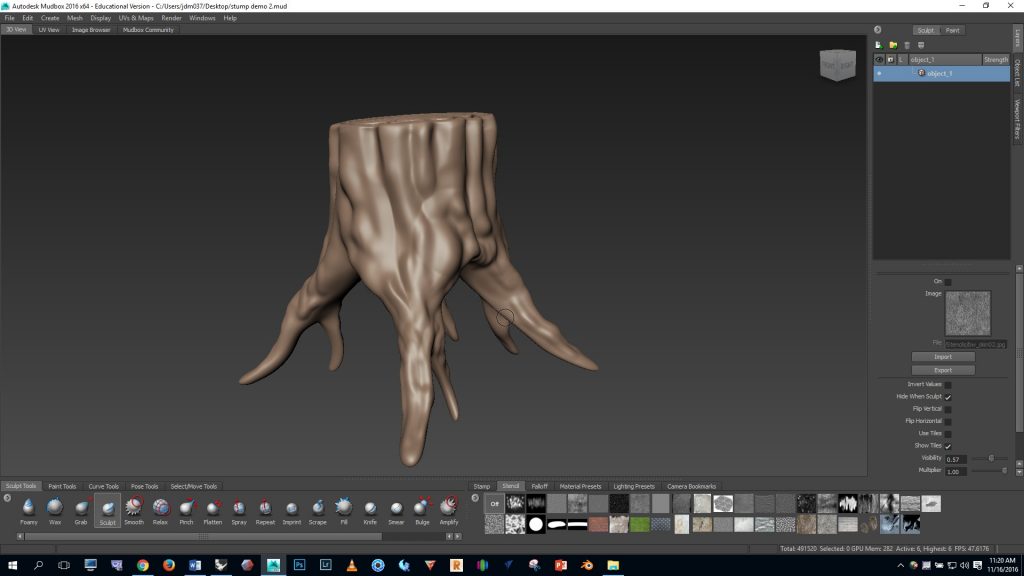
Use the GRAB brush to make big adjustments to the form of the roots and trunk.
Select the BULGE brush and use it to make lumps in the roots and bulged areas on the trunk.
Now let’s use the SCULPT brush to do some sculpting and add detail. If you click on the FALLOFF tab on the lower right you’ll see that we can adjust the type of mark the brush will leave. In this case I found that the #2 option worked best for my purposes.
Notes:
- After you create some marks with the SCULPT brush you can SMOOTH the surface by holding the SHIFT key.
- If you want to make an INVERTED mark with the brush you can hold CTRL.
- At this point I felt that symmetry was making the stump look too regular so I turned MIRRORING off.
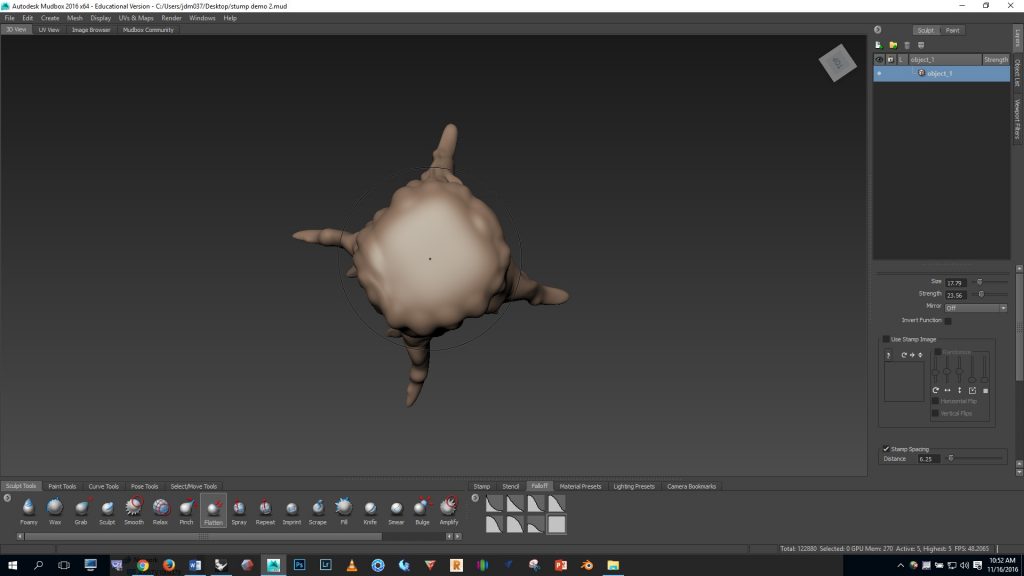
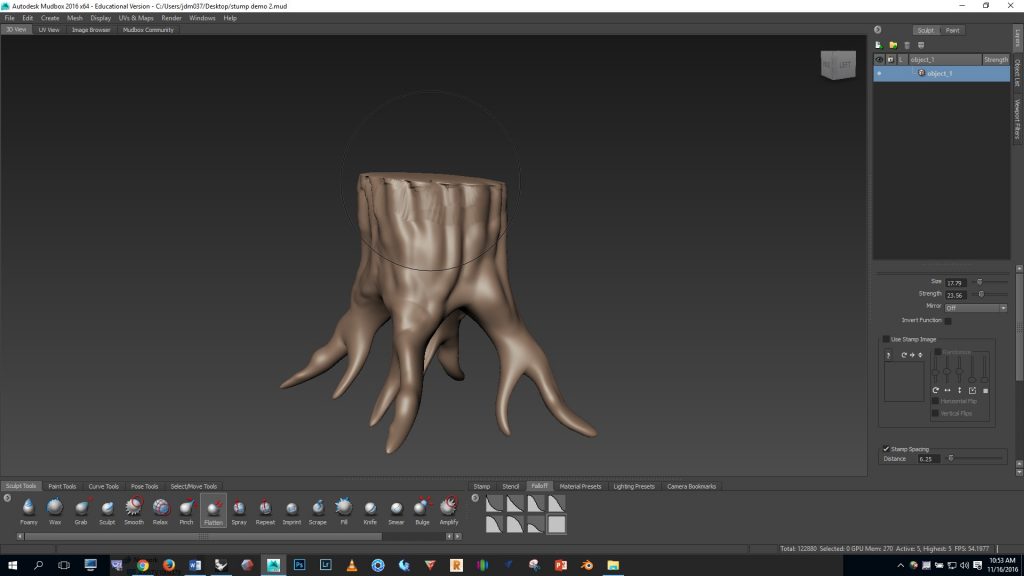
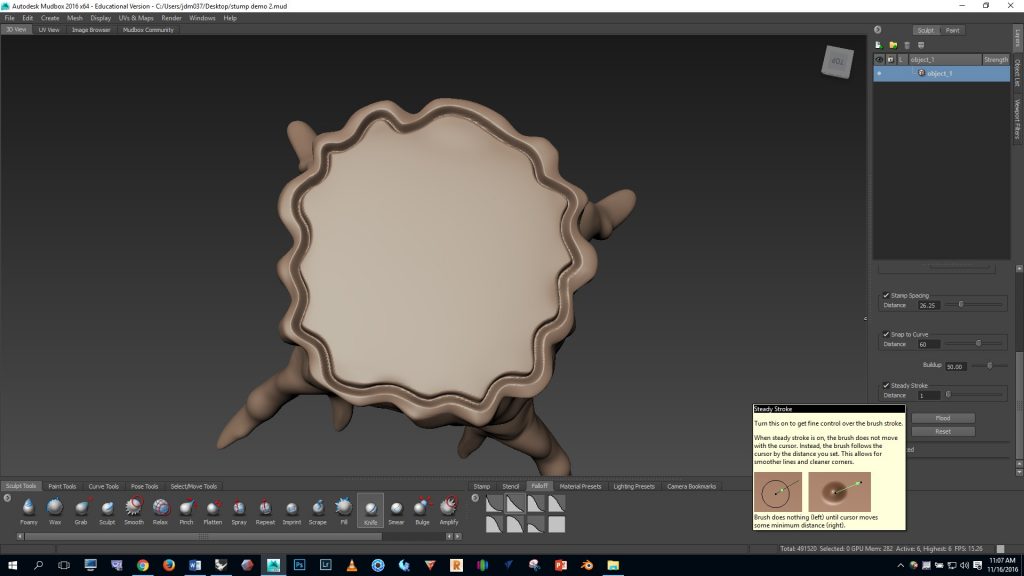
To flatten the top of the stump I selected the FLATTEN brush and used a FALLOFF option 7. Then I orbited so I was looking at the stump from above and smooshed the top down.
You can see that the top edges got a bit messed up. I fixed this by smoothing with the SHIFT key.
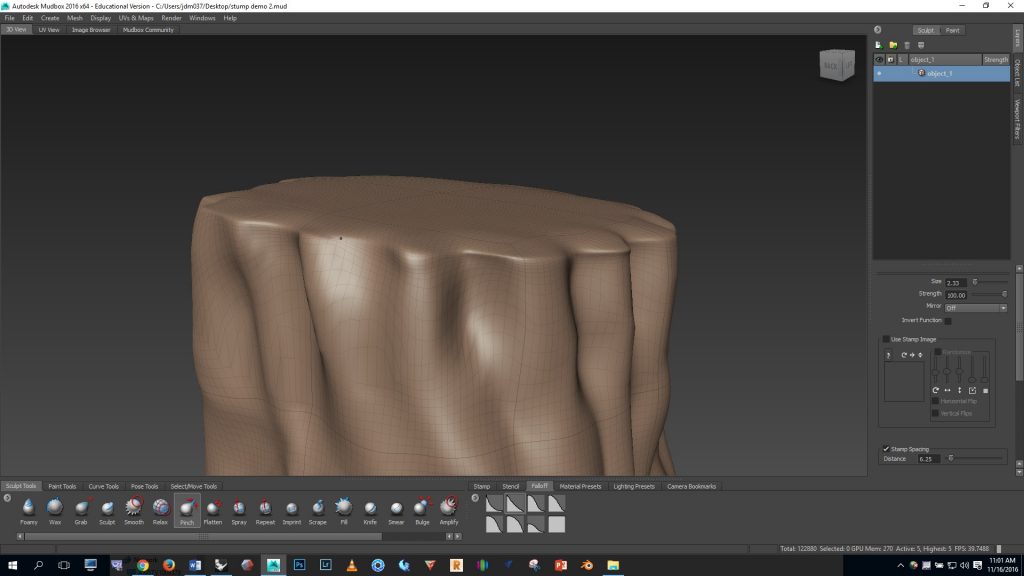
The top indents needed to be pushed in. I did this with the SCULPT brush, a sharp #1 FALLOFF, and by holding CTRL to use the INVERTED brush. Then, to make the top edge even sharper I then used the PINCH brush.
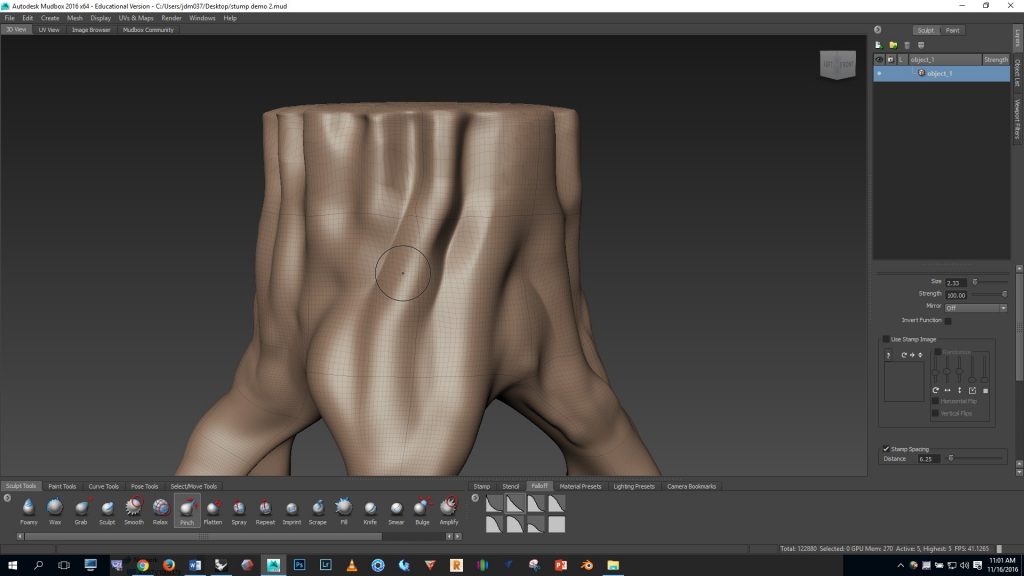
The PINCH brush was also useful for creating sharper creases along the side of the stump.
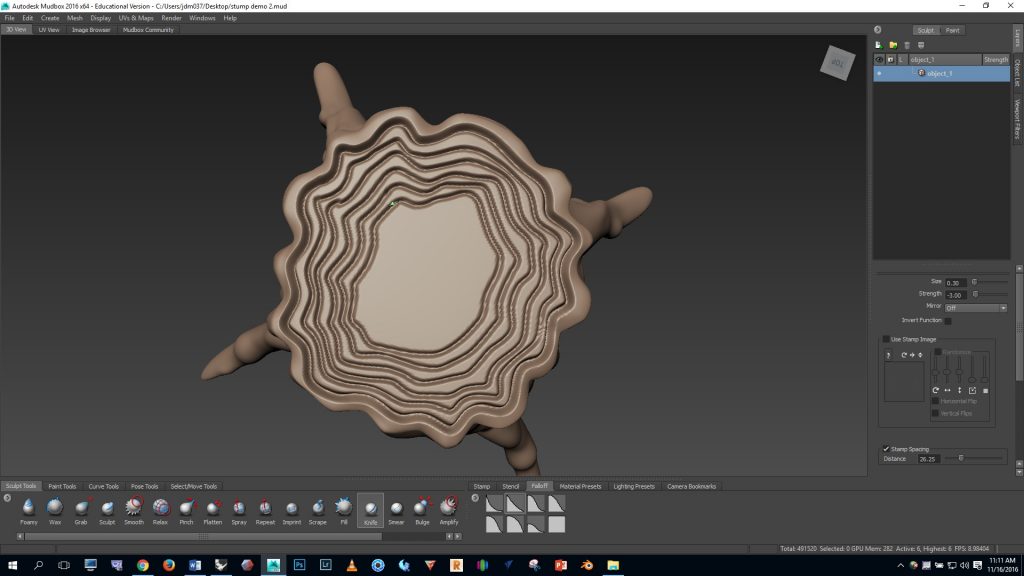
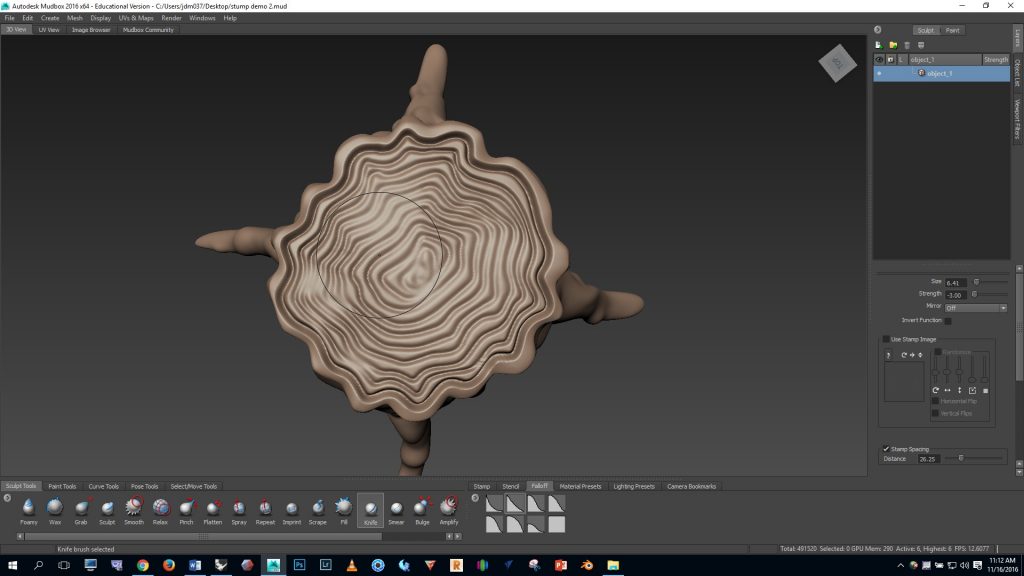
Now let’s add the rings on the top. Add a couple extra levels of subdivision by pressing SHIFT D. Then select the KNIFE brush and use a brush size of .3 and strength of -3. Go to the top view and work from the outside in.
I used the STEADY STROKE brush setting with a distance of 1 (see the settings panel, lower right). Steady stroke helps draw straight lines.
I felt that the regularity of the deep cuts looked unnatural so I smoothed with the SHIFT key.
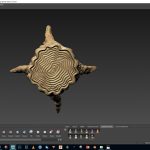
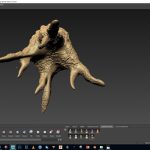
Here are some images of the fully sculpted form.
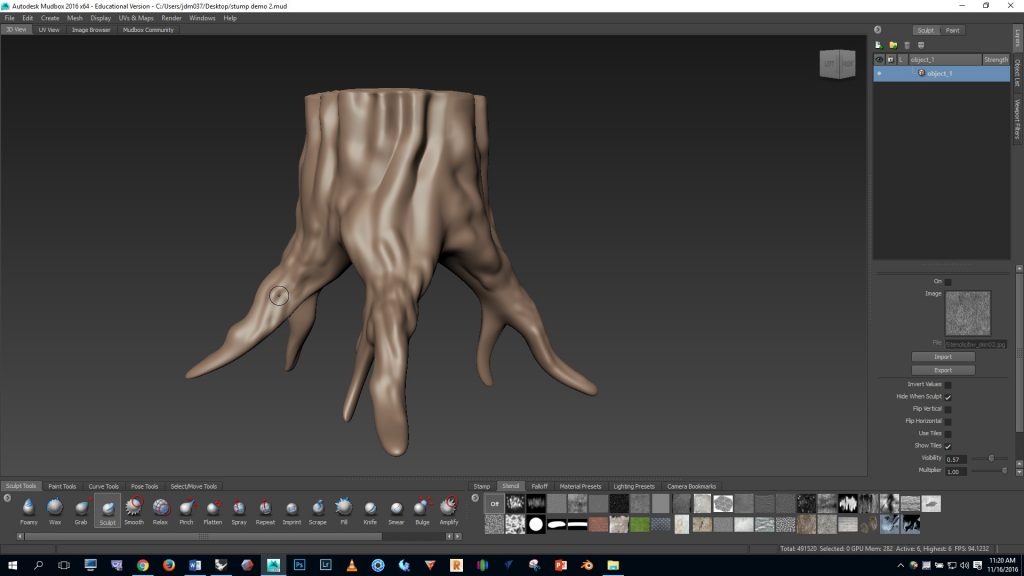
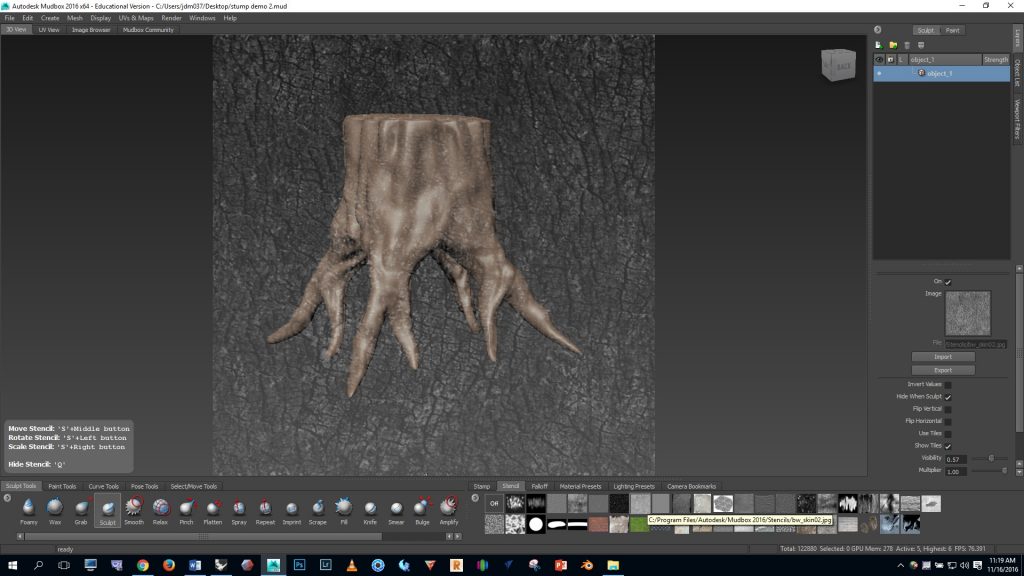
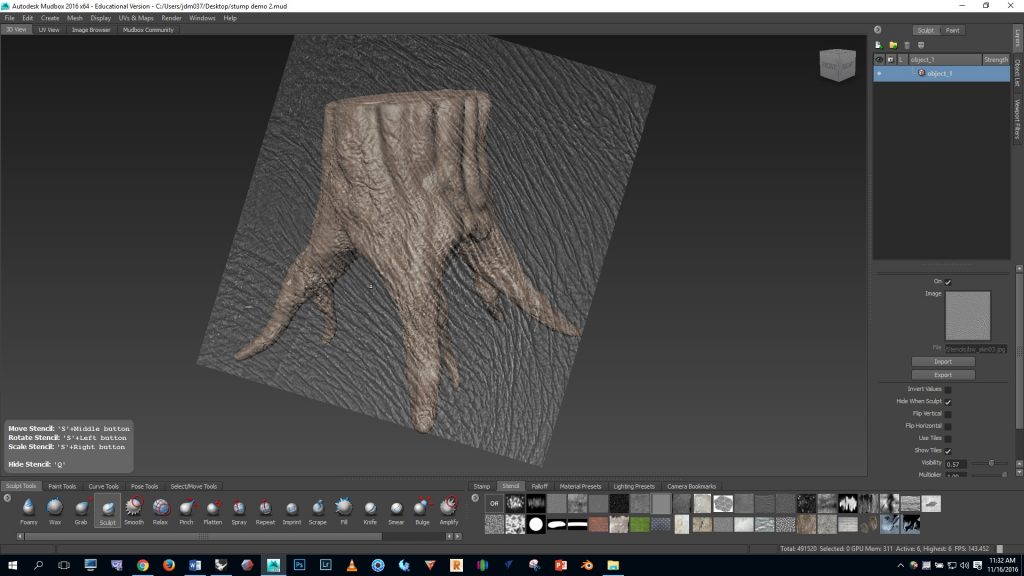
Now let’s add some bark texture. Click on the STENCIL panel, bottom right and select bw_skin02. PAGE UP to your highest level of subdivision. Notice in Mubox that there are instructions about how to alter the stencil in the lower left corner of the screen.
Experiment with using some of the other stencils to create variation in the texture.
The finished result is shown below. Your stump should be at least as detailed and complex as this example.
https://youtu.be/96BVkDyPsu4
To learn more about Mudbox:
A more comprehensive overview of Mudbox is available on Lynda.com. To access these videos, log on to your Lynda.com account using your Bucknell credentials. Then watch these videos.
