Bunny Screenshots

Finished model:


Process images:


T-Splines introductory exercises

T-Splines Crash Course

The T-Splines crash course file can be found HERE.  You’ll need to download this file to your desktop, extract the contents, then open the Rhino file contained within the folder.

For easy access, here are screenshots of some of the first instructions covered in this crash course:

Notes:

  • To load the TSplines toolbars, type “options” in the command line > go to toolbars > click on t-splines > click the “all commands” box … this will show the program
  • T-Splines will run only with the 64 bit version of Rhino — if the T-Splines toolbar isn’t showing up it may be because you launched the 32 bit version of Rhino

For more information, refer to the T-Splines user manual, or the starter guide.


T-Splines Bunny Exercise

Images:

Video:

video platform video management video solutionsvideo player

If video fails to load, click here: http://digitalsculpture1.blogs.bucknell.edu/t-splines-introductory-exercises/

Meshmixer Hybrid Object Project Outline


Project summary:

  • To practice during the first class, download files from the Google 3D Warehouse and use Meshmixer to create at least two different hybridized forms; post screenshots of your two forms to the public class website.  3D scan one or more objects, then download one or more files from the Google 3D Warehouse.  Use Meshmixer to combine two or more items to create an ambiguous sculptural form that can be visually understood in different ways, as shown in the examples above. Make a photorealistic render of your form with Keyshot.  3D print the form.

3D scanning:

Google 3D Warehouse:

  • Access the warehouse at: https://3dwarehouse.sketchup.com/index.html
  • Download files in the oldest available SKP format
  • Import the SKP file into Rhino > inspect the mesh; if it consists of quads then run the “triangulate mesh” command > export in OBJ format
  • You can then open the OBJ in Meshmixer

MeshMixer:  


convergedot

“Converge: Ghraib Bag” was included in the Museum of Art & Design’s “Out of Hand: Materializing the Post Digital” exhibition.  This project consisted of the sculpture shown above and the animation included below.


Hybrid examples — see also: “strange hybrid sculptures” google image search
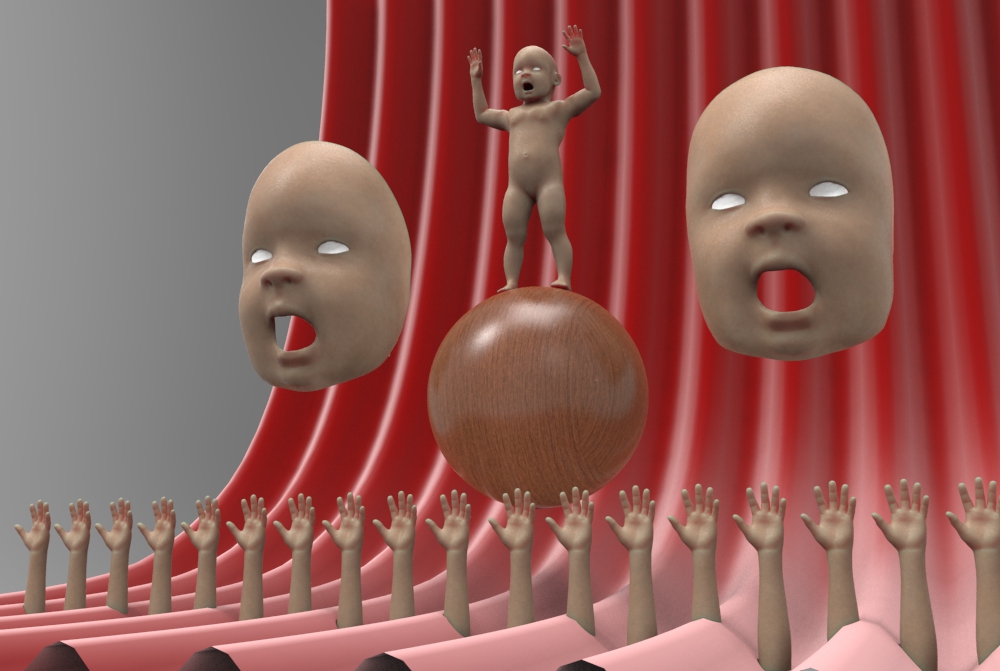
 

Using Makehuman and Blender to work with human forms

baby-22
Quick example made by Professor Meiser using MHX figures posed in Blender

Makehuman

Basic method:

To avoid the step of adding the custom files, you can simply work with a basic male, female, or baby figure that the professor created.  These figures are all saved in Blender format, so you can open them directly in that program.  Note that the figures rigged with MHX are easier to pose.  Access the basic figures here.

Advanced method (not recommended for students):

This free program can be used to generate a custom human figure that you can then pose in Blender.  To use this program in your workflow, a few custom files have to be installed on your computer to allow MakeHuman to export in the correct format and allow Blender to import–the installation of the custom files is outlined on this site: https://thomasmakehuman.wordpress.com/mhx2-documentation/

Once the custom files are installed, do the following to create a custom human figure:

Go to the start bar and launch Makehuman

Use the program to customize a human figure

When finished, click: files > export > and select Blender exchange (mhx) format

Enter a file name and click the export button

Blender

  • Go to the start bar and launch Blender
  • Right click on the startup cube and delete
  • If importing from Makehuman, go to file > user preferences > addons > and under import/export, click to activate Makehuman imports, then close user preferences
  • Go to file > import > mhx > and locate the file you exported from Makehuman  (On my machine, exported files go to documents > makehuman > export) Select your file > click the import MHX button at the top right
  • After you’ve done this, your figure should be loaded
  • The controls in Blender are much different than in Rhino.  Here are the most important controls:
    • Orbit with middle mouse button
    • Pan with middle mouse button and shift
    • Zoom by rolling middle mouse button
    • Select with right mouse button
    • Zoom selected by pressing the  .  button on the numberpad
    • 5 toggles orthographic viewing mode
    • 1,2,3,4,6,7,8,9 will show front, right, top views, etc.
    • To pose:
      • Right click on a pose handle
      • Once a handle is selected, press G to translate
      • Press Z, X, or Y to constrain movement
      • With a handle selected, press R to rotate
      • *Notice that translations and rotations are impacted by your point of view. Compare the results you get when looking from the front, side, top, etc.
      • Move to new location and press left mouse button to apply
      • Undo with CTRL Z
      • More information on moving in Blender can be found here: https://docs.blender.org/manual/en/dev/editors/3dview/object/editing/transform/basics.html?highlight=transformations
      • To export:
        • First, save as a blender file in case you need to return to the file later.
        • Next, go to file > export > OBJ
  • Helpful links:

In Rhino

  • File > Import
  • Mesh can be point-edited by pressing F10, but since meshes are difficult to edit, this is only really effective for deleting unwanted body parts.
  • To further edit the figure it is best to use Meshmixer.  Remember that Meshmixer will only import triangulated meshes.  In Rhino, select the figure and run the “triangulatemesh” command before exporting to Meshmixer.