https://docs.google.com/spreadsheets/d/1-9r9UGC2ZEINlOssyytvWlvRsTYipjUIMAJu9NzmmyA/edit#gid=0
Month: September 2016
Using Meshmixer to cleanup a model
USING MESHMIXER TO CLEANUP THE MODEL
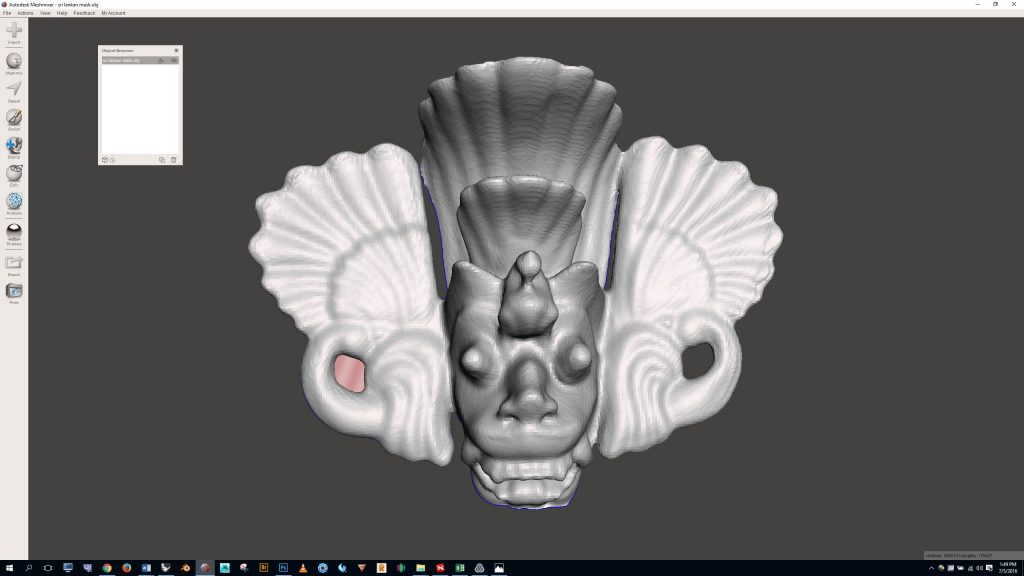
Open Meshmixer and import your model.
Notes about getting started in Meshmixer:
- Navigate the viewport:
- To orbit: hold ALT, and left mouse button
- To pan: hold middle mouse button
- To zoom: roll middle mouse button
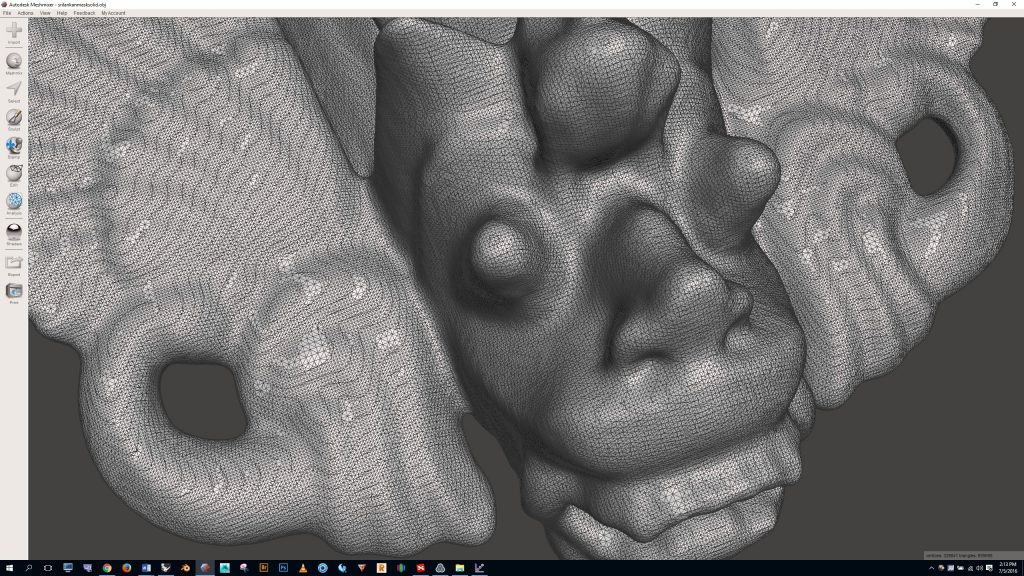
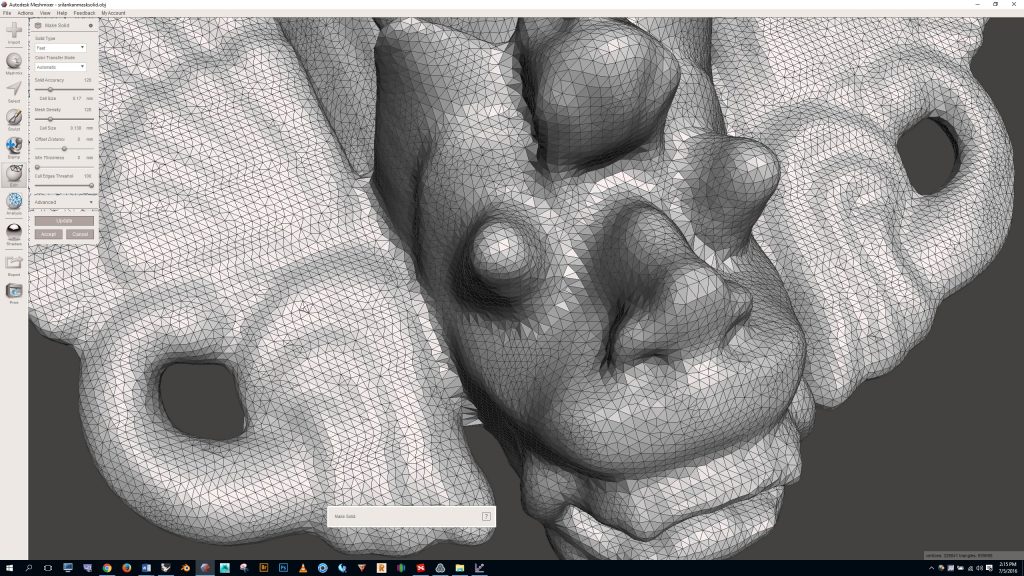
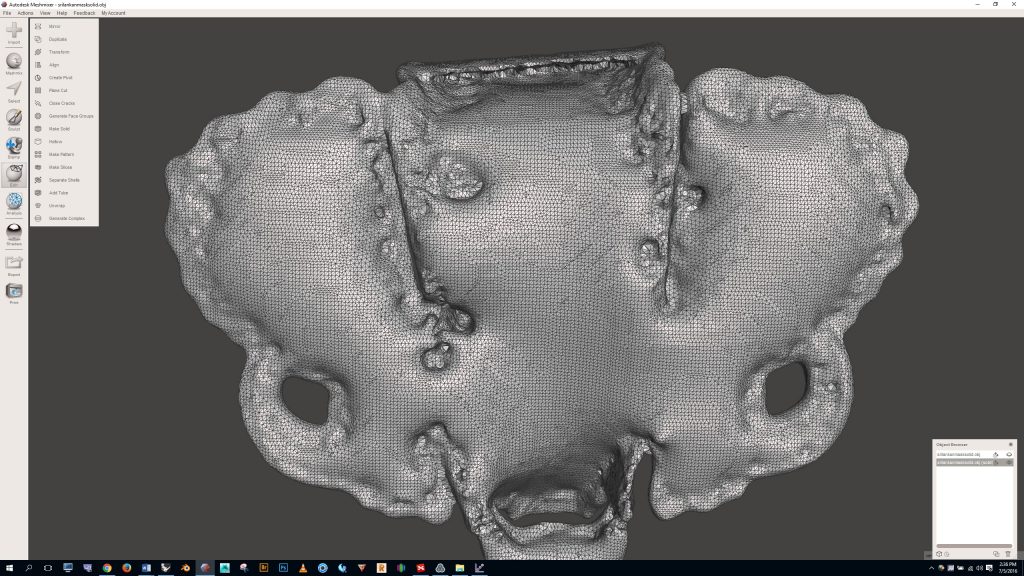
If we push the “W” key on the keyboard to turn wireframe on and we zoom in we can see that the mesh is very dense. The dense mesh will be difficult to work with, so we’ll need to simplify it. To do this, click the “edit” button on the left, then “make solid”
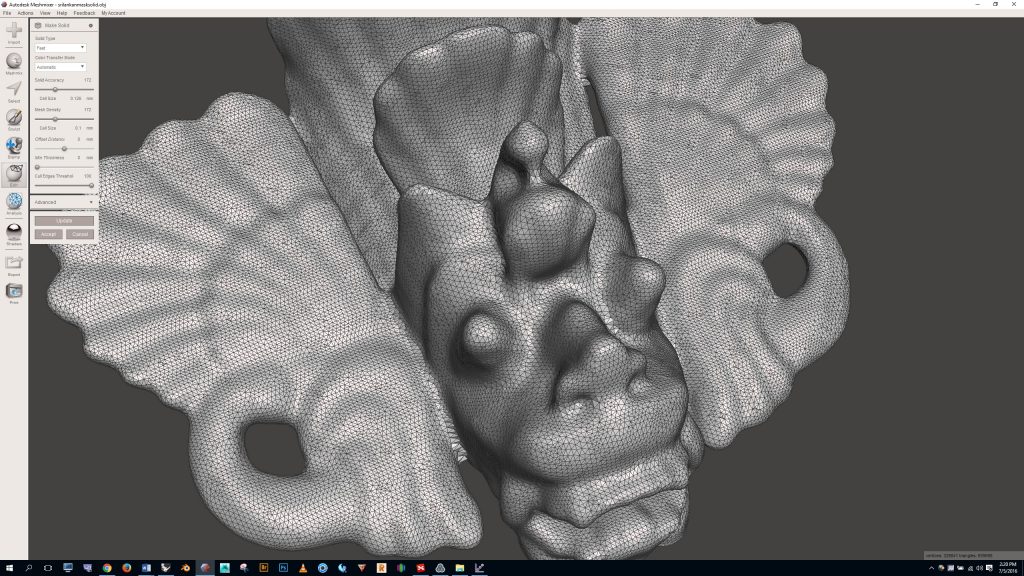
Meshmixer will process your scan and a dialogue box will pop up on the left. Notice that the mesh becomes quite crude. By adjusting the “solid accuracy” and “mesh density” sliders and clicking the “update” button you can make the mesh more (or less) dense. We want to find a happy medium with the complexity of the mesh so that it is dense enough to capture all the details but not so dense that it is difficult to work with.
In this case I felt that a value of 172 for solid accuracy and mesh density was optimal. To complete the make solid process, click the “accept” button.
Note: The make solid function in Meshmixer is very useful for converting bad geometry to a watertight solid. So, for example, later this semester if you download a mesh from the web that you want to work with, but you discover that there are holes or other problems with the mesh, you can use the make solid command to convert the geometry to a useable watertight format.
Next we’ll get rid of the holes in the model and smooth out the rough spots.
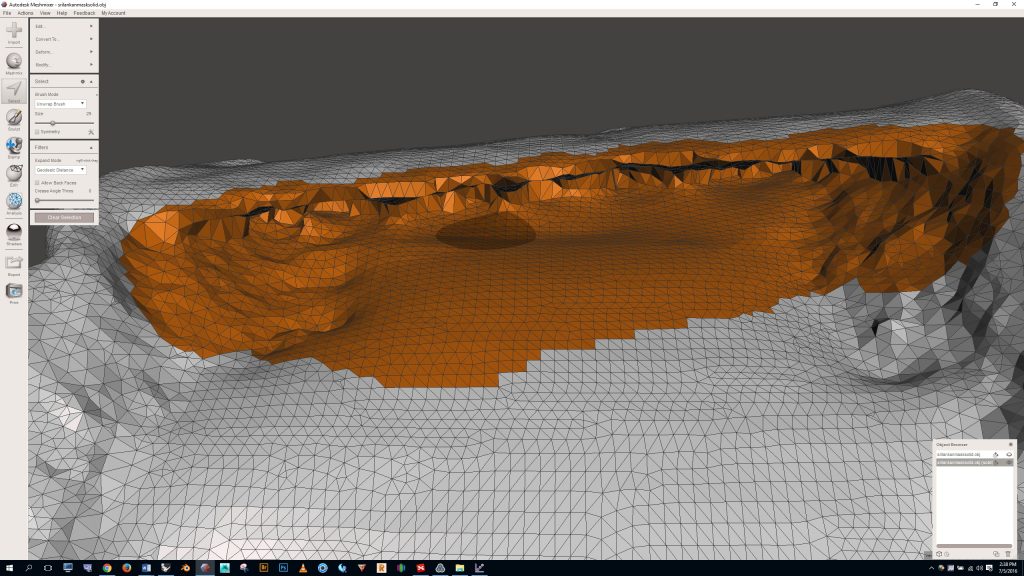
Press the “S” key to open the selection panel. Notice that by default we’re using the “unwrap brush”. Adjust the brush size by moving the slider left or right. Use the brush to select a bad portion of the model. Hold shift if you need to deselect.
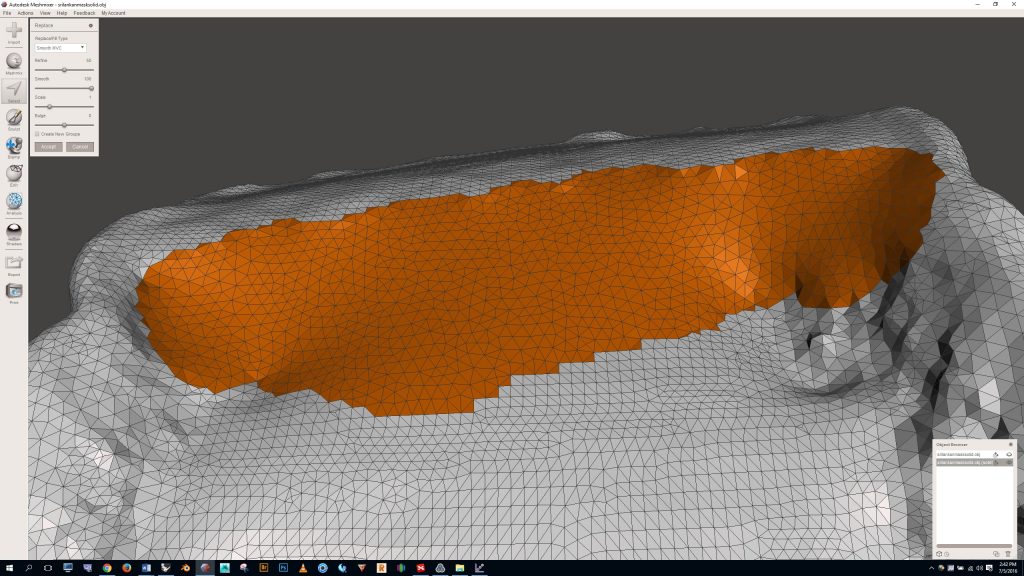
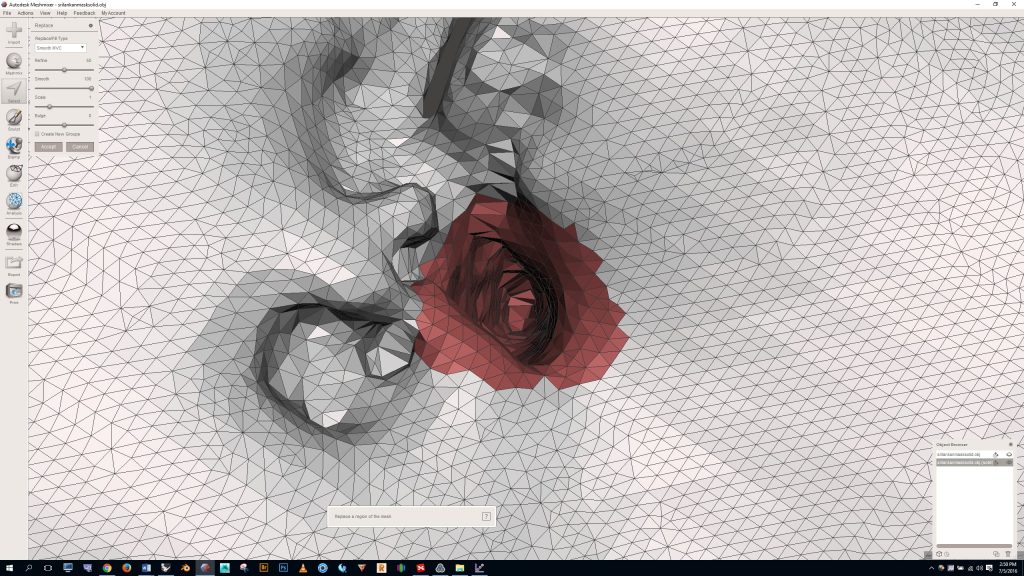
Press “F” to delete and fill the problem area. If you’re satisfied with the fill you can click the accept key or simply press “S” to make your next selection.
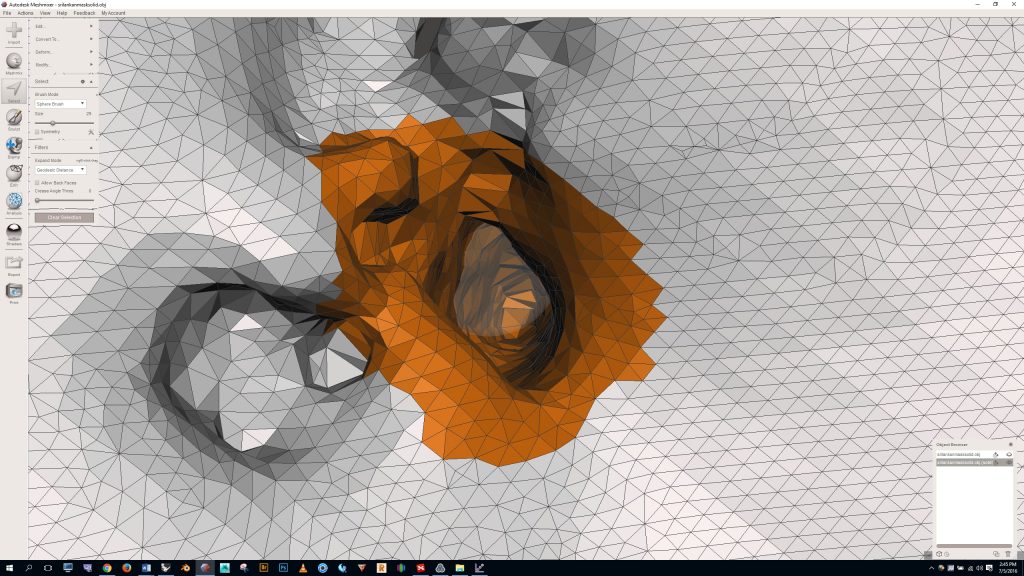
To fill deep pockets you may need to select the “sphere brush” option from the dropdown menu.
If you’re lucky in these deep areas you’ll still be able to fill by simply pressing the “f” key, as shown below.
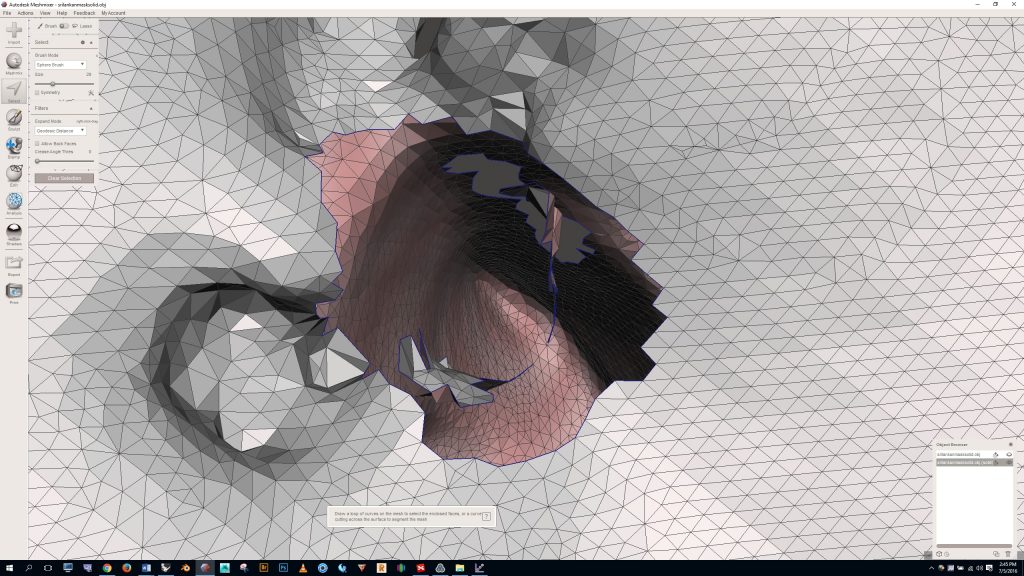
But if you’re not so lucky you’ll get an error that looks like this. This happens because you aren’t able to grab all of the faces needed to generate good watertight geometry.
If this happens you’ll need to press “delete” to eliminate the selected faces, and then go back in to manually delete what’s left.
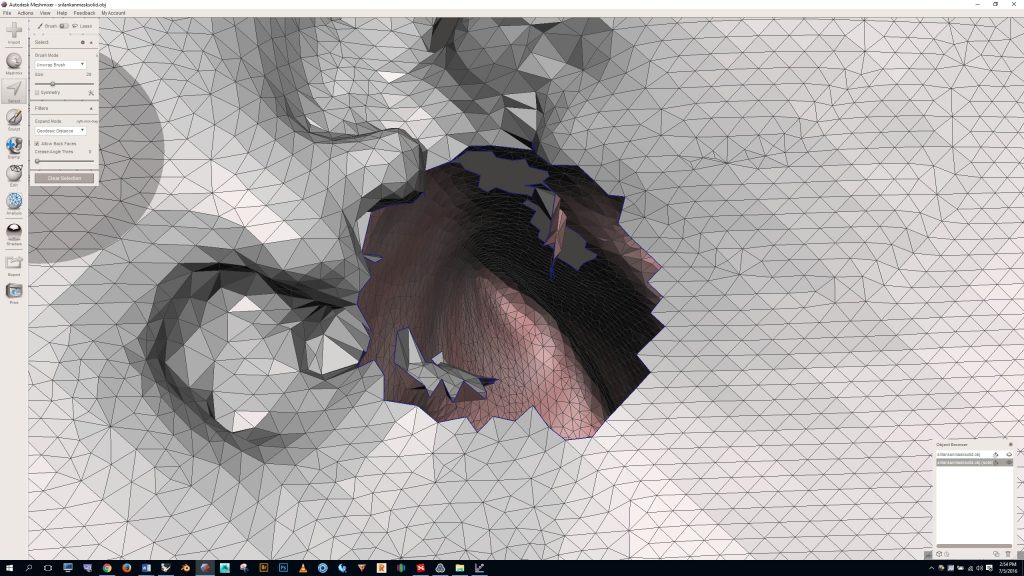
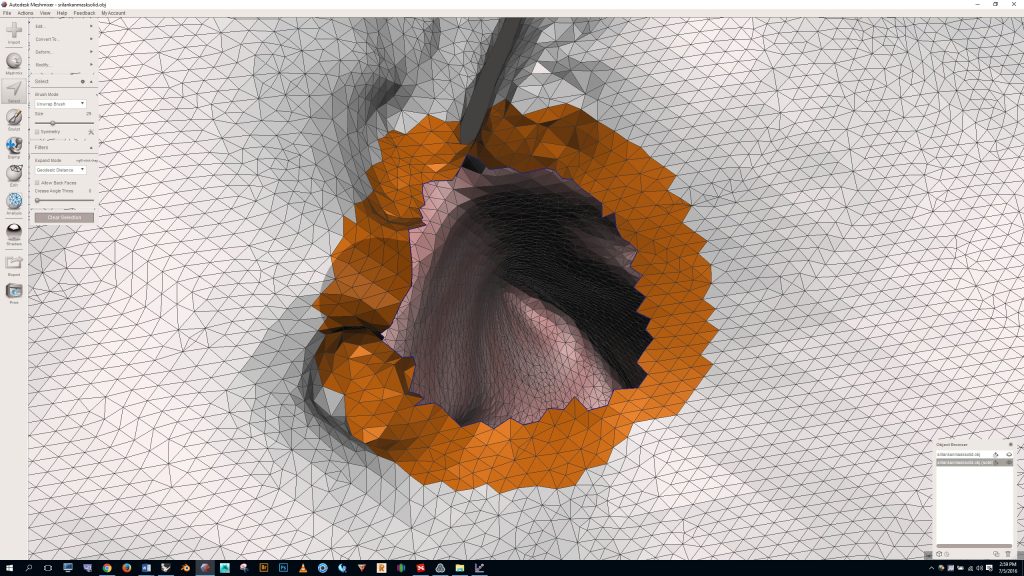
By default your selection brush only grabs the fronts of faces. By clicking the “allow back faces” box we can select the hard to reach faces in this cavity. When using this option be careful because it’s easy to accidentally make holes in the other side of your model.
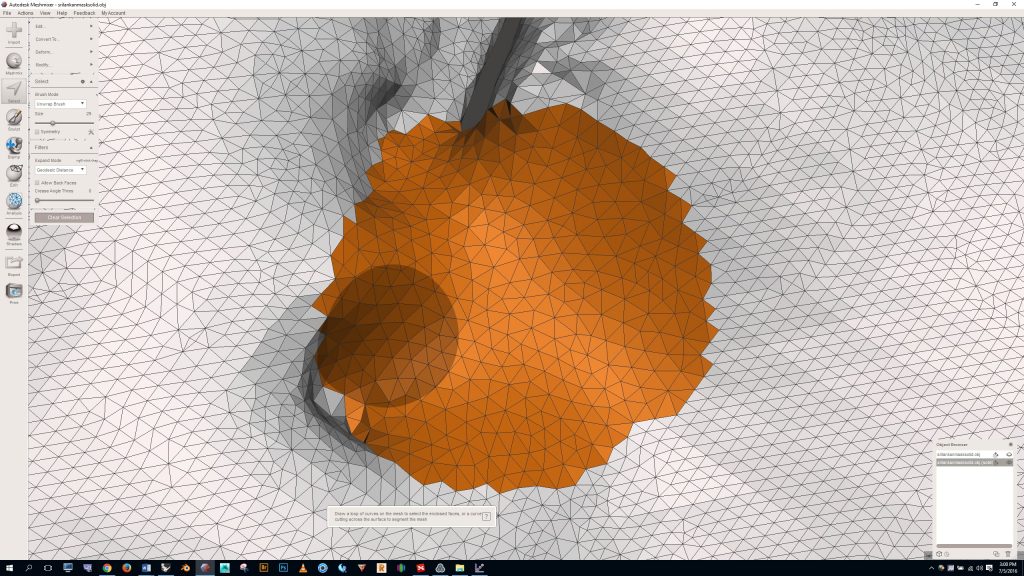
Once all of the inner faces are deleted, select the border of the hole and press “f”
And presto! You have a filled in hole.
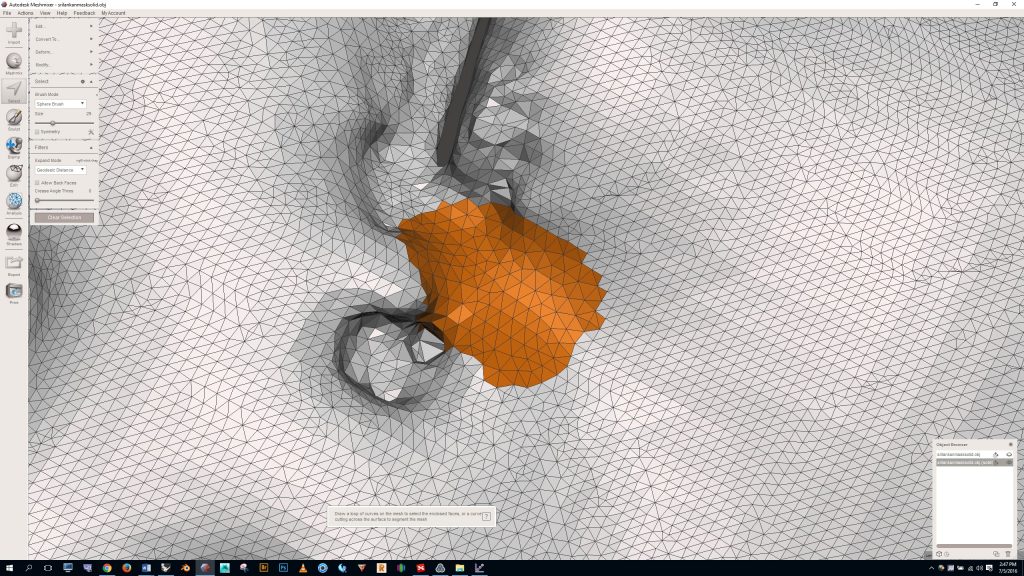
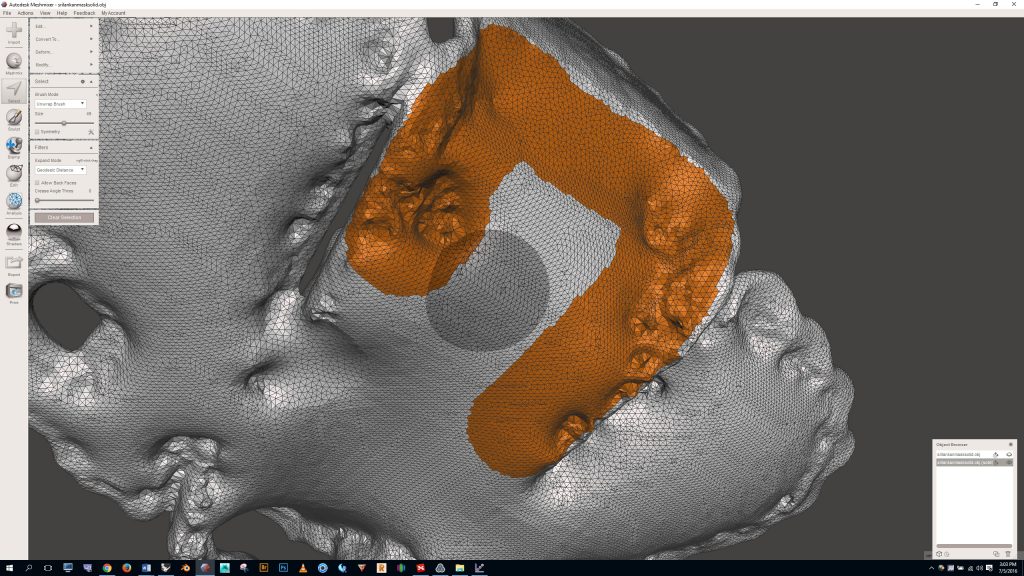
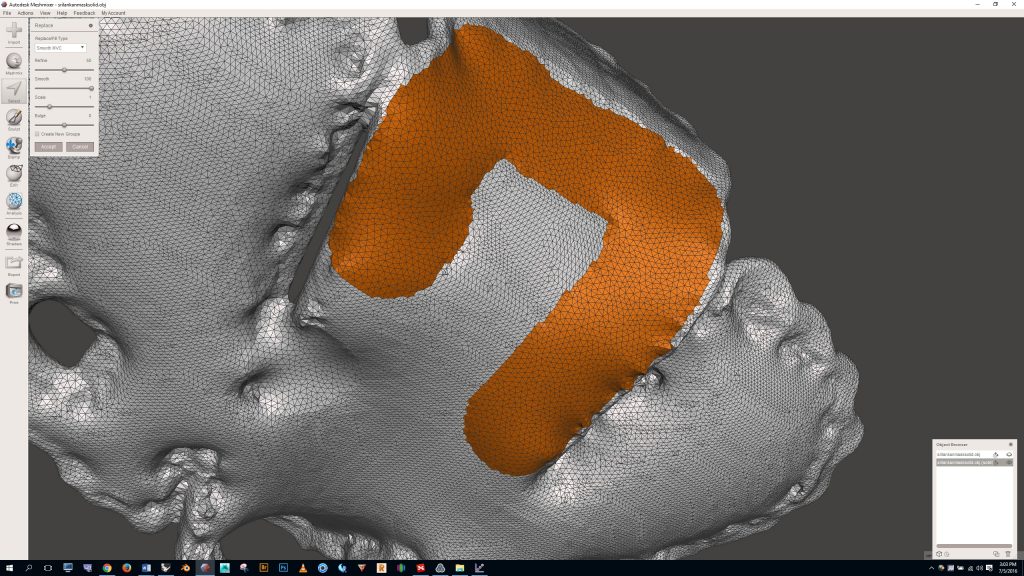
This method of selecting faces and pressing “f” can also be used to smooth out rough patches in the geometry, as shown below.
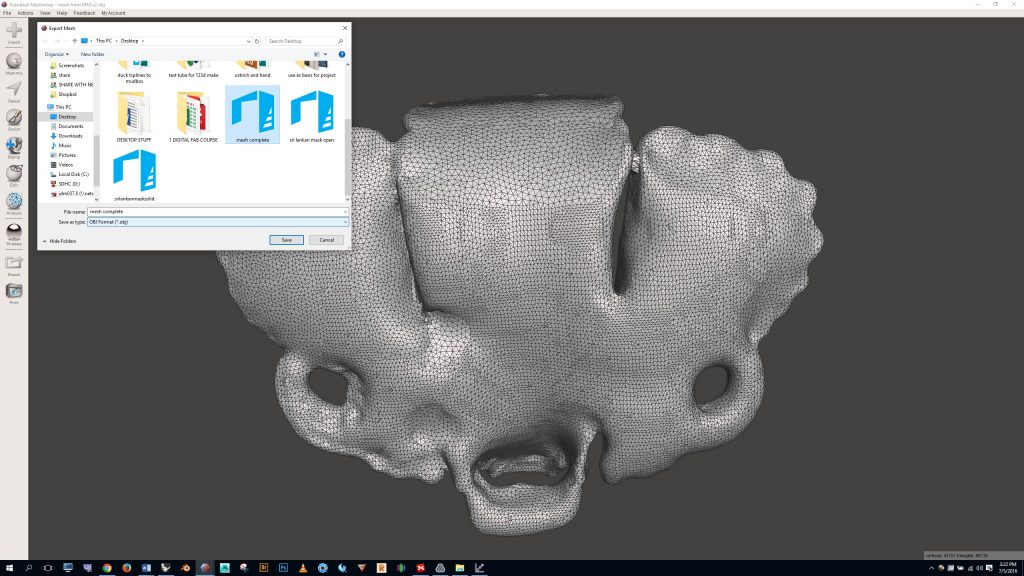
After you’ve finished filling in all of the holes and smoothing out the model, click the “export” button and save the model in OBJ format.
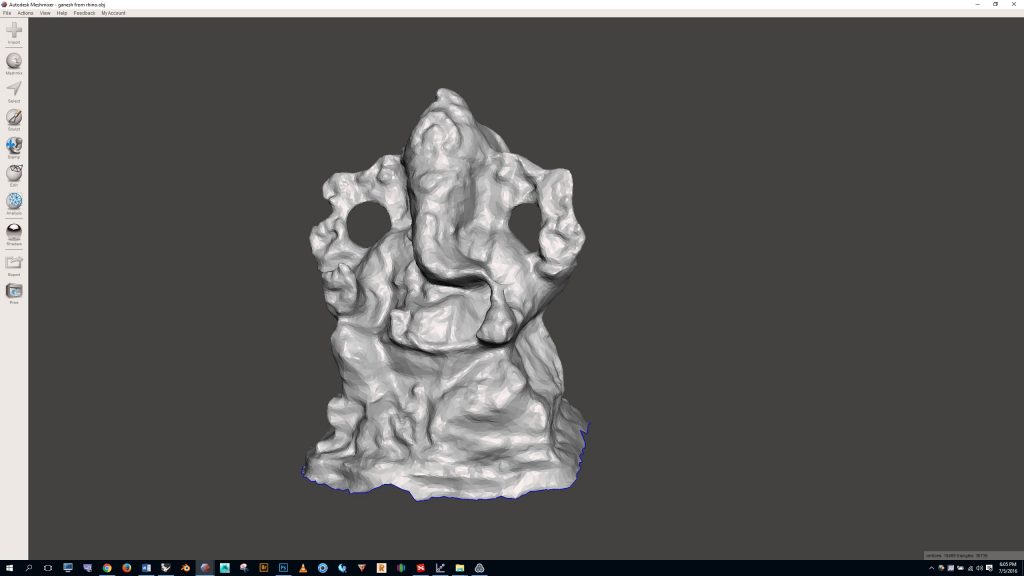
The Ganesha sculpture imported to Meshmixer as shown below:
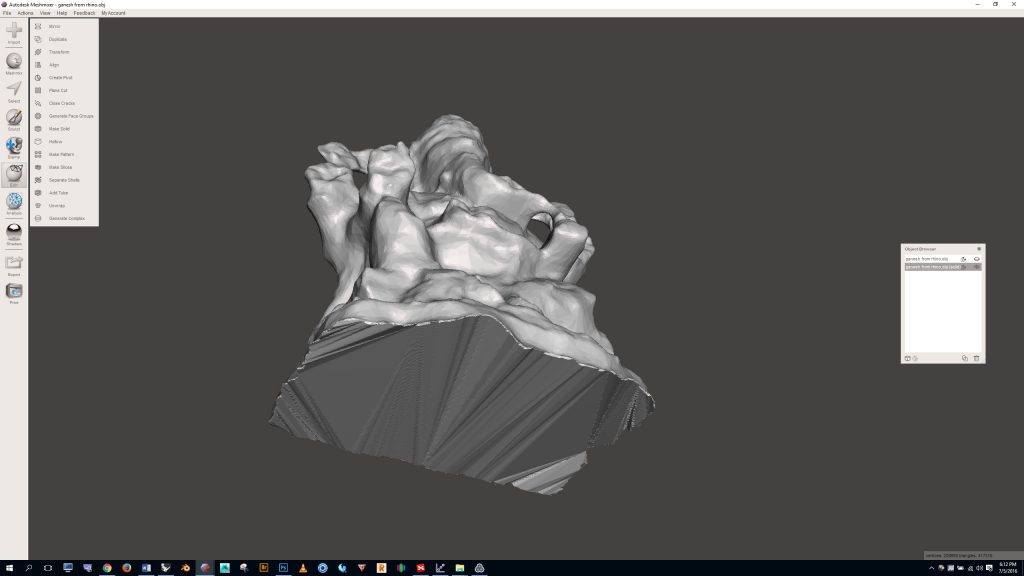
There weren’t any big holes or rough patches to fix, so I simply needed to close the bottom of the model. I did this by clicking the “edit” button on the left and selecting “make solid”
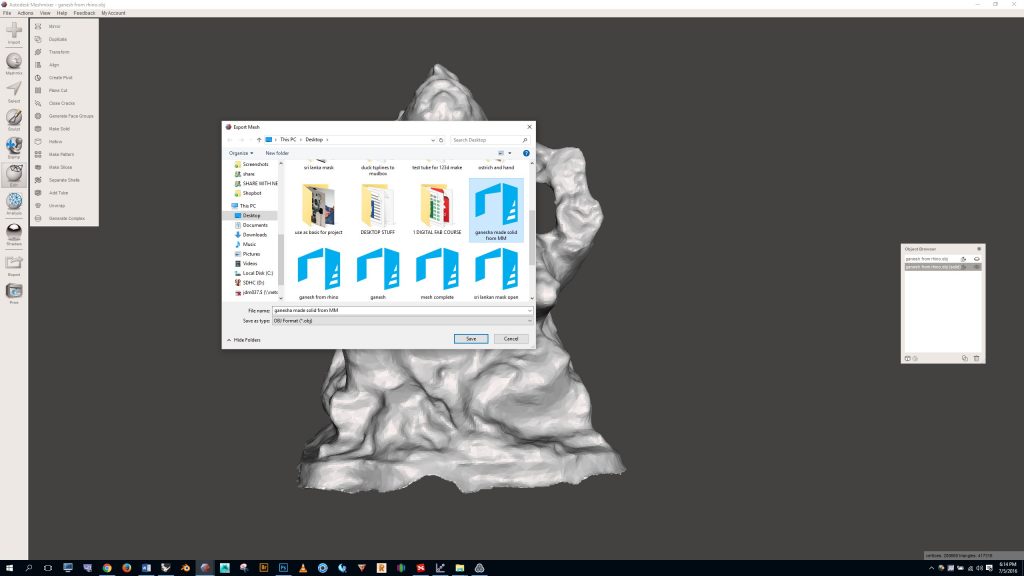
Finally, I clicked the “export” button and saved the file as an OBJ.
