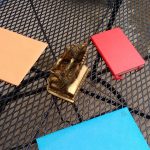
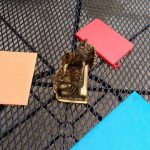
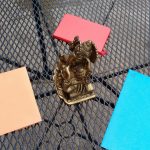
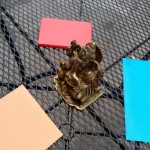
USING 123D CATCH TO SCAN AN OBJECT
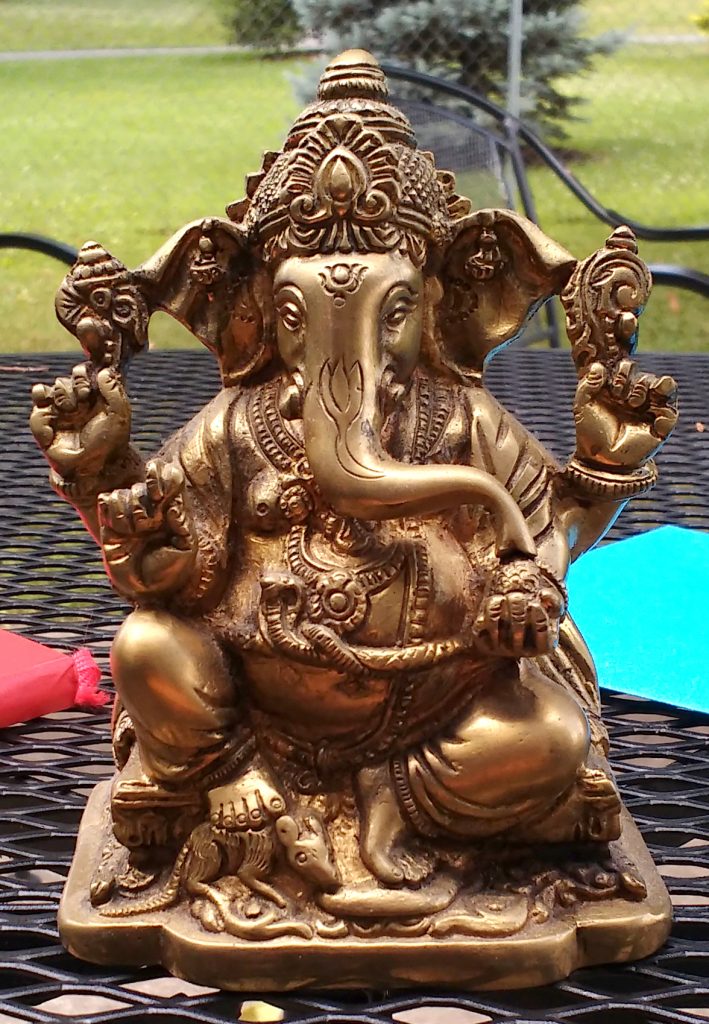
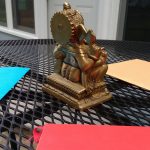
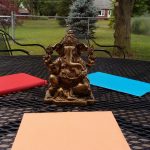
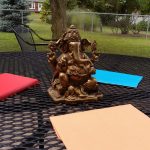
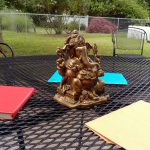
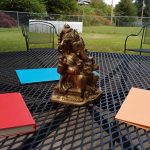
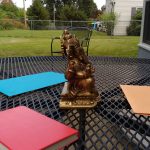
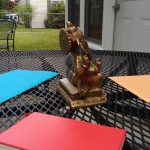
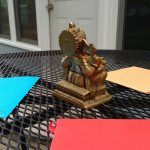
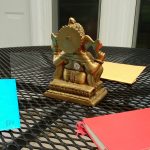
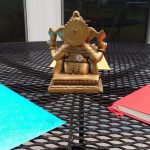
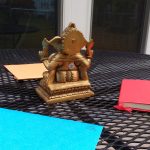
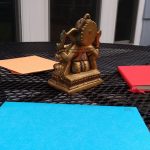
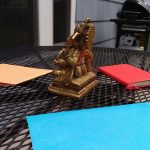
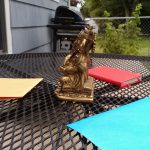
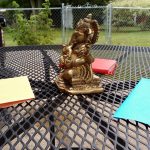
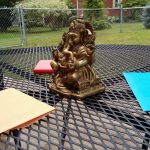
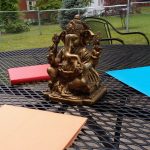
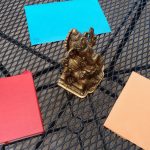
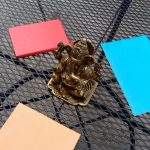
To demonstrate this process I used 123D Catch to create a 3D mesh of the Ganesha sculpture shown below.
Shoot a series of photographs of an object following the instructions in this video:
https://www.youtube.com/watch?v=7TfXXJxDsXw
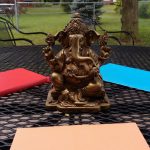
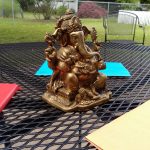
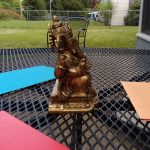
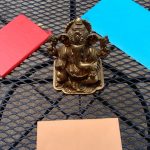
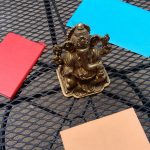
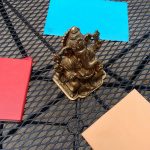
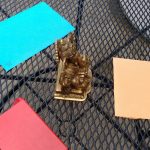
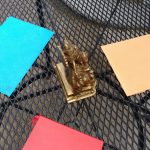
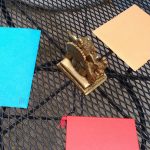
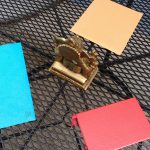
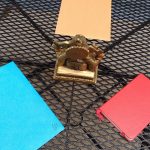
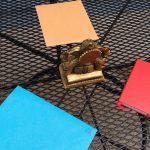
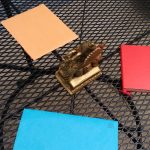
The complete set of photos I shot are included below. Notice that I shot one set of photos from a low vantage point and one set from a high vantage point. Notice also that I put colored pieces of paper on the table to help the program align the model properly.
Now follow the instructions in this video to turn the photos into a 3D mesh. For best results, avoid using the cell phone app. Instead, use the program on a Coleman 220 computer OR download the free PC or Mac program and work from your own computer http://www.123dapp.com/catch
https://www.youtube.com/watch?v=9jIU0vJdAHs
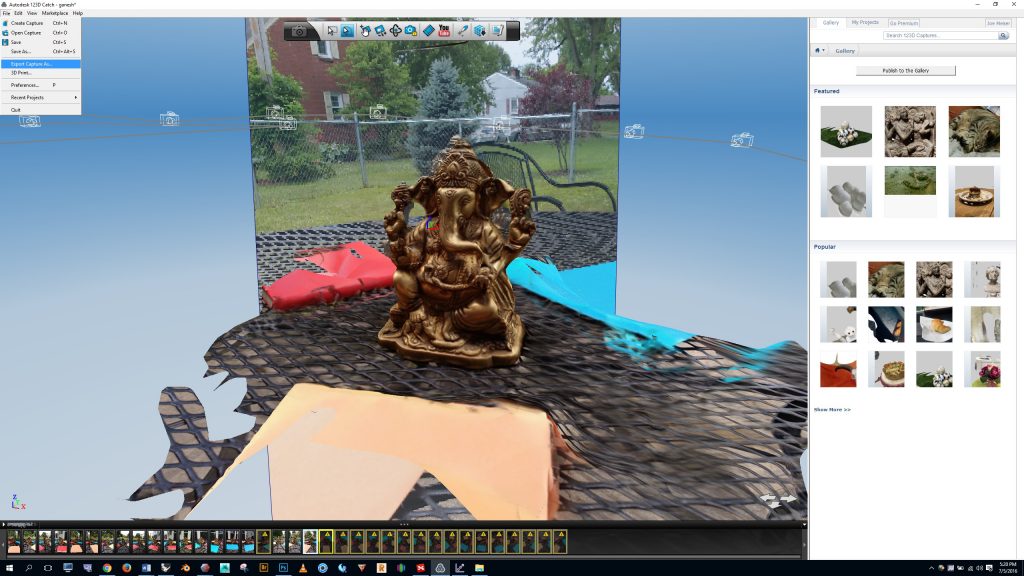
Once the processing is complete, download the mesh by clicking “file” > “export capture as” > save to your computer as an OBJ file. — Note: once you close the desktop program your model will be saved on the web. To access your previous projects go to http://www.123dapp.com/catch > login > click the “me” button in the top right > select “models”
Open Rhino and type “import” in the command line to import. Now set your viewport to “rendered” mode. The presence of textures (photographic data mapped over the top of the model) will make the model more difficult to work with, so we want to eliminate the textures…
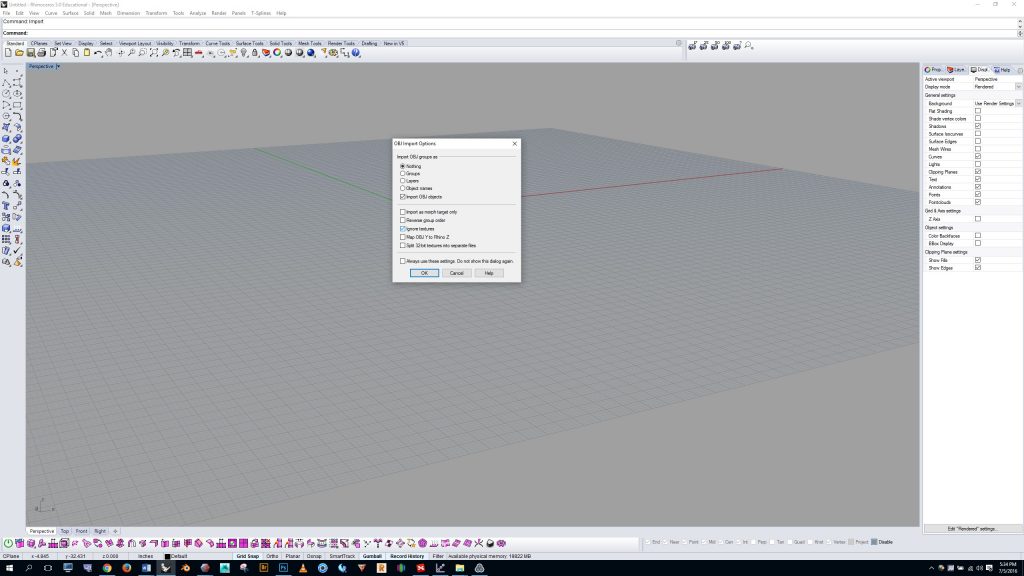
To remove the textures from the OBJ file, during the import process click “ignore textures” in the dialogue box as shown below.
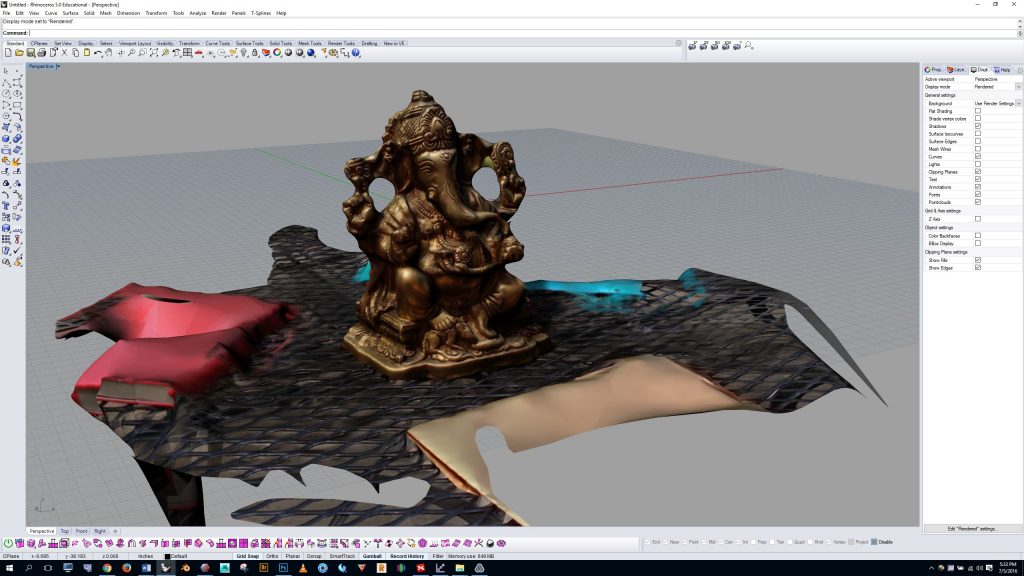
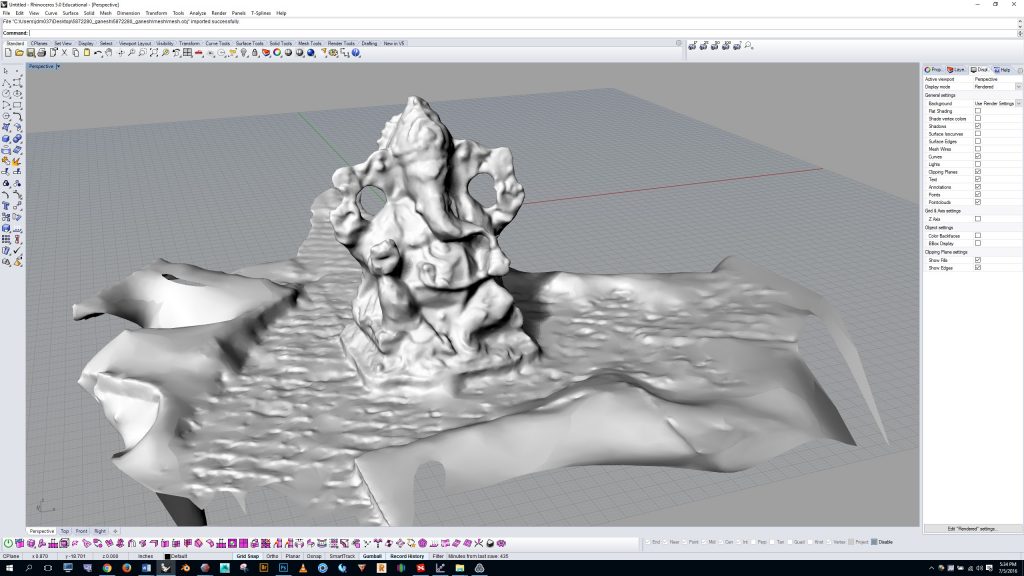
In rendered mode your model should look like this:
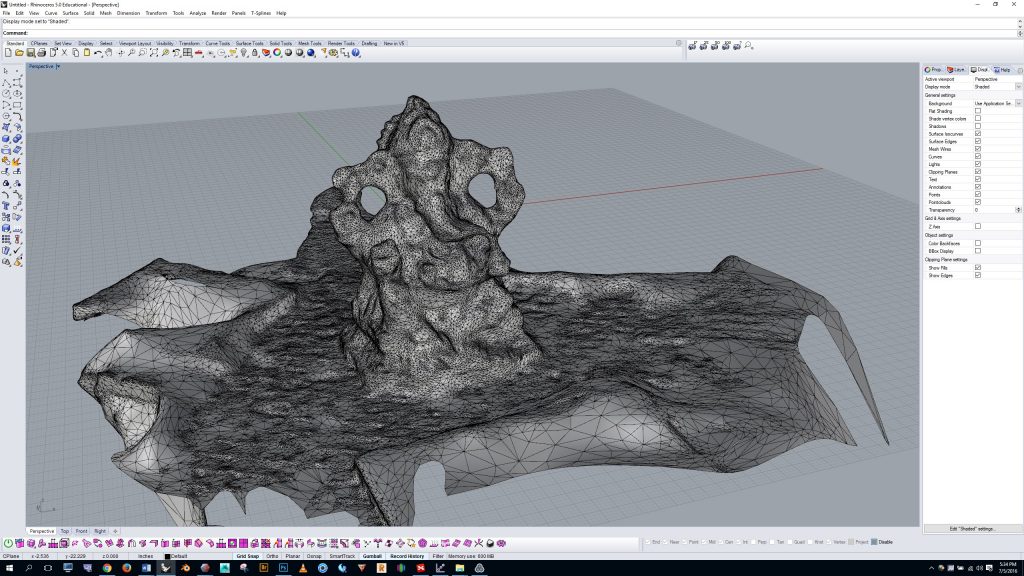
…or in shaded mode it will appear as shown below. My goal was to create a scan of only the sculpture, but notice that the table and papers showed up too. We’ll need to delete the extra parts.
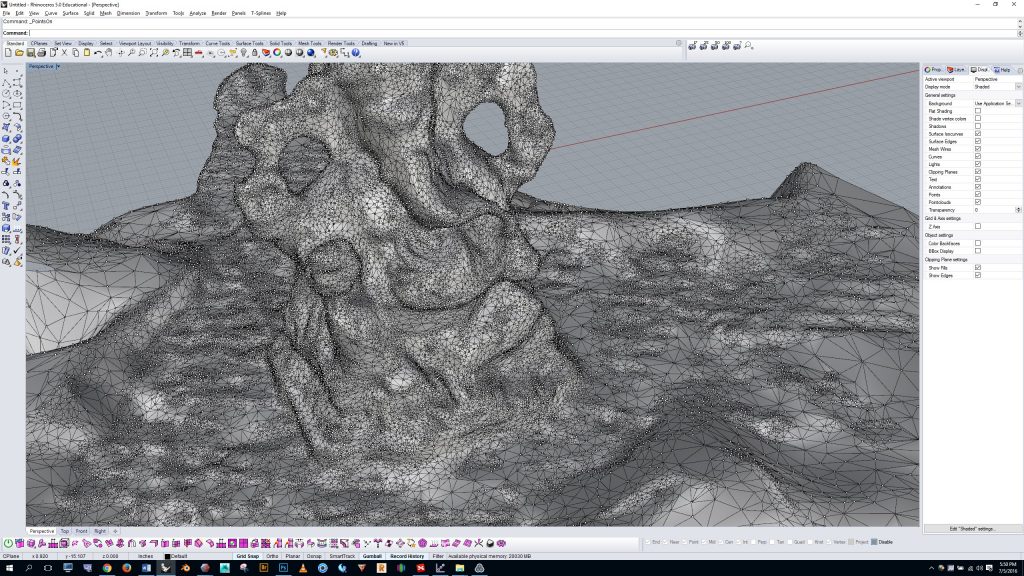
Select the model an push “F10” to turn control points on.
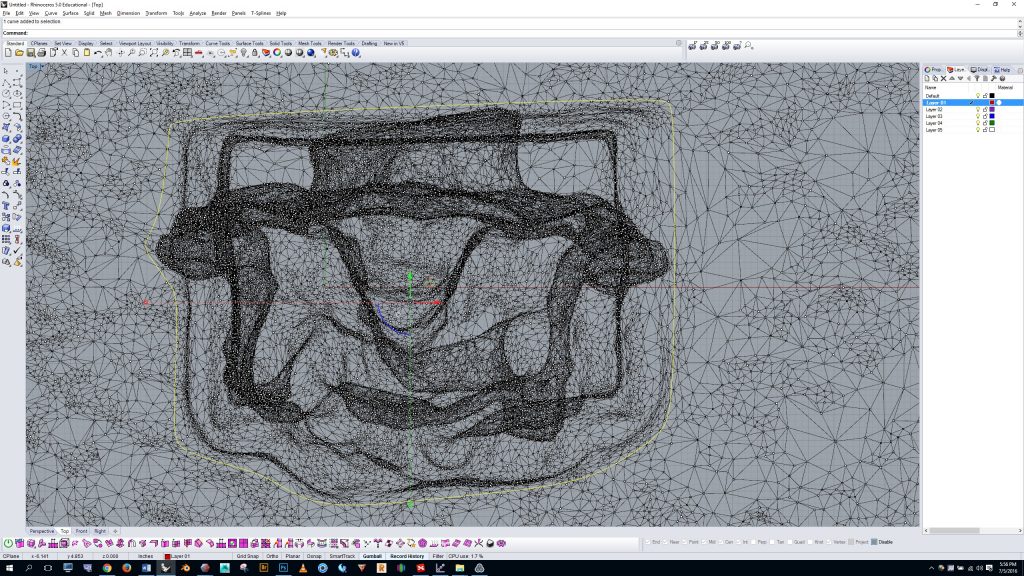
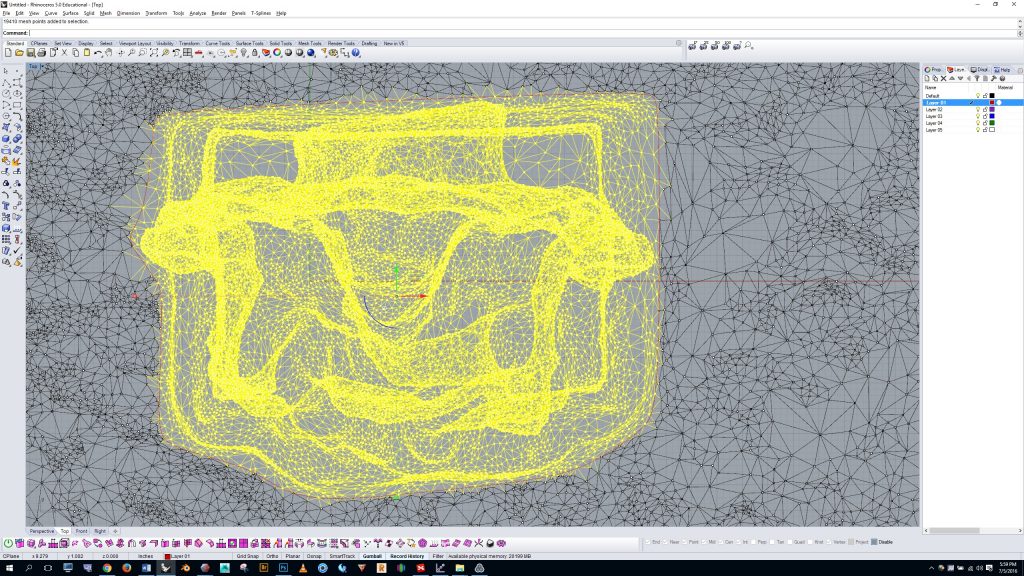
There are many ways of eliminating the unwanted points. I could simply start lassoing the unwanted parts and pressing the delete key, but the faster way is to go to the top viewport and draw a closed curve around the parts I want to keep….
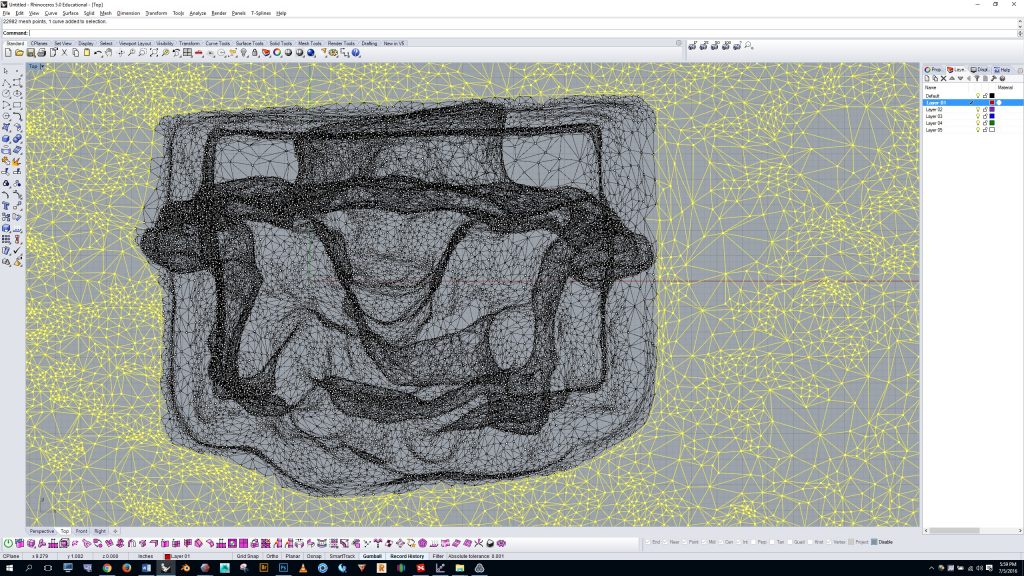
Now type “selboundary” in the command line and select your closed curve, and your model will be selected…
Type “invert” to select everything else, and press the “delete” key.
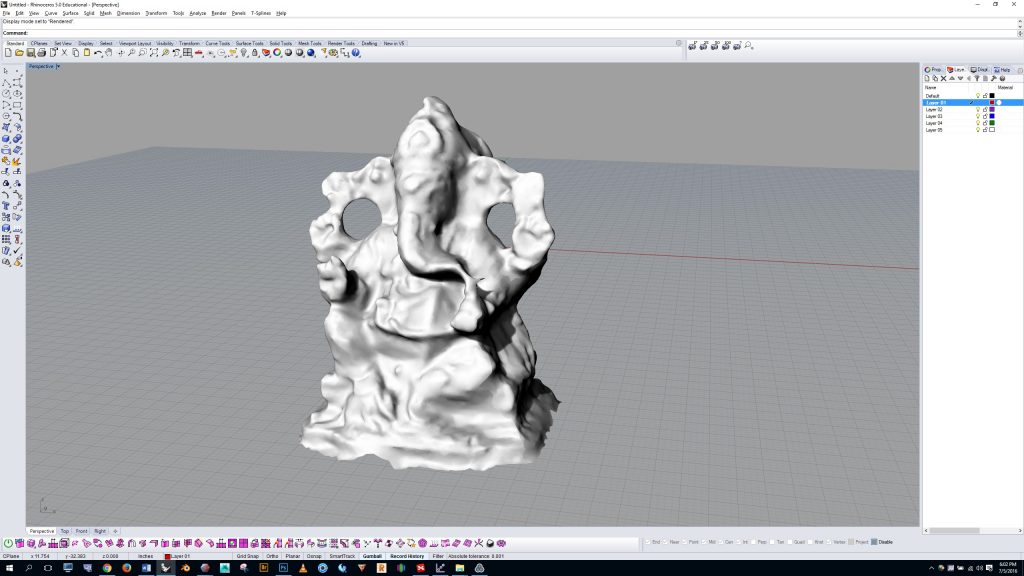
And the unwanted geometry should be mostly gone. I had to go around the base and delete a few unwanted points.
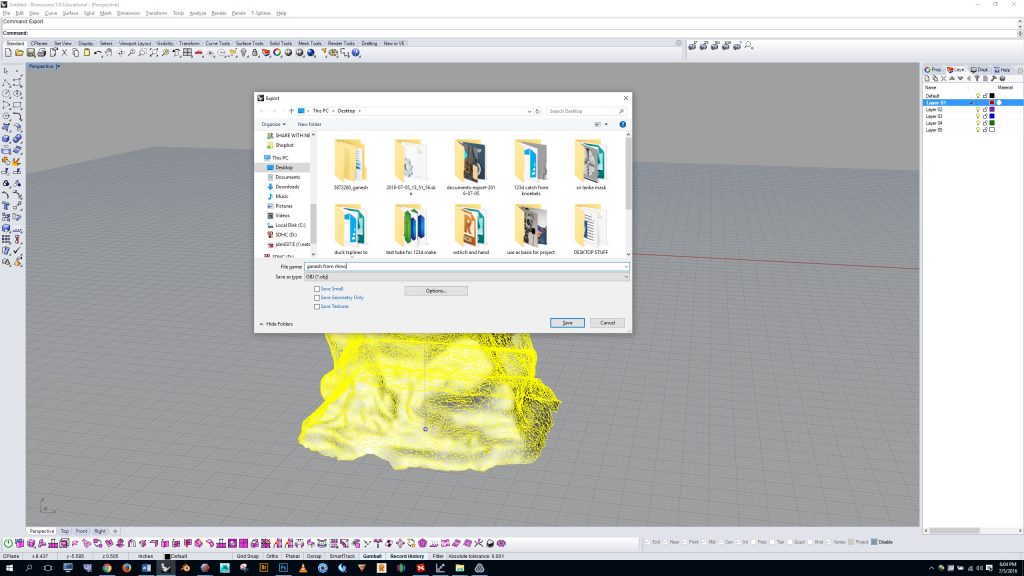
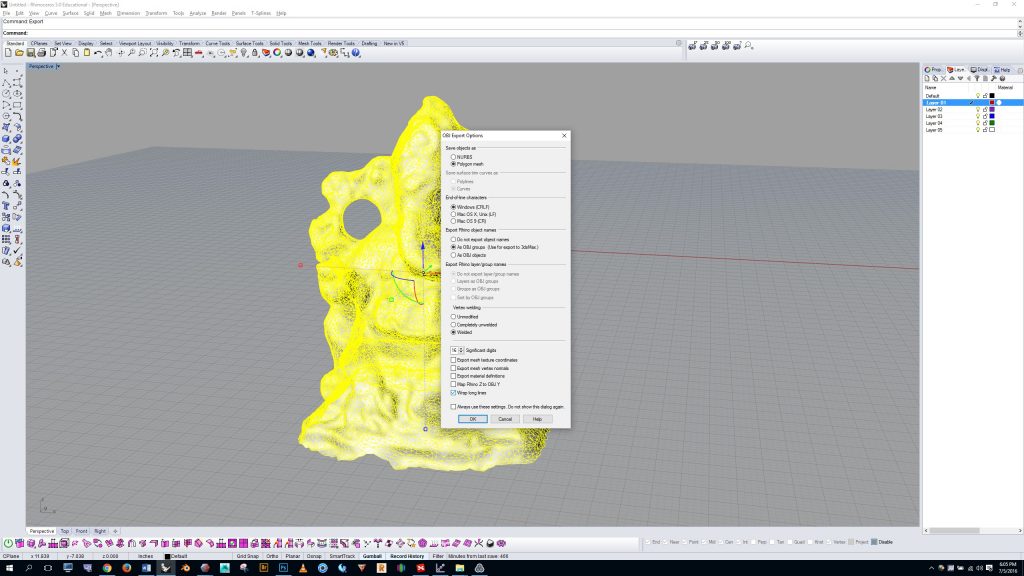
Now select your model and type “export” in the command line. Export as an OBJ with the settings shown on the next image…
